For those seeking a cutting machine that is budget-friendly and recommended for beginners, Cricut Explore Air 2 is the ideal choice. Using Cricut Explore Air 2 can open up a horde of crafting possibilities. You can experiment with amazing personalization, from paper crafts to custom clothing.Lots of questions come to mind when you get started with it for the first time. What can you make out of it? How to set up the machine after unboxing?
Setting up the Explore Air 2 is an integral task before you can use the machine. When the machine is set up correctly, it can ensure optimal performance and efficiency. An improper setup can lead to poor cuts and material waste. Here is a step-by-step guide covering all the major steps involved in the Cricut Explore Air 2 setup process. Continue reading to learn more!
Potential Problems When Setting Up The Cricut Explore Air 2
As a Cricut user, you may face certain issues when setting up the Cricut Explore Air 2. A few of them are mentioned below:
- Connection issues
- Unresponsive power button
- Software updates
- Device incompatibility
- Bluetooth connectivity issues
Steps to Setup Cricut Explore Air 2
Just follow the instructions, and you will be good to go. Take a glance at the essential steps to setup your Cricut Explore Air 2:
Step 1: First, carefully unbox the machine.

Step 2: Insert the power cable into the machine and the power outlet.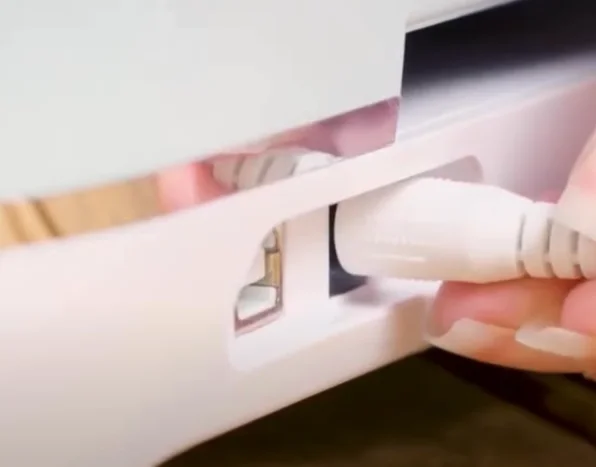
Step 3: Insert the USB cable into the machine and the other end to the computer.
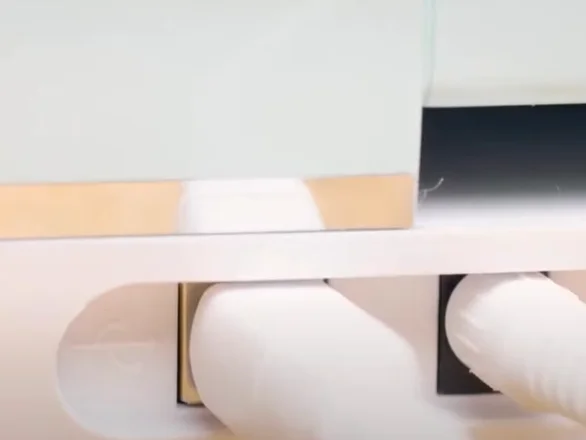
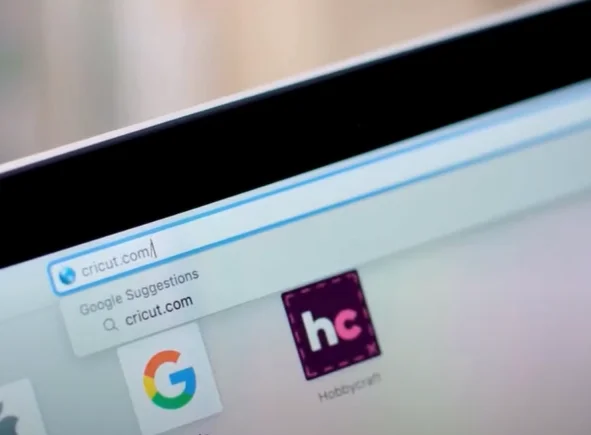
Step 4: Open the web browser and navigate to the official Cricut Setup page.
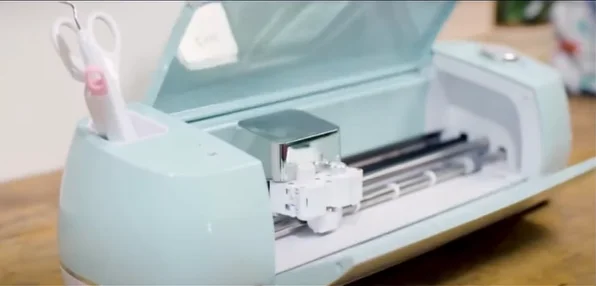
Step 5: Power on the machine and open it.
Step 6: Check the I agree to the Cricut Terms of Use and Privacy Policy and click Download.

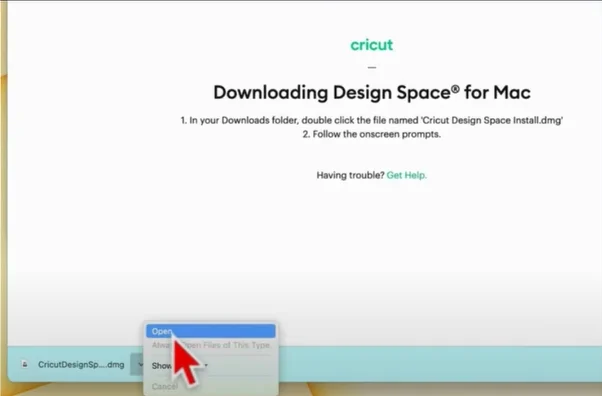
Step 7: Wait for it to download, then open the downloaded file.
Also Read:- Resolve The Cricut Explore Air 2 Not Cutting Issue Properly
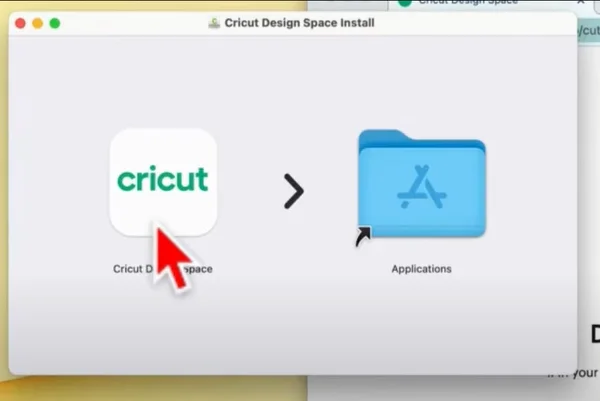
Step 8: Drag and drop the Design Space app into the Application folder.
Step 9: Open the Application folder, locate and double-click Cricut Design Space, and click Open if you get a pop-up prompt.
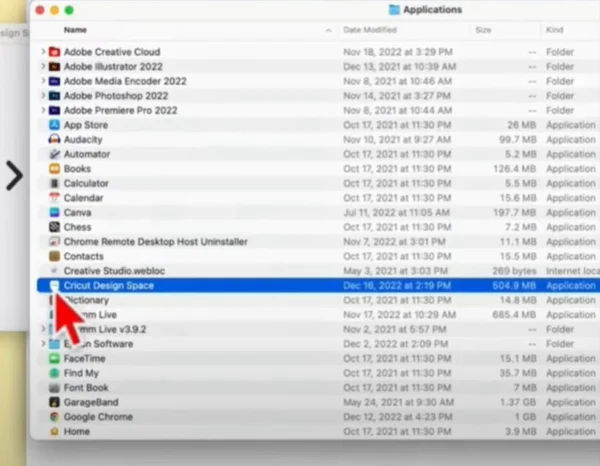
Step 10: Click Product Setup, then Sign in or Create a Cricut ID if you do not have one.
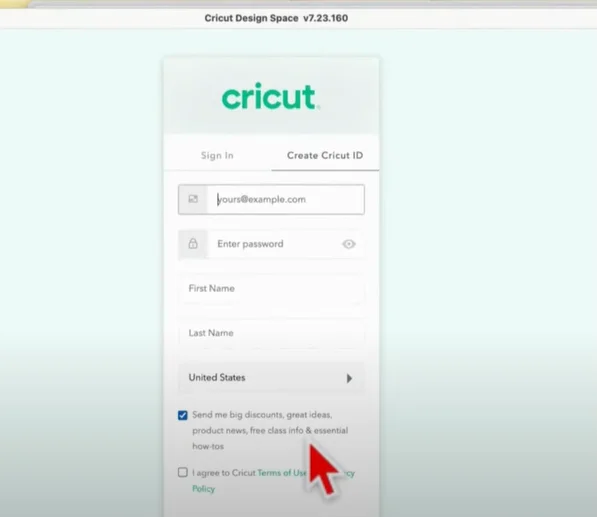
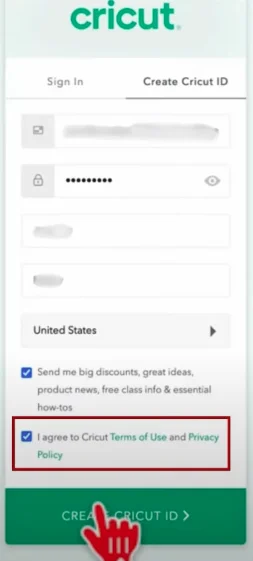
Step 11: Once you’ve filled out all the information, check the terms of use and privacy policy box, and click Create Cricut ID.
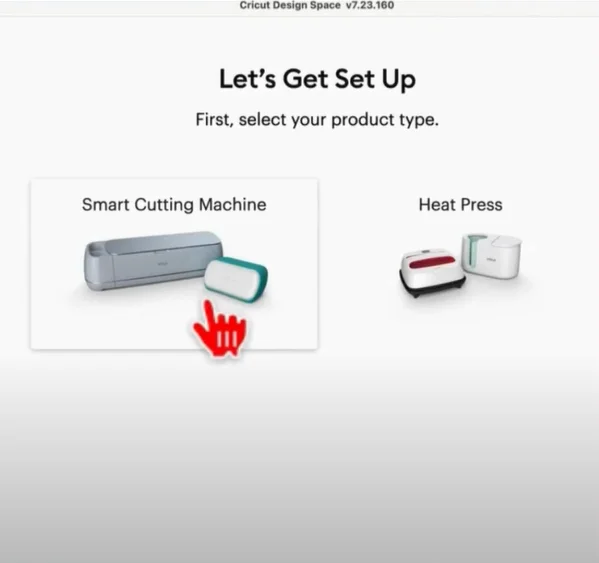
Step 12: Select Smart Cutting Machine and then select Cricut Explore Family.
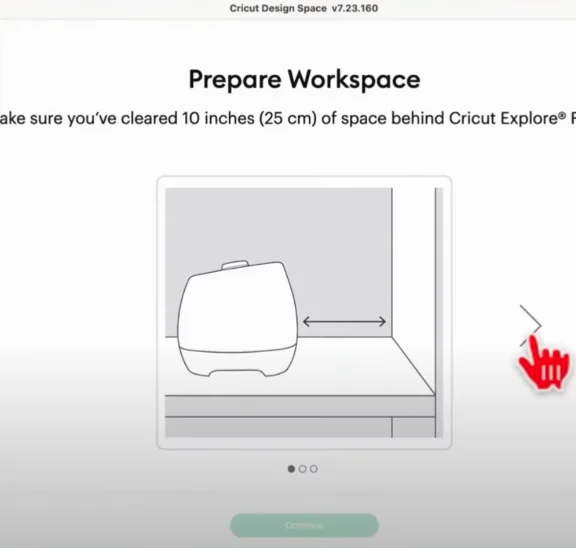
Step 13: Follow the instructions and click the right arrow button through the Prepare Workspace and Find and Outlet screen.
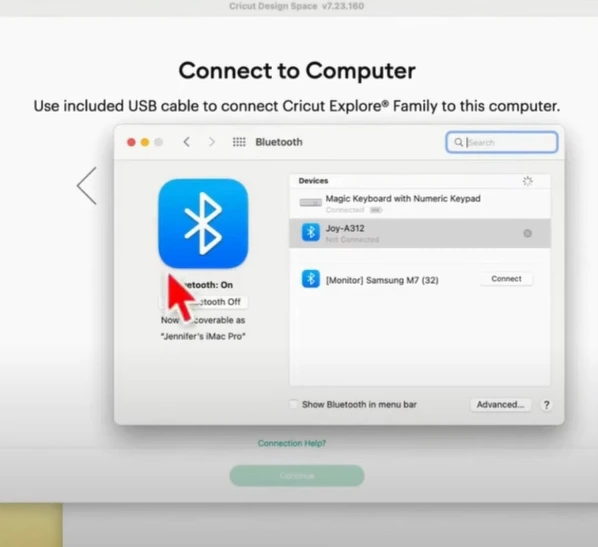
Step 14: When you get to the Connect to Computer screen, if you wish to connect via Bluetooth, navigate to Bluetooth.
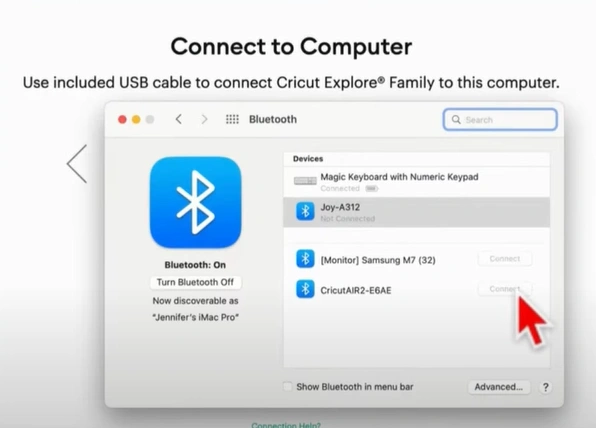
Step 15: Ensure Bluetooth is turned on and click Connect next to the Cricut Explore Air 2.
Step 16: Return to Cricut Design Space and click the Select Cricut Device drop-down.
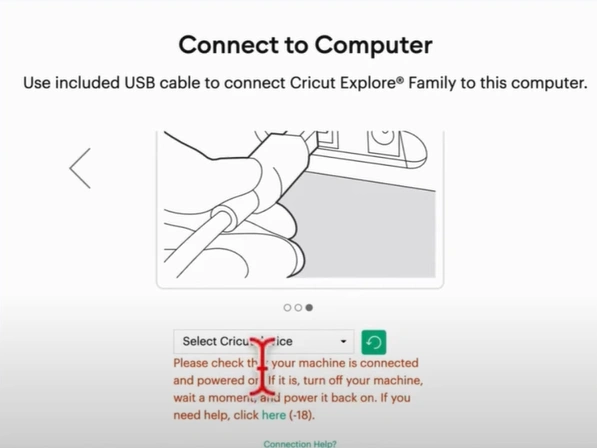
Step 17: Select Air 2: E6AE Bluetooth or Air 2: 0 USB, depending on your connection method.
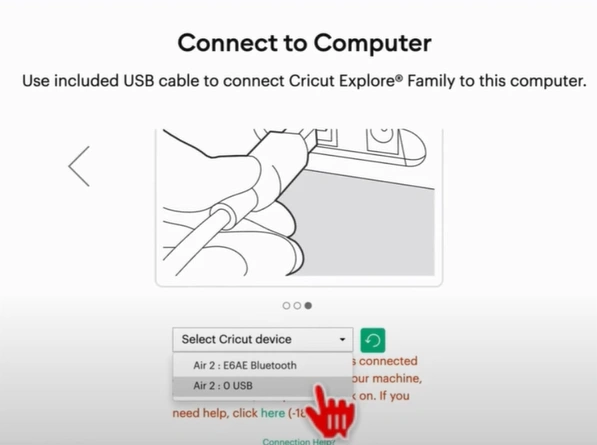
Step 18: Give it a minute to load and click Continue.
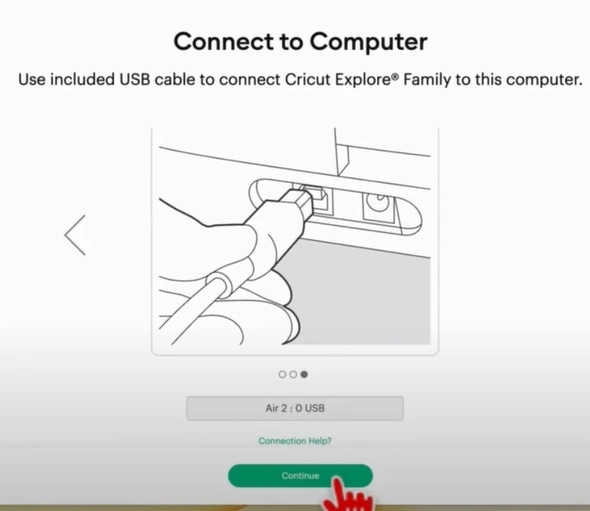
Step 19: When you get the Let’s Activate Explore screen, double-check your email address, agree to the terms of use and policy, and click Activate.
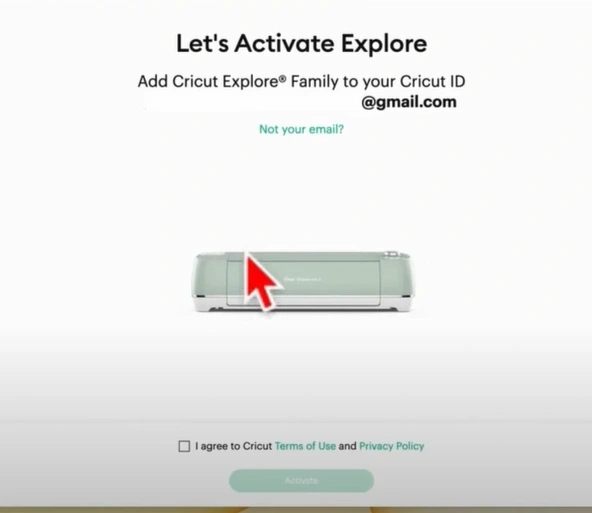
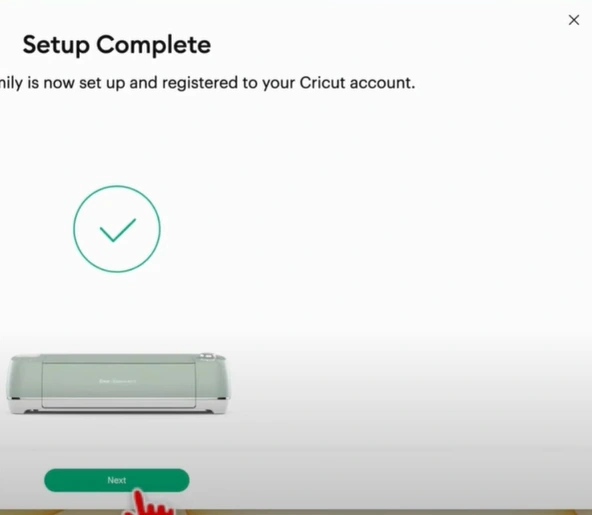
Step 20: When you get the Setup Complete screen, click Next.
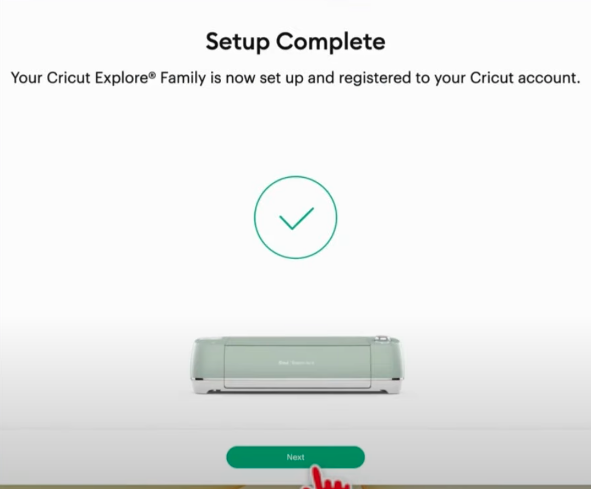
Step 21: Now, you can sign up for Cricut access or sign up later.
Step 22: Go ahead and try a test cut following the on-screen prompts.

To Conclude
That concludes the guide on how to set up Cricut Explore Air 2. We hope you will correctly set up the cutting machine using the abovementioned steps. Potential problems like Connection issues, software updates, or device incompatibility may occur during the process, so you must be mindful of them.
If you need further assistance setting up your Cricut Explore Air 2, remember that an expert is always available.

