

Performing a Cricut firmware update is a simple process if you follow the correct steps. Let’s explore this further.
Common Challenges When Updating Cricut Firmware
Users may face certain issues while trying to update the Cricut firmware, such as
- Update freezing or getting stuck.
- Firmware update fails repeatedly.
- Design Space is not prompting for an update
- Power interruption during the update
The Process to Update Cricut Firmware
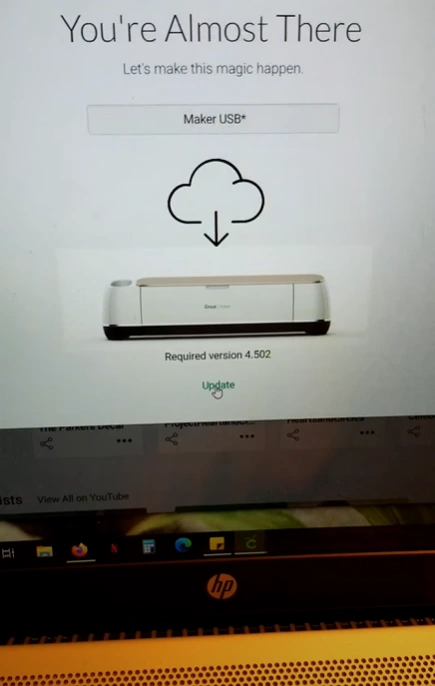
It may be confusing to update the Cricut firmware. Here are the ideal steps to do the same:
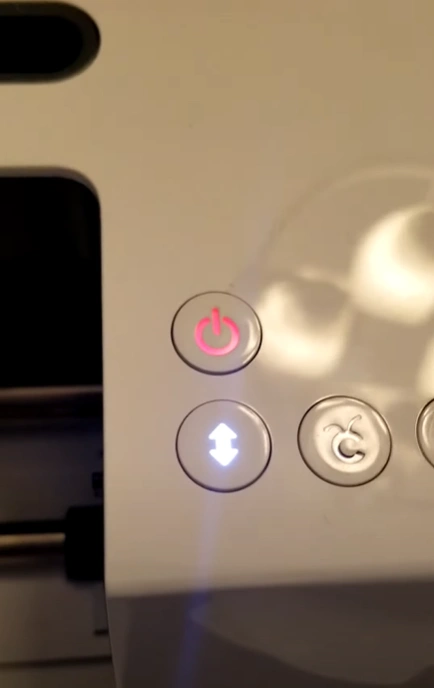
Step 1: Power on your Cricut machine.
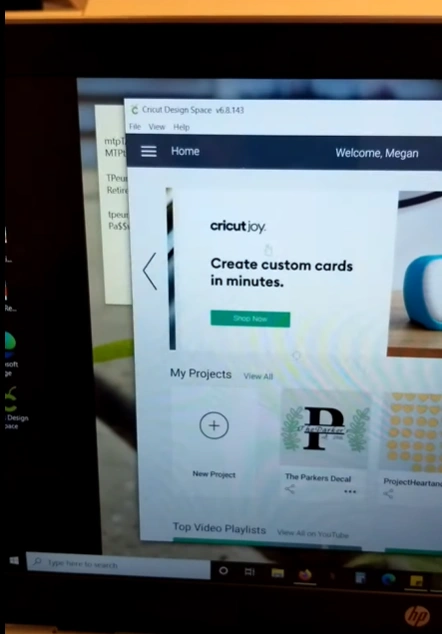
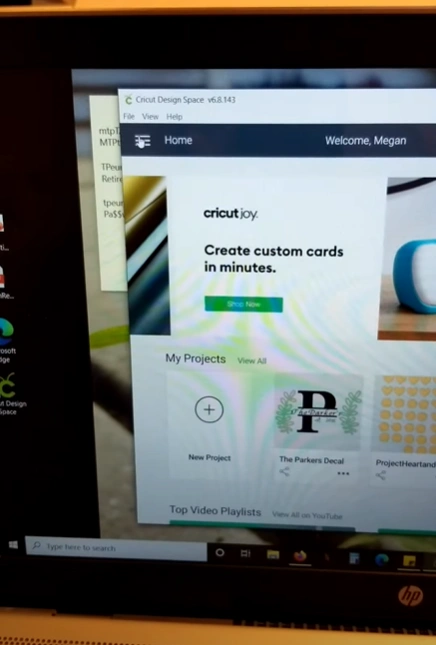
Step 2: Open Design Space on your desktop or laptop.
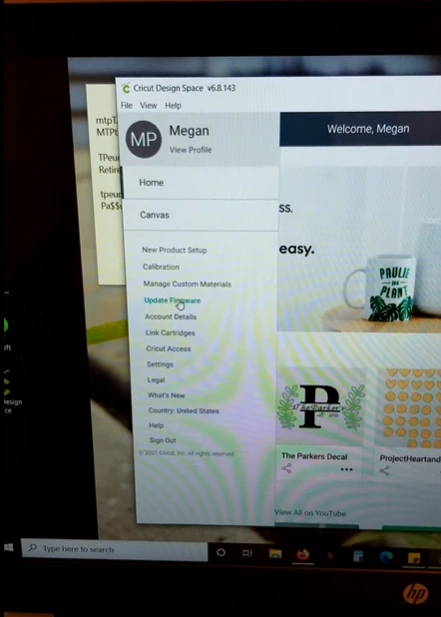
Step 3: Go to the Menu button on the top left.
Step 4: Select the “Update Firmware” option.
Step 5: Select your Cricut model from the list that appears.

Also Read:- How to Calibrate Cricut Explore Air 2
Step 6: Click on Update.
Step 7: Wait for a few minutes for the update to complete.

Step 8: Once completed, click Continue.
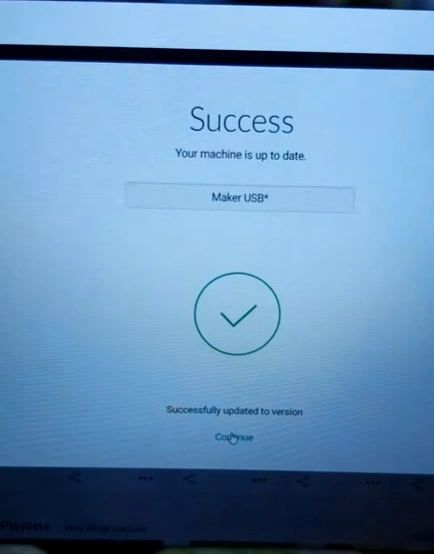
Step 9: The Cricut machine will automatically turn off and back on once the update is complete.
To Sum Up
By now, you should have a clear understanding of how to update Cricut firmware. Remember, while you are about to start with the firmware update, check that the cutting machine is properly connected to your system via USB or Bluetooth. Follow the above steps carefully to ensure a successful update. If the firmware update fails or doesn’t complete, reopen Design Space and start the update again.


