

Don’t worry – you can easily replace the blade to fix this issue. The process is quick and easy; simply follow the recommended steps. We will walk you through everything you need to know to replace the blade on your Cricut Explore Air 2. Before we begin, let’s go over some potential issues you might face during the process. Let’s start!
Common Issues When Replacing Blade on Cricut Explore Air 2
Several potential problems can arise when attempting to change the blade on your Explore Air 2 machine. These can be the following:
- The blade housing may not snap back into place correctly.
- Difficulty removing the old blade
- Incorrect blade type installed
- Improper cleaning before installation
- Blade holder jammed or stuck
Safety Tips to Follow Before Replacing Cricut Blade
Adhere to these safety precautions to change your Cricut blade on the Explore Air 2 machine safely:
- Place the machine on a flat, even surface to prevent slips or falls while changing the blade.
- Always turn off and unplug your machine before you start.
- Firmly hold the blade housing while replacing the blade to avoid dropping or slipping.
- Store the used blades in a secure container or disposal unit. This can save you and others from getting injured.
- If your blade housing requires a tool to tighten or loosen, use the right tool provided by Cricut or recommended in the manual.
Steps to Change Blade on Cricut Explore Air 2
Here are all the steps that you should know to change the blade on Cricut Explore Air 2:
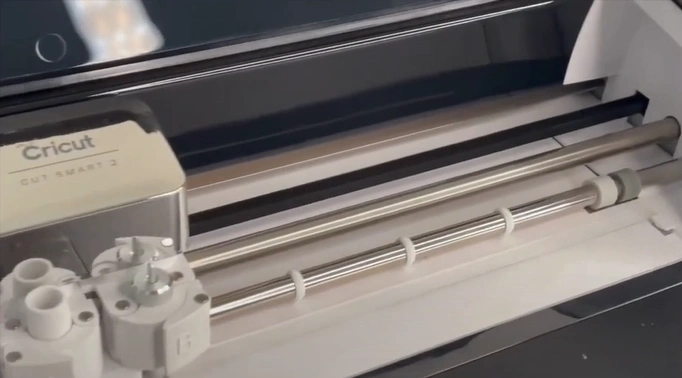
Step 1: Go to your machine and press the Open button.
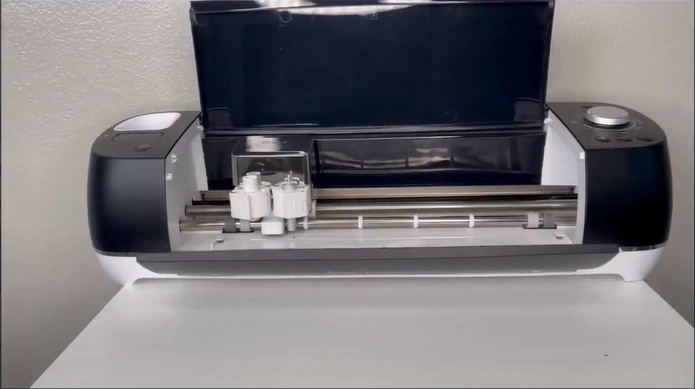
Step 2: Open the accessory clamp B.
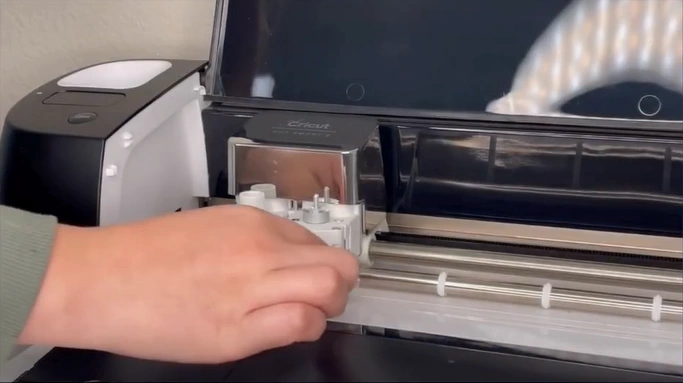
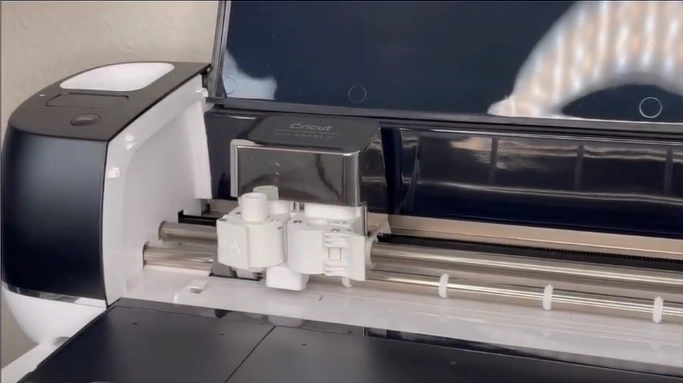
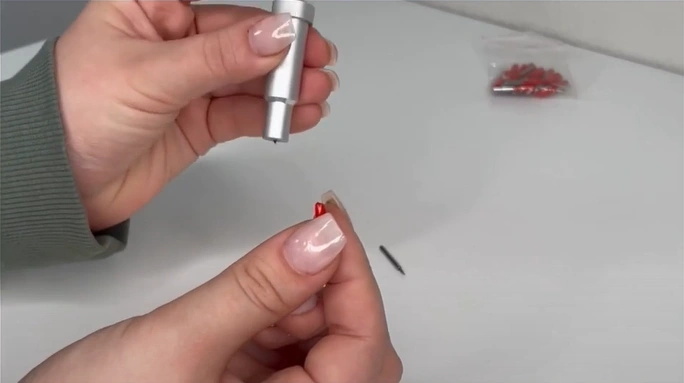
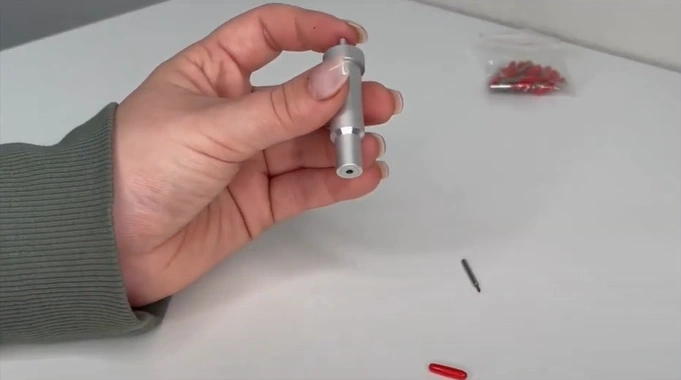
Step 3: Pull out the blade housing.
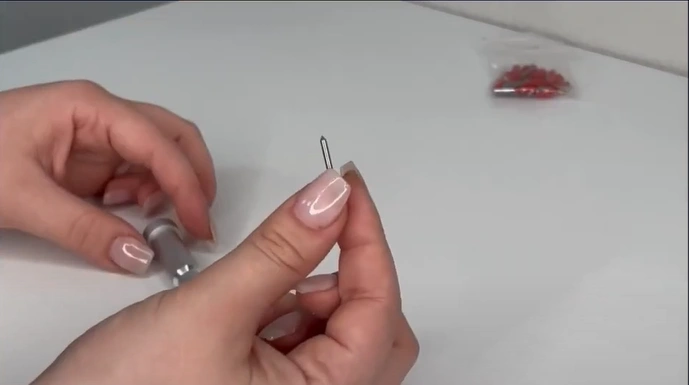
Step 4: Use the protective cover of the new blade to carefully remove the old one first.
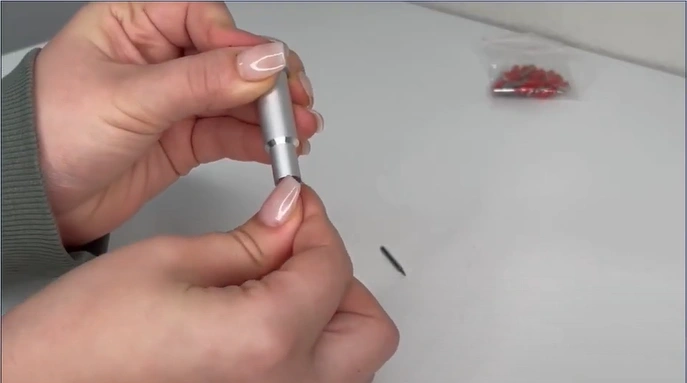
Step 5: Next, push the plunger on top of the housing.
Step 6: Use the new blade’s protective cover to remove the old blade.
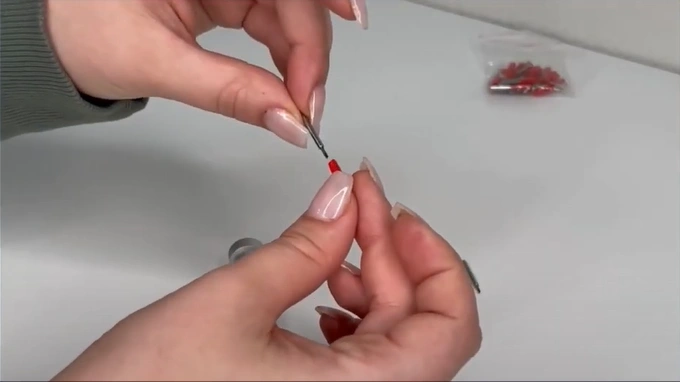
Step 7: Put the cover back on the new blade.
Step 8: Push the plunger again.
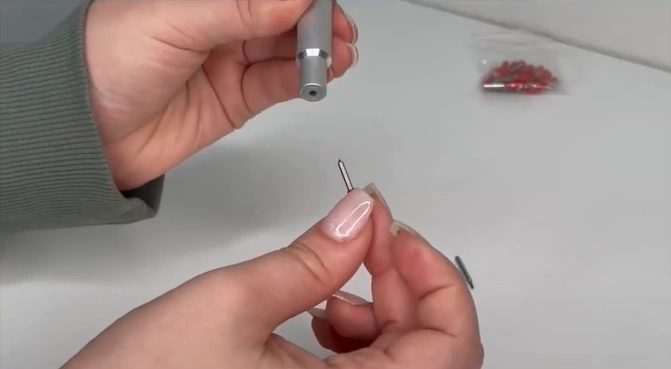
Step 9: Insert the shaft of the new blade in the housing.
Step 10: Insert the housing back into the accessory clamp B.
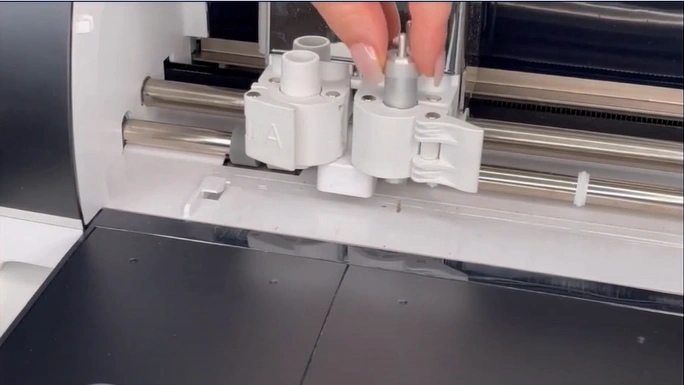
Step 11: Close the housing.
Tips to Keep Your Cricut Blade in Good Condition
If you want your Cricut blade to work at its best without any trouble, you must keep in mind the following:
- Clean your blade regularly and avoid direct contact with your fingers to maintain its sharpness.
- Keep the cutting mat clean. If the mat is dirty or worn out, the material might shift during the cutting process.
- Use the correct blade for specific materials, like leather or chipboard.
Also Read:- How to Calibrate Cricut Maker?
In a Nutshell
That’s all there is to it! Replacing the blade on your Cricut Explore Air 2 is a simple process. It takes very little time to remove the old blade and insert a new one. During the replacement, you may encounter a few issues, such as difficulty removing the old blade or not cleaning the parts properly beforehand. Address these issues carefully and follow the safety tips to ensure a smooth replacement process.
For longer-lasting and optimal performance of your Cricut blade, be sure to follow the tips we have discussed.


