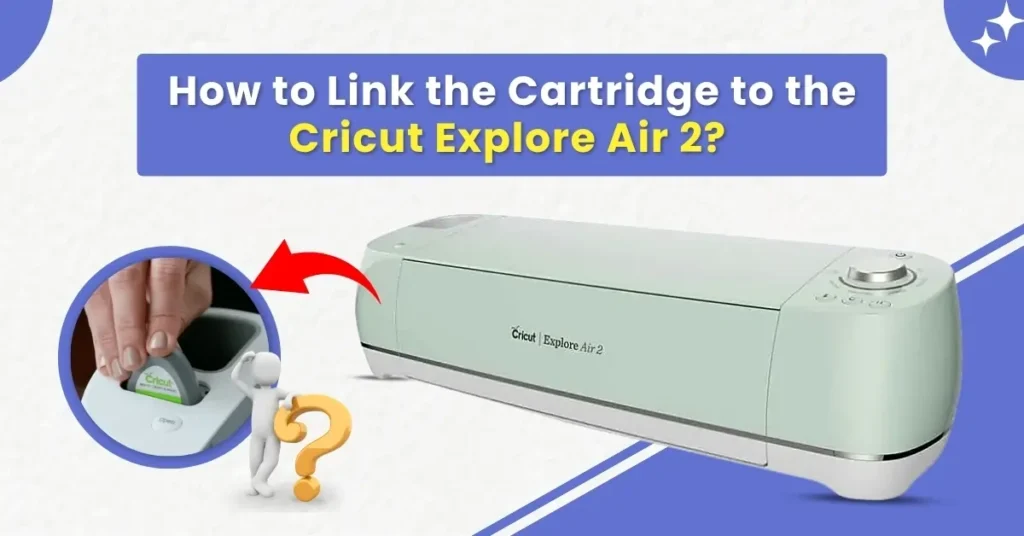
Creating handmade crafts is rewarding, but it can also feel overwhelming. That’s probably why you chose the Cricut Explore Air 2 to make crafting easier and more enjoyable. As you start working with it, you may have already created many incredible projects. But one day, you may notice those old Cricut cartridges and ask yourself, “Can I still use them for future projects?”
Yes, you can. Cricut allows you to link older cartridges to Design Space. If you are using the Explore Air 2, you’re in luck; it has a built-in cartridge port. Once linked to your Design Space account, the cartridge images will remain available in your library for future use.
What’s the process for linking the cartridge to the Cricut Explore Air 2? We’ll discuss that shortly, but first, let’s look at some common issues that can happen when linking cartridges.
Common Issues When Linking a Cartridge to Cricut Explore Air 2
Take a look at some of the common problems that users might face when trying to link a cartridge to the Cricut Explore Air 2:
- Outdated firmware
- Poor cartridge connection
- The wrong machine was selected in Design Space
- Software or account glitches
- The cartridge is not recognized at all
What to Check Before Getting Started?
Before you start linking a cartridge to your Explore Air 2 machine, here are a few things that you need to confirm:
- Check if the Cricut machine is powered on.
- Ensure that the machine is connected to your PC via USB or Bluetooth.
- Verify that you have signed into your Cricut Design Space account.
- See whether there are any available firmware updates for your Cricut model.
Steps to Link a Cartridge to Your Cricut Explore Air 2
Take a glance at all the essential steps on how to link the cartridge to the Cricut Explore Air 2:
Step 1: Open your Mac or Windows computer and log in to Design Space.
Step 2: Ensure your machine is powered on and connected to your device.
Step 3: Next, open the Design Space menu at the top and select the Settings icon.
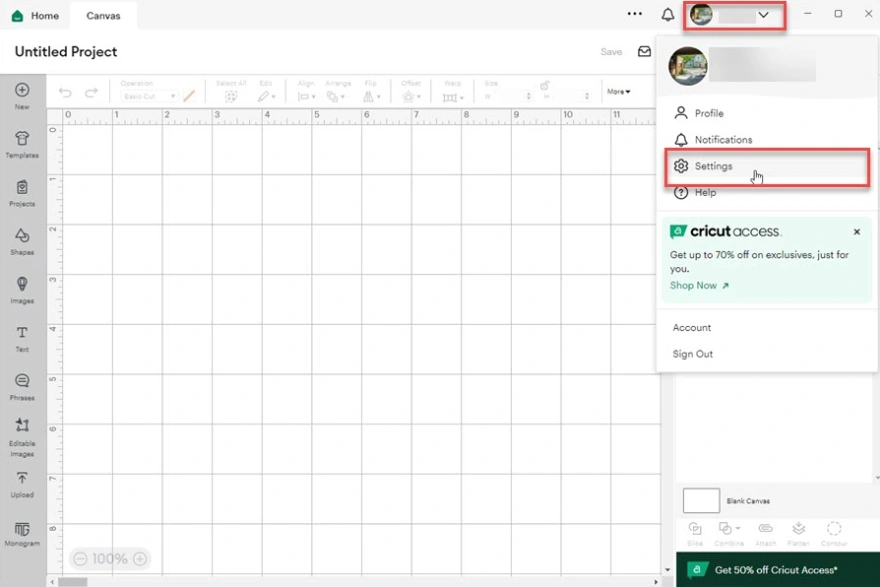
Step 4: Navigate to Machines, select “Link Cartridges,” and click the “Start” option.
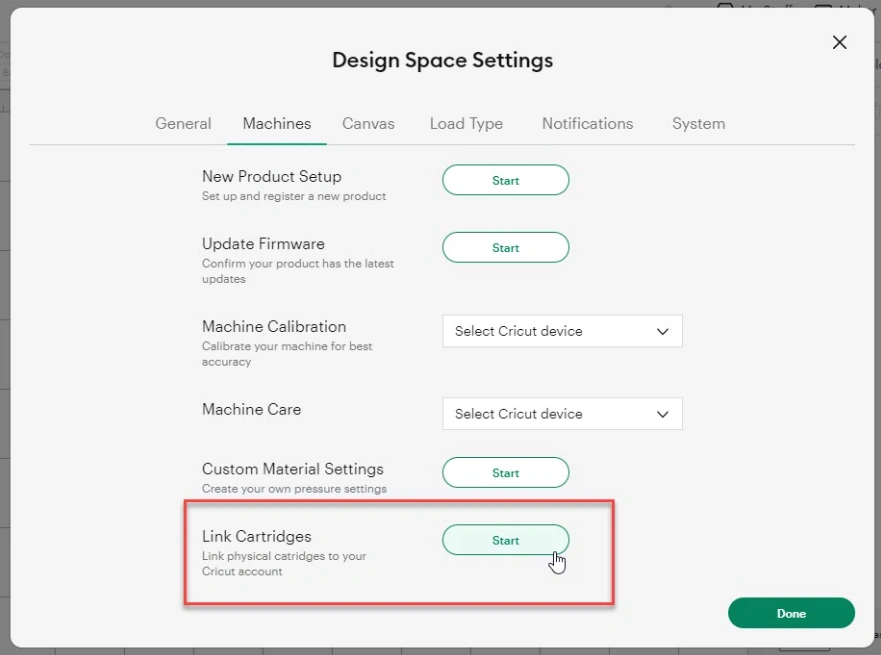
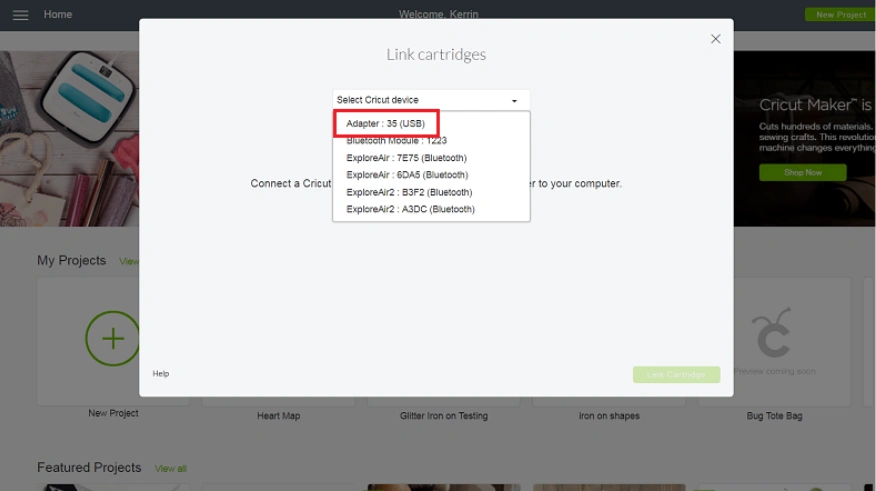
Step 5: From the Link Cartridges drop-down, choose your device. Cartridge adapters will appear in the list as “Adapter.”
Step 6: When instructed, insert your cartridge into the cartridge port on the left side of the machine above the Open button. If your machine doesn’t have a cartridge port, you can plug the cartridge into a compatible adapter instead.
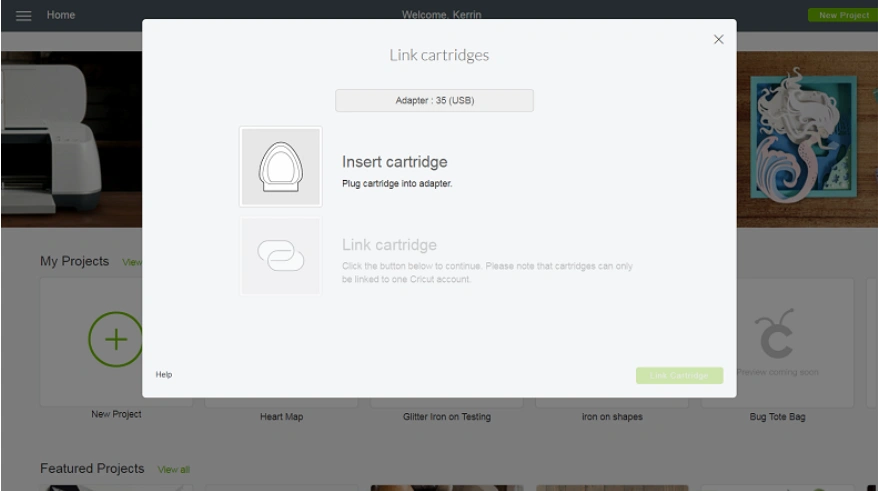
Step 7: After a few minutes, Design Space will detect the cartridge.
Step 8: Once the cartridge is detected, the Link Cartridge button will be enabled.
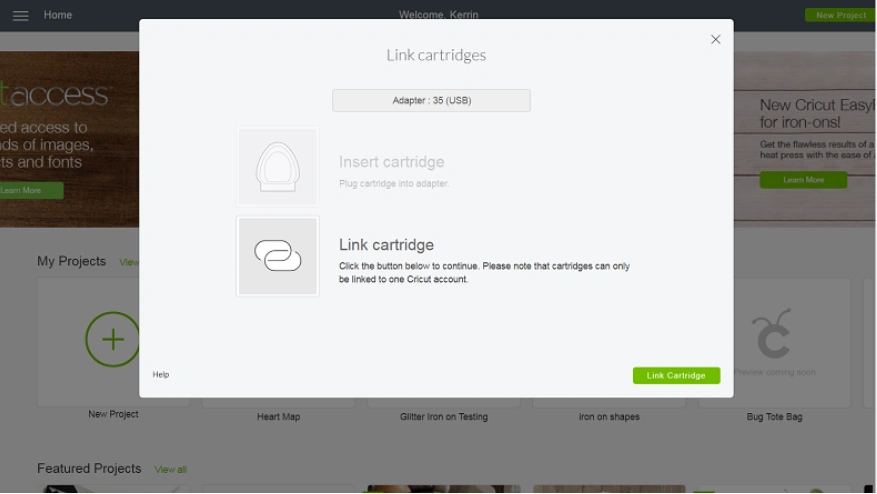
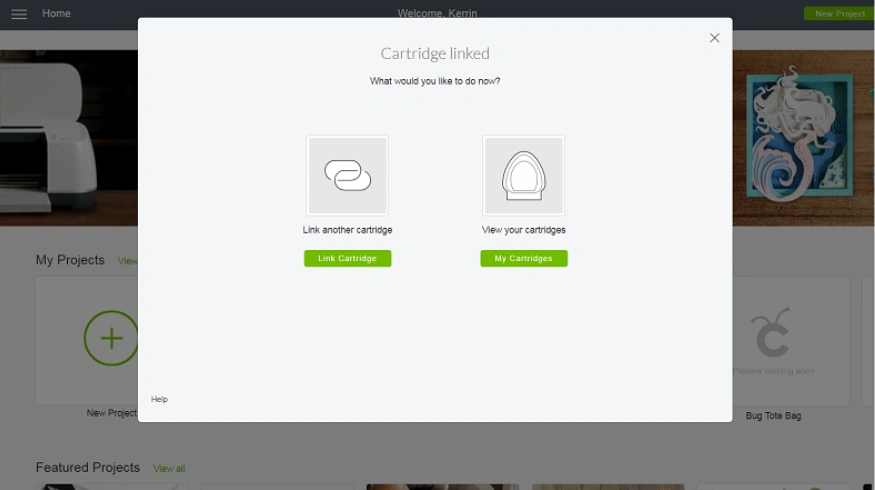
Step 9: Click the button to start the process. Once done, a confirmation message will appear on your screen.
Step 10: After that, you can link other cartridges, view your cartridges, or click the cross icon in the upper-right corner of the window to return to Canvas.
Also Read:- How to Use Cricut Easy Press
To Sum Up
Linking your old cartridges to Design Space with the Cricut Explore Air 2 machine is simple and cost-effective. It helps you get more value from your existing Cricut tools. Expand your crafting toolkit without spending an extra penny.
Remember: Cartridge linking is only supported on Windows and Mac computers. It is not available on the Design Space mobile app for Android or iOS devices. This information will keep you informed and prepared for the process.