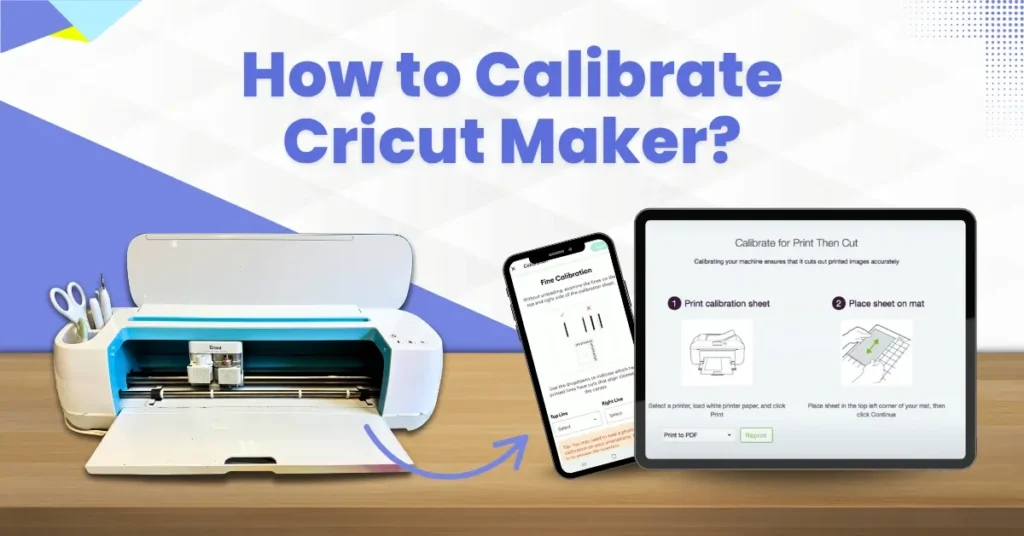
A college friend, who is a crafting expert, once told me that uneven cuts might mean it’s time to calibrate. The entire calibration process took only a short amount of time, and the results were satisfactory. As an expert, it was easy for me to calibrate Cricut Maker. Let me show you how I did it. However, before that, I would like to discuss with you the things you need to check before starting the calibration process.
What if Cricut Maker Does Not Cut Properly?
For a smooth and hassle-free calibration process, there are certain things you must check before you begin. These include:
- Check your blade’s condition. A dull blade may give you uneven cuts. Debris or vinyl bits can also accumulate on the blade or its housing, which can impact the cut quality.
- For cutting thick or intricate materials, you may need to use a specialized blade, such as the Cricut Knife Blade.
- It is also essential to verify that both the Design Space software and the machine firmware are up to date with the latest versions. Outdated software may impact the machine’s performance.
- Check the mat’s stickiness. If the mat is not sticky enough, the material may shift during cutting, resulting in poor cuts. Change the mat if needed.
The Complete Process to Calibrate Cricut Maker
Calibrating your Cricut Maker machine ensures your cuts align perfectly with your designs. This is particularly beneficial when using a knife blade, rotary blade, or print-and-cut feature.
Here are all the “how to calibrate Cricut Maker” steps you should know about:
Step 1: Open the Design Space software.

Step 2: Click on the three-line icon.
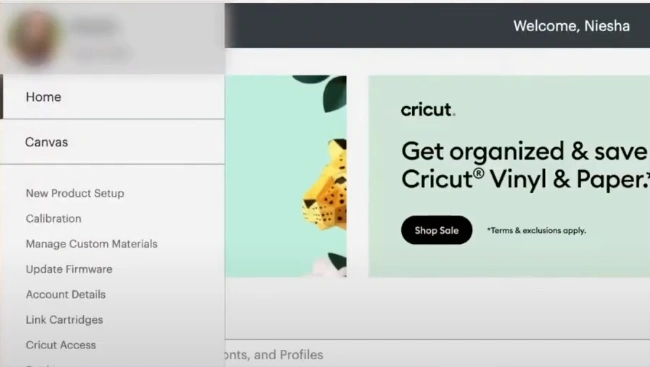
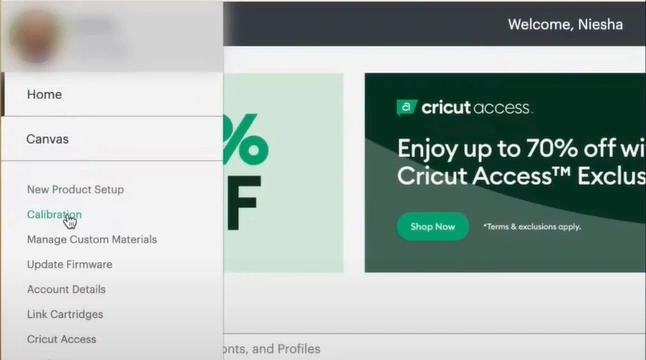
Step 3: Click on Calibration.
Step 4: Click on Print Then Cut.
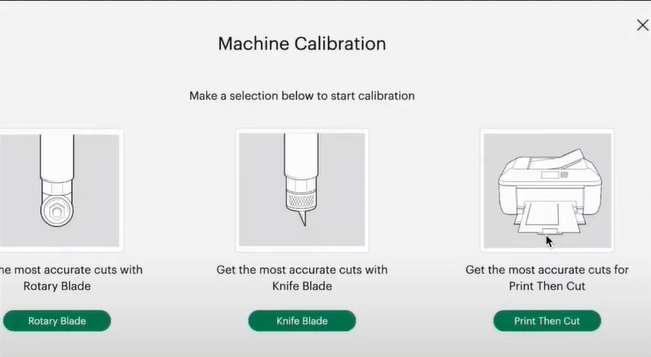
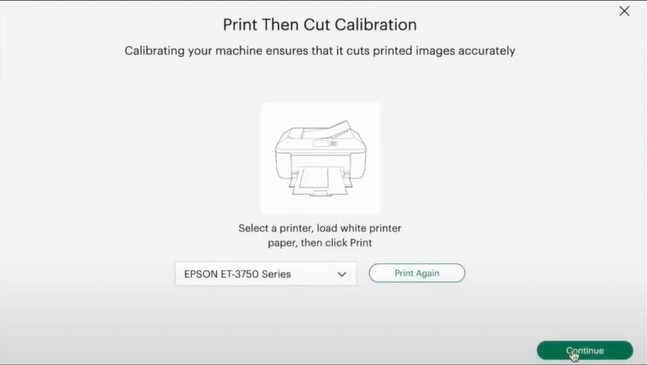
Step 5: Select your printer.
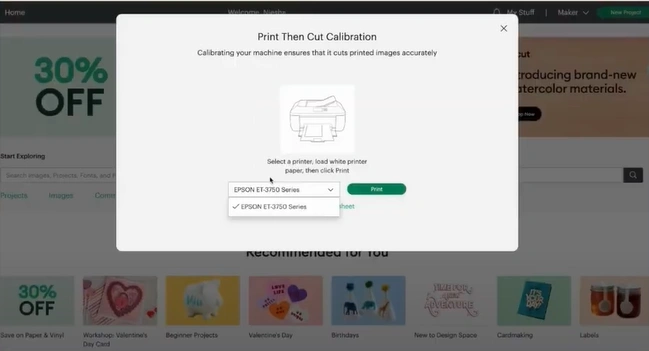
Step 6: Click on Print.
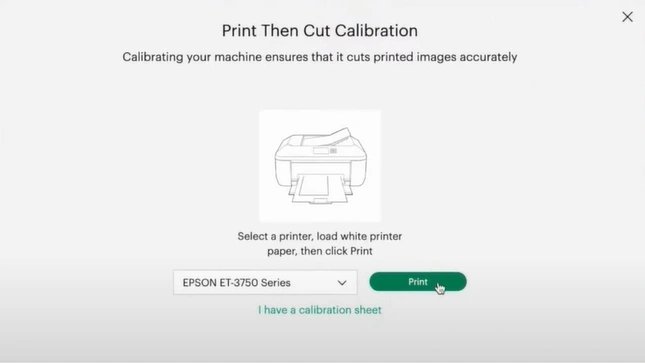
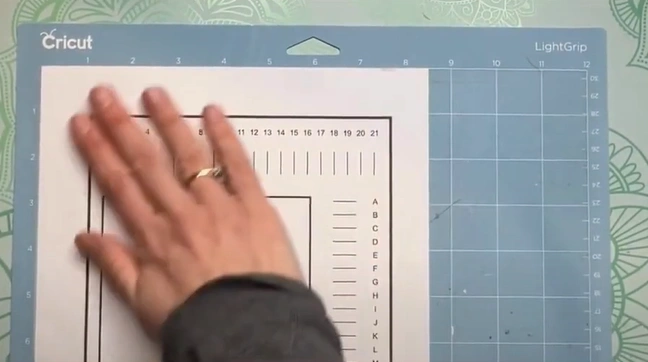
Step 7: Receive the calibration print.
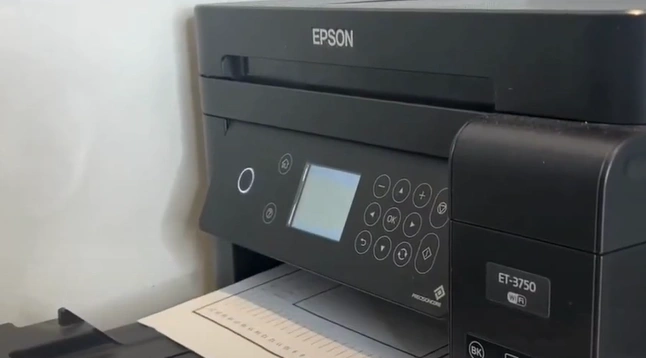
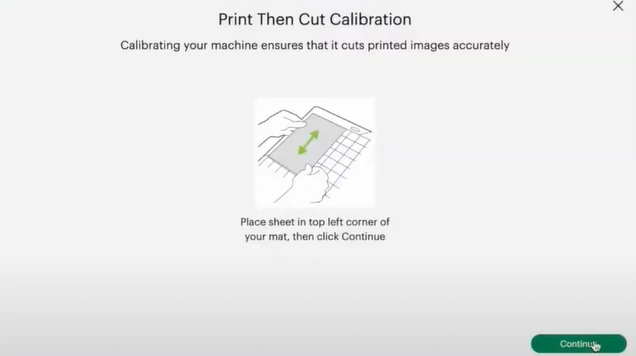
Step 8: Return to the Design Space app and click Continue.
Step 9: Insert your print over the cutting mat.
Step 10: Click on Continue.
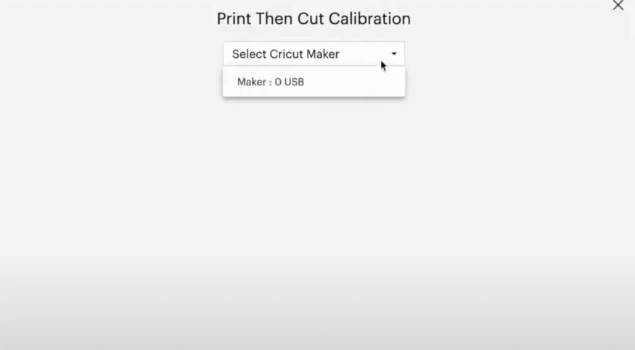
Step 11: Select your machine.
Step 12: Load the cutting mat.
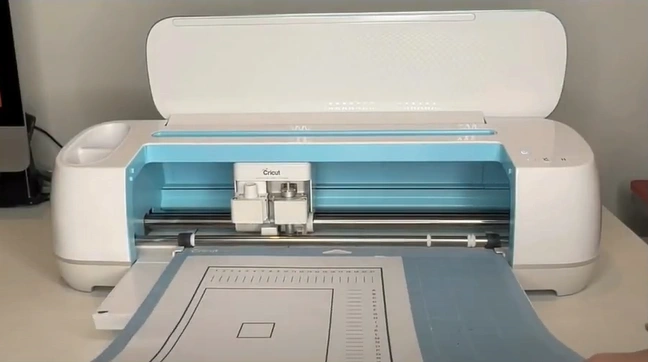
Step 13: Press the Load button.
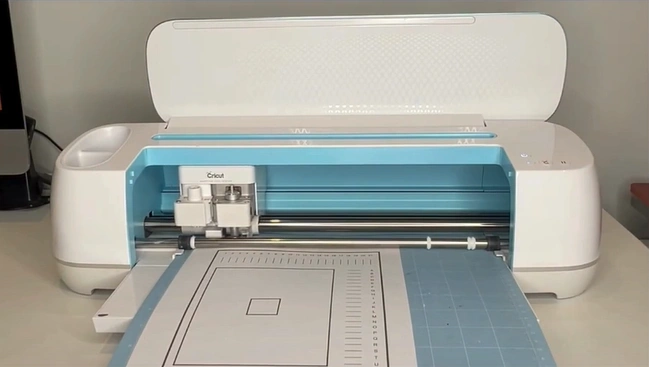
Step 14: Press the Cut button
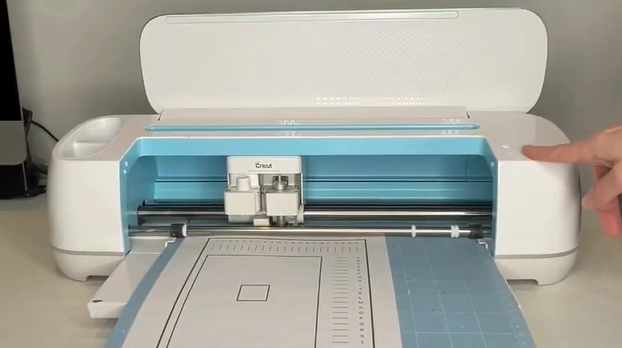
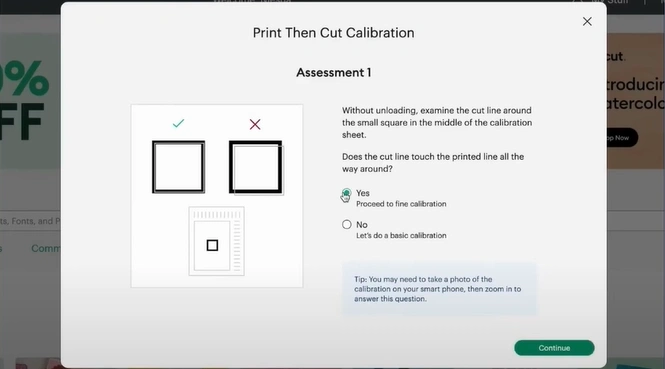
Step 15: Check the Assessment 1 report.
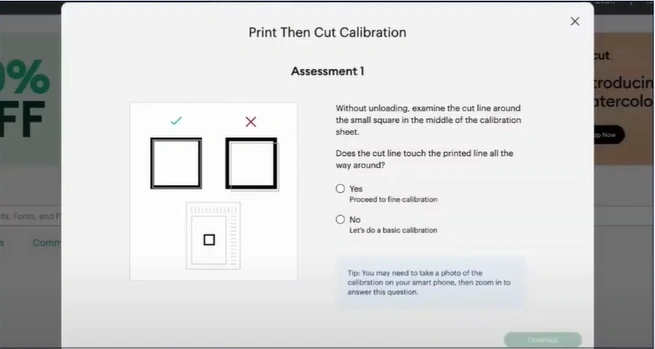
Step 16: Select ‘Yes’ or ‘No’ and click ‘Continue.’
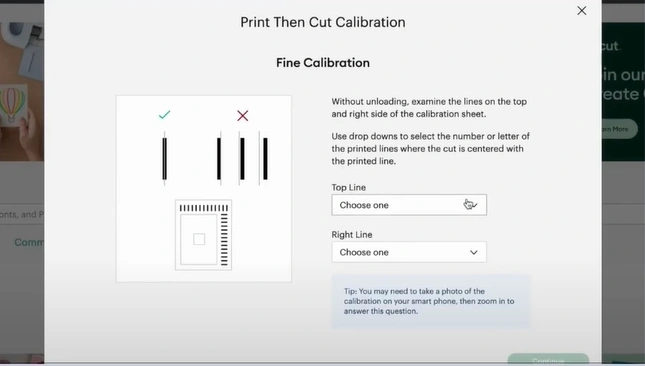
Step 17: After Fine Calibration, select the top line and the right line, then click on Continue.
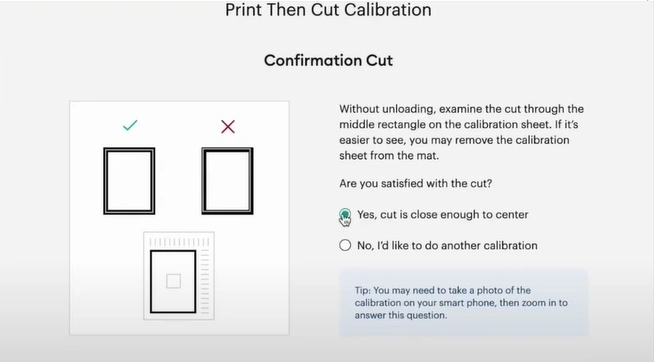
Step 18: In the Confirmation Cut window, choose if you’re satisfied or not, then click on Continue.
Also Read:- How to Calibrate Cricut Maker 3?
Bottom Line
Avoid wasting time and materials due to misaligned or off-centered cuts. Adhere to all the “how to calibrate Cricut Maker” steps mentioned and get through with correct calibration. Before getting started, check your blade and the material you are using.
Sometimes, the Cricut Maker may require adjustments, but this is nothing to worry about. A quick calibration can get your machine back on track. I hope you won’t face cut alignment problems in the future.