

Connecting your Silhouette Cameo 3 to a computer is the first important step for all your DIY projects. Once the connection is properly established, your machine will run smoothly, and you can access all its features. Many beginners may not know how to connect the Silhouette Cameo 3 to a computer.
To connect your brand-new Silhouette Cameo 3, there are certain steps you need to follow. We have explained each of them here, but before we present the connection steps, we’d like to share some important things to help you prepare.
Preparations Before Connecting Silhouette Cameo 3 to a Computer
Here are a few key considerations to keep in mind when you start connecting your Silhouette Cameo 3 to a computer:
Place Cameo 3 on a Flat Surface
Place the Cameo 3 on a flat, stable surface with enough space in front and back for the cutting mat to move freely. Also, ensure that your workspace is accessible to a power outlet and is close to your computer.
Check Power Connection
Inspect the power adapter and cord for any loose connections or damage. After that, plug the adapter into the machine and then into a functional power outlet. Once done, press the power button on the machine; the touch screen should light up.
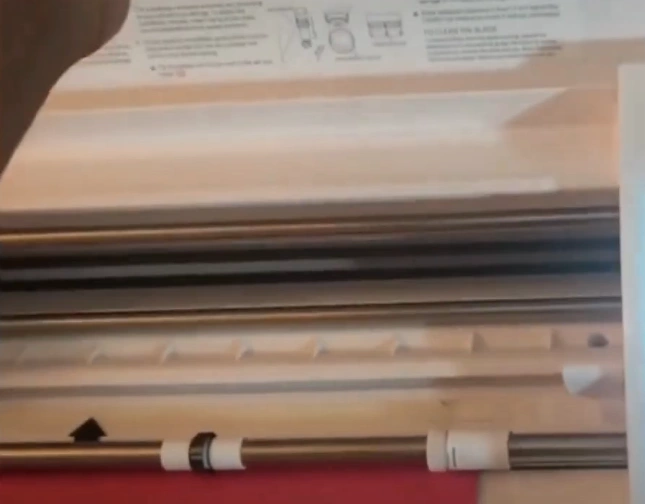
Insert Blade
Insert the AutoBlade or manual blade into the left tool holder and secure it properly. A loose or misaligned blade can prevent accurate cutting.
Install Silhouette Studio
Visit the official Silhouette website: silhouetteamerica.com and download Silhouette Studio for your operating system. Register for a free Silhouette account if you don’t have one.
Update Firmware
Don’t skip the important step of updating the firmware. Once you have installed the Silhouette Studio software, check for firmware updates. This will ensure compatibility and provide access to advanced features.
Steps to Connect Silhouette Cameo 3 to a Computer
Connecting Silhouette Cameo 3 to a computer is a hassle-free process. These are the basic steps to connect the cutting machine to a computer:
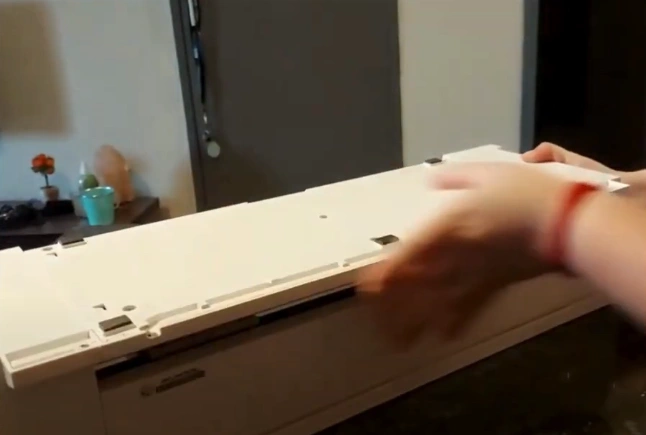
1. Turn your Silhouette Cameo 3 upside down to access the bottom panel.
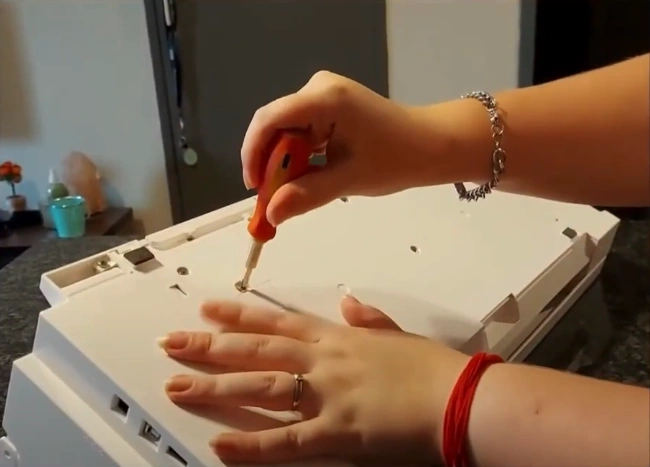
2. Find the Bluetooth compartment and remove its screw using a screwdriver.
3. Place the Bluetooth adapter into its slot and secure the panel back with the screw.
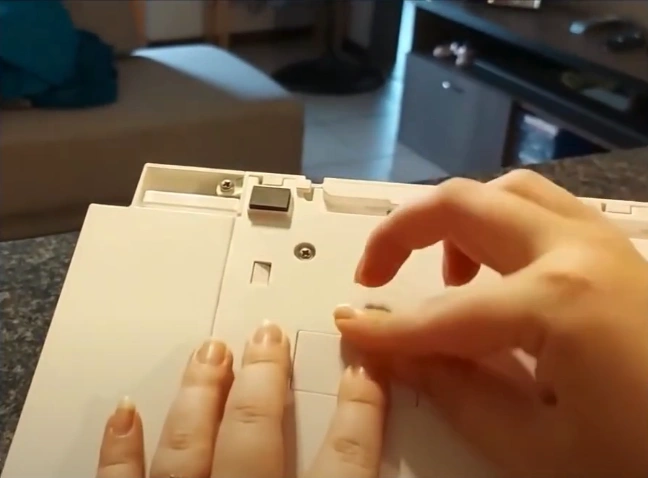
4. Return the machine to its normal upright position after installing the adapter.

5. Make sure the machine is on, then lift the top cover to access the settings.
6. On the Welcome screen, you have to click on the Settings tab at the top of the display.
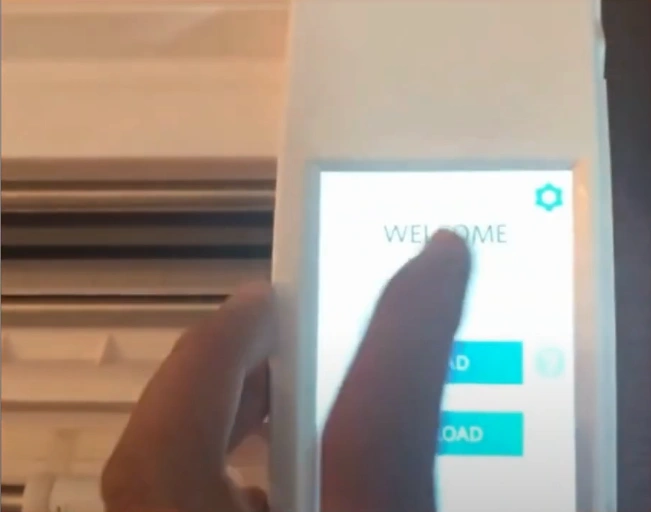
7. Slide down by using the arrow buttons and choose the Bluetooth option.
![]()
8. Press the “ON” button to activate Bluetooth, then tap back to return to the Welcome screen.
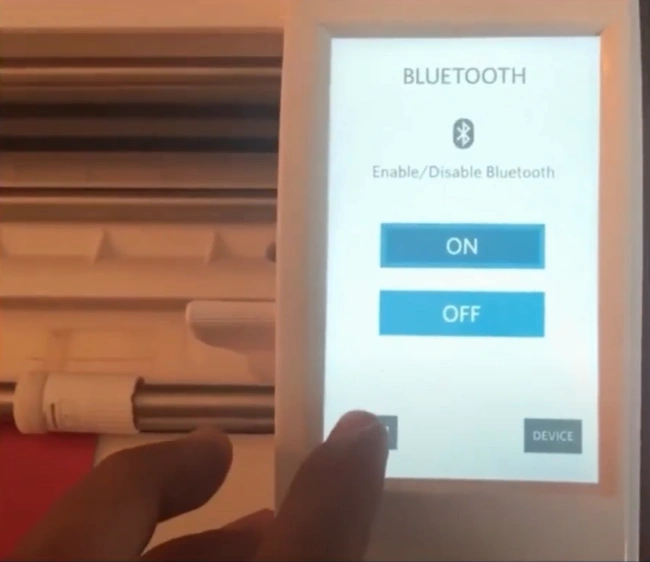
9. Confirm that the Bluetooth icon appears on your screen, showing it is enabled.
![]()
10. On your computer, open the Bluetooth settings.
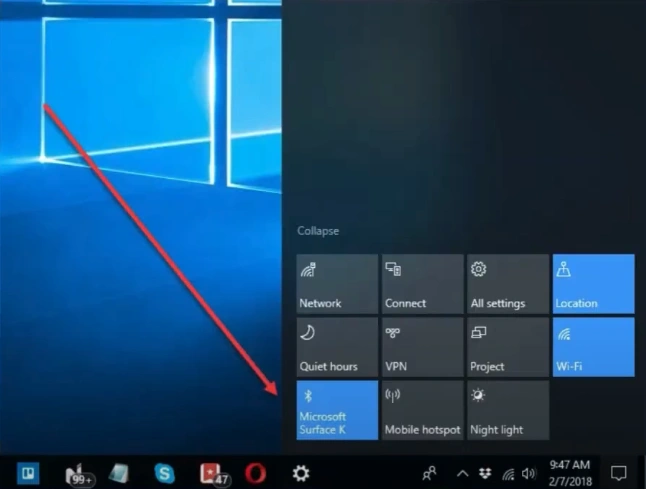
11. Make sure that Bluetooth is enabled, then select “Add a Bluetooth or other device.”
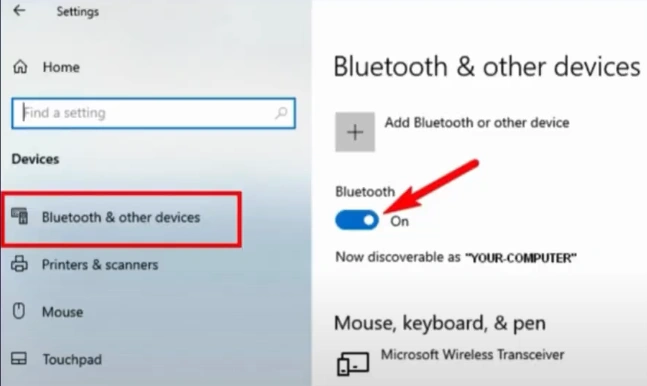
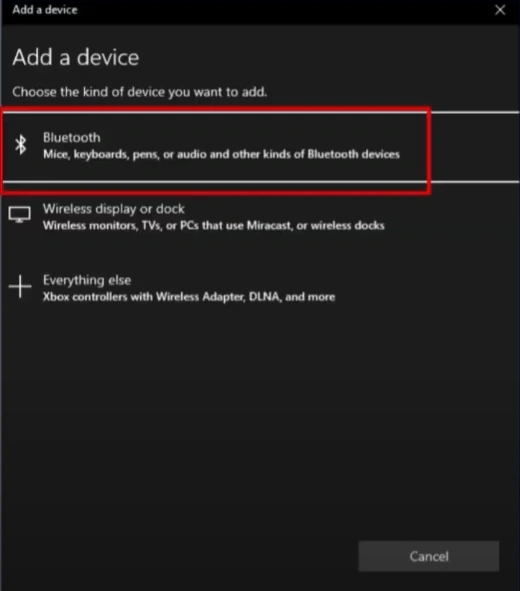
12. Choose Bluetooth and then wait for available devices to appear.
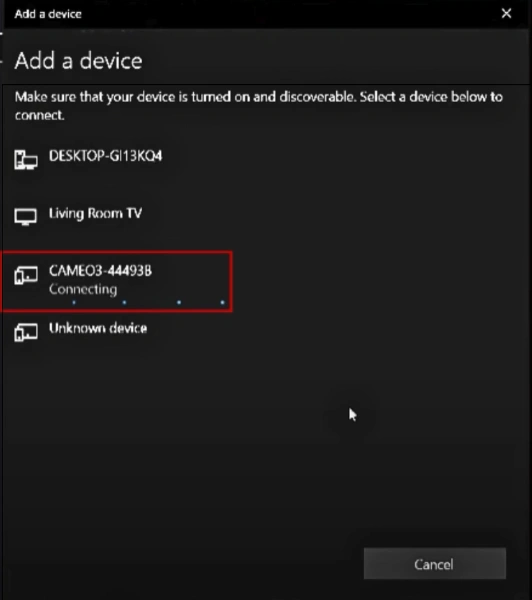
13. Select your machine model name from the list to start pairing.
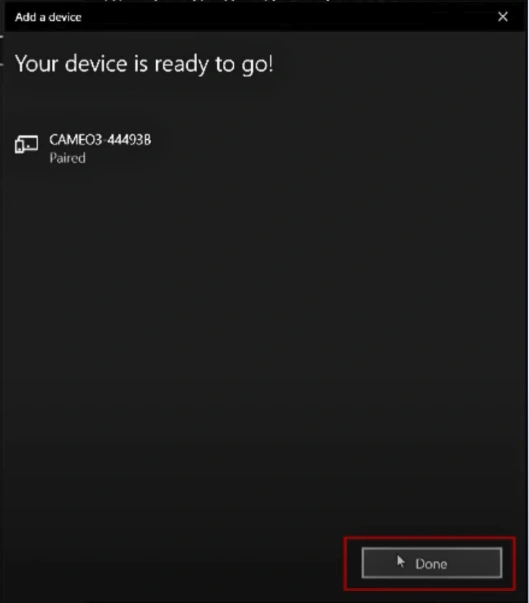
14. Once connected, click “Done” to confirm the setup.
15. Open the Silhouette Studio app on your PC and navigate to the Send panel.

16. Click the machine icon at the bottom of your screen and choose your machine model to connect.
![]()
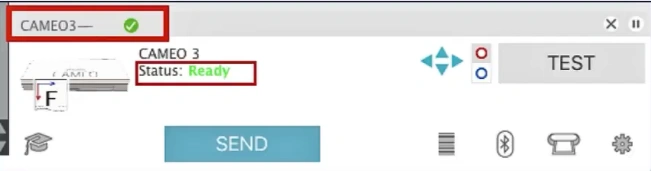
17. After a successful connection, the display should show “Ready.”
To Conclude
See how simple it is to connect Silhouette Cameo 3 to computer. Follow the steps above to ensure your cutting machine works smoothly, and you can also access many special features once your Cameo 3 is properly connected. Just follow the method we have explained and get ready to craft with confidence and ease.


