

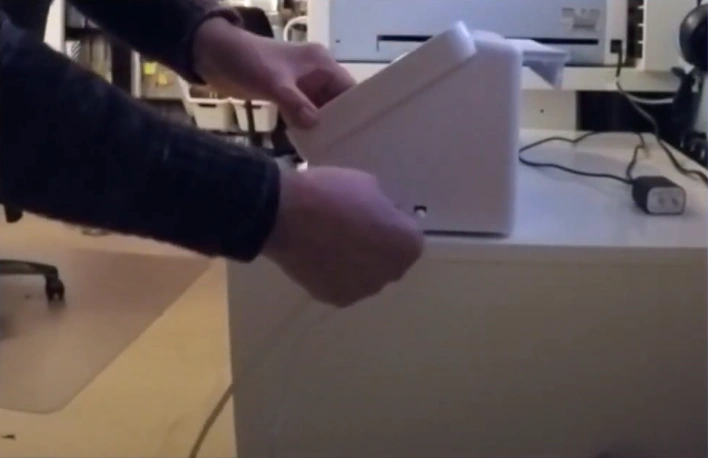
The all-new Silhouette Cameo finally arrived at your doorstep. The moment you unwrapped the machine, you felt excited to know that soon your imagination would turn into reality. In your mind, you are already creating images of those custom t-shirts, vinyl decals, and whatnot.
But before you can start your first project, there’s an important step to take: connecting the Silhouette Cameo to your computer. This is not particularly difficult, but it’s essential to be aware of the correct method. We have mentioned the right way to connect the crafting machine to any computer (Windows or Mac). So, first, let’s look at the key things to keep in mind before you start connecting your Silhouette Cameo.
Preparations Before Connecting Silhouette Cameo to a Computer
Whatever Silhouette Cameo model you have (Cameo 3, Cameo 4, etc.), you must know the following things before you can start the connection process:
Connection Method
Before you get started, you must know the connection method to link your machine to a PC. That depends on the Silhouette model you own. One of the most reliable methods is connecting via a USB cable. However, if you have Cameo 3 and Cameo 4 models, you can opt for the Bluetooth connection.
Install Silhouette Studio
Installing the Silhouette Studio software (the official software needed to operate the Cameo machine) is a crucial step. Go to the official website and download the latest version of Silhouette Studio. After that, select your operating system. Once the installation is complete, launch the software and sign in. If you don’t have a Silhouette account, then you must create one.
Check Power Supply and Firmware Updates
Verify that your machine is connected properly to a working power source and is turned on. After that, check for any available firmware updates through the Silhouette Studio software or by visiting the firmware update page. The latest firmware updates can help your machine function smoothly and stay compatible with the newest software features.
Permissions and Security Settings
Once you’ve installed the software, open Silhouette Studio and turn on the machine. Allow Silhouette Studio to access USB and Bluetooth. Sometimes, antivirus software or a firewall on your PC may restrict certain devices or applications. If that happens, it may interrupt the installation or detection. Therefore, you must temporarily disable your antivirus or firewall.
Common Issues You May Face When Connecting
Here are a few challenges that users may face when trying to connect their Silhouette Cameo to a computer:
- Outdated firmware
- Bluetooth connectivity issues
- The driver or software was not installed correctly
- Incompatible operating system
- Cable or power issues
Steps to Connect Silhouette Cameo to a Computer (Windows/Mac)
Check out the following methods to connect your Silhouette Cameo to a computer, both on Windows and Mac:
For Windows
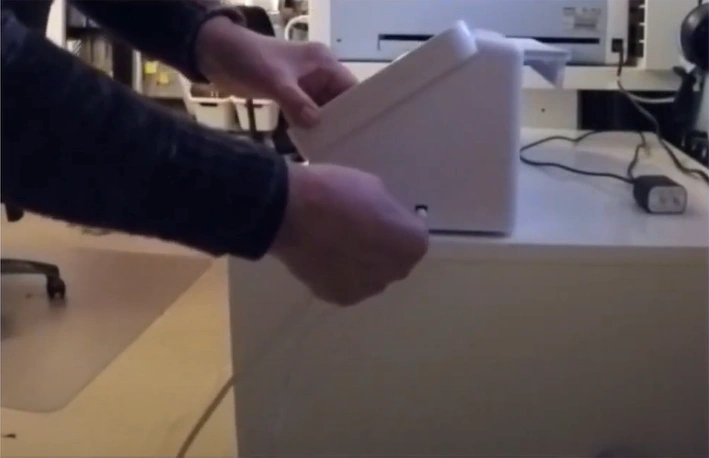
Step 1: Connect the machine to power using the power cord and attach the USB cable, then turn the machine on.
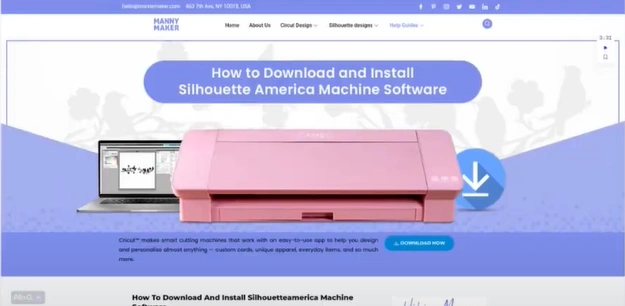
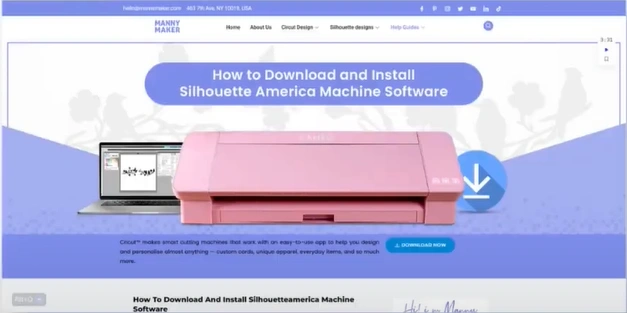
Step 2: Go to a web browser on your PC and visit https://mannymaker.com/how-to-download-and-install-silhouette-america-machine-software/. From there, download and install the driver and set it up, if you haven’t already done it, to ensure your Silhouette Cameo connects smoothly.
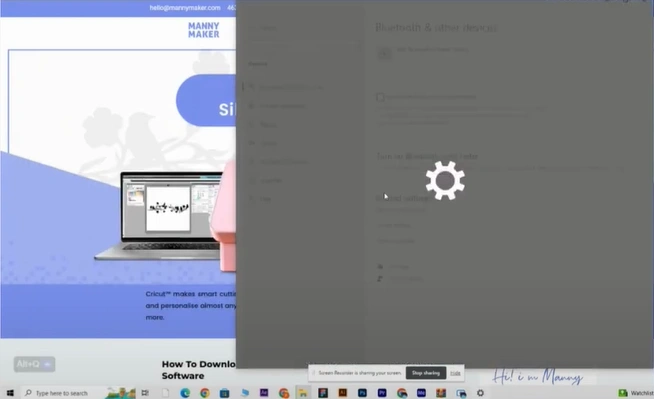
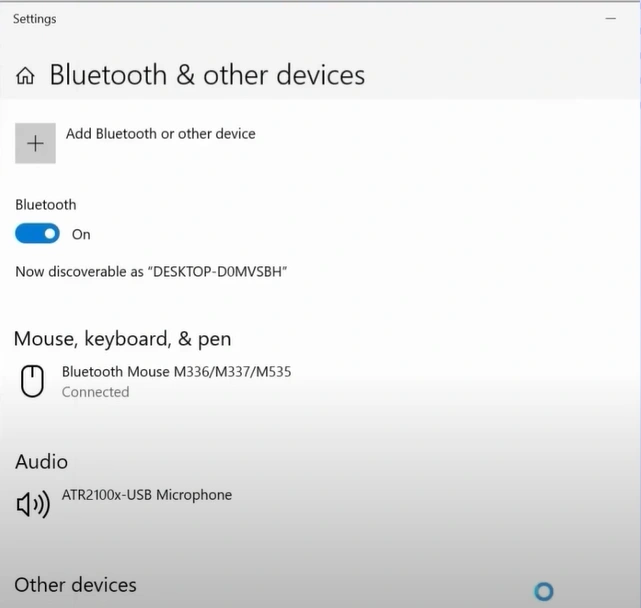
Step 3: Click the Start button, and in the search bar type “Bluetooth.” Next, open Bluetooth & Other devices.
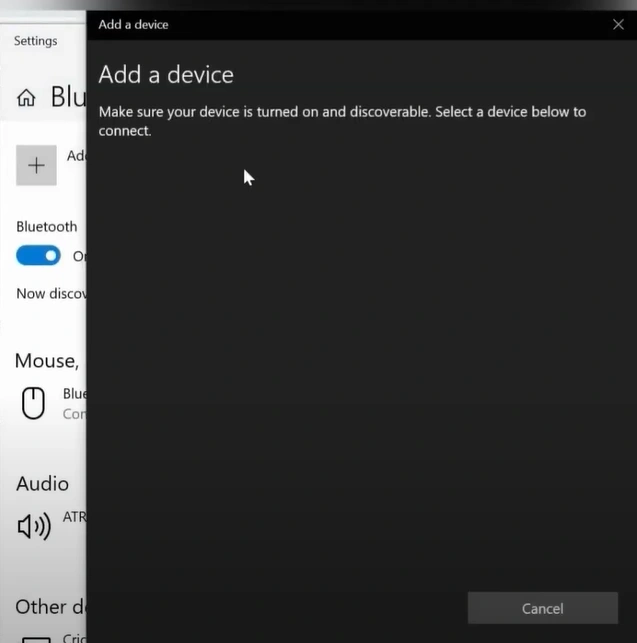
Step 4: Ensure that your Bluetooth is enabled.
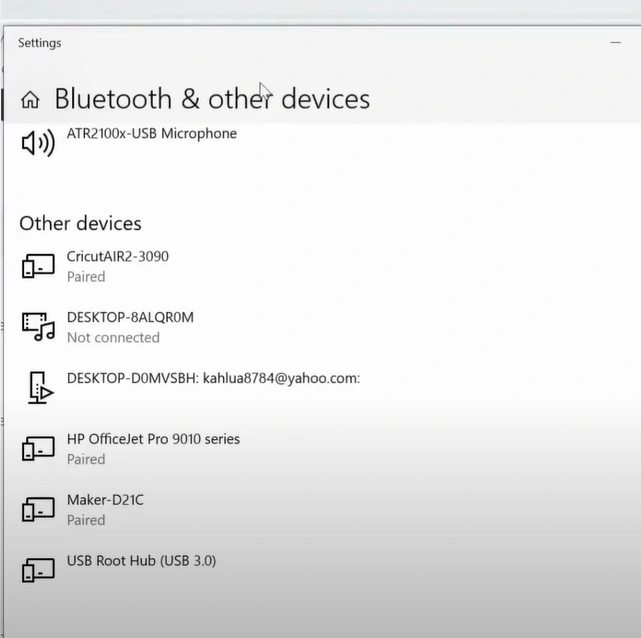
Step 5: Click on Add Bluetooth or other device, and select Bluetooth in the Add a Device window.
Step 6: Now, tap the Bluetooth icon on your machine to activate Bluetooth, which will turn blue.
![]()
Step 7: Once the Bluetooth is activated, your device should appear in the list.
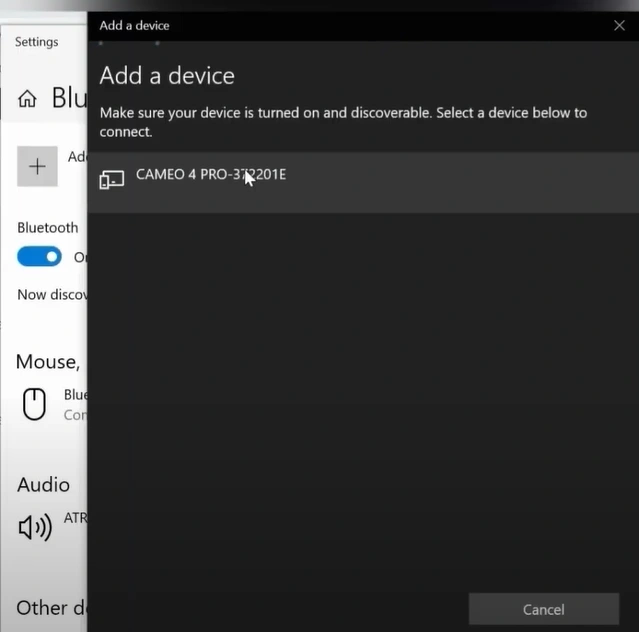
Step 8: Click on your device, and it should start connecting.
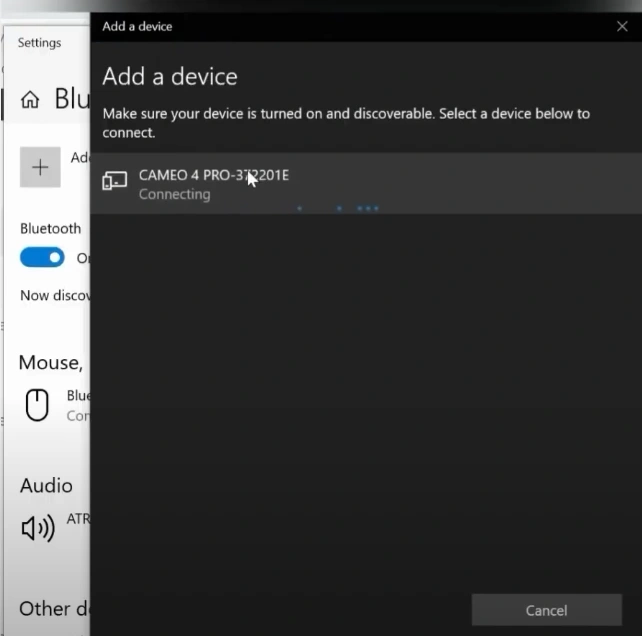
Step 9: Once the connection is established, it’ll say Your device is ready to go! Click on Done.
For Mac
Step 1: Plug the power cord and USB cable into your crafting machine, and make sure it is powered on.
Step 2: On your Mac, open a browser and go to https://mannymaker.com/how-to-download-and-insta ll-silhouette-america-machine-software/ to download and install the driver.
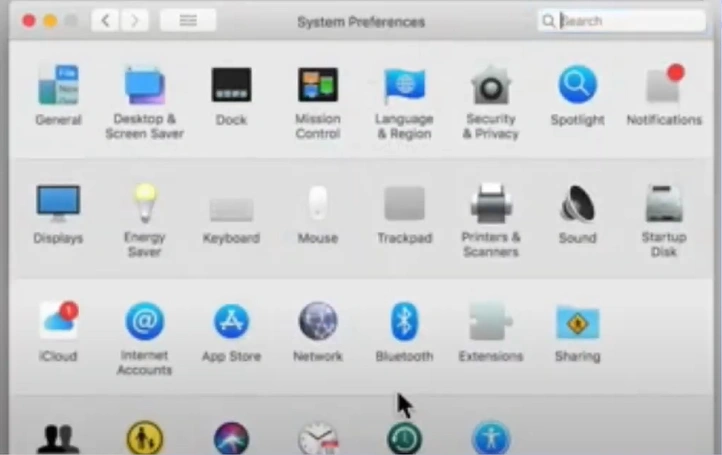
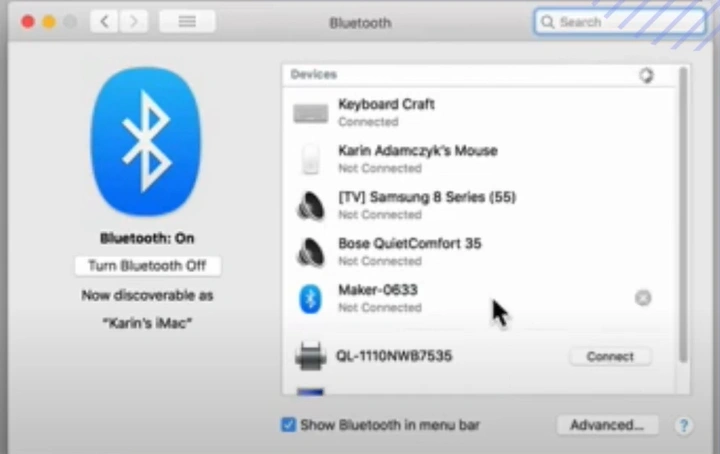
Step 3: Open System Preferences on your Mac and navigate to the Bluetooth section.
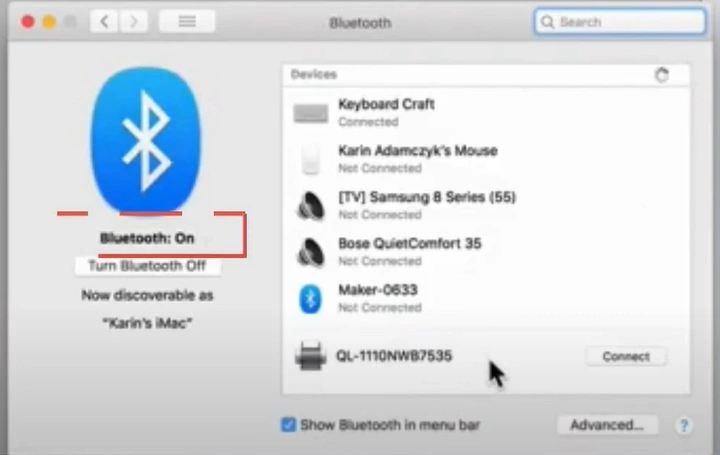
Step 4: Ensure Bluetooth is enabled and wait until it locates the device.
Step 5: On the machine, press the Bluetooth icon to switch it on if it isn’t activated yet.
![]()
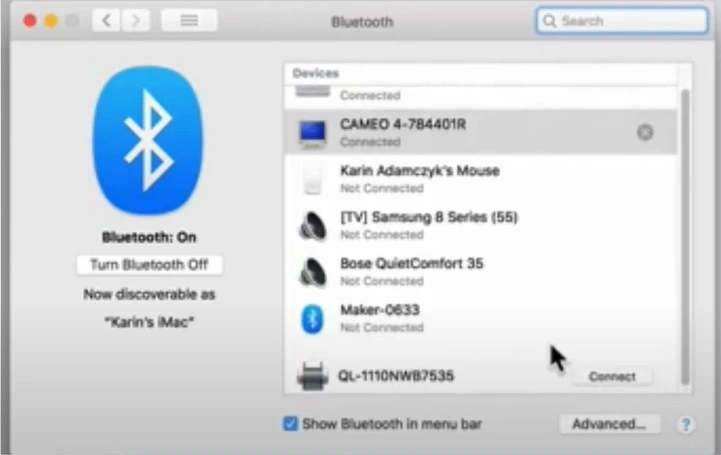
Step 6: Once the device shows up in the list, select “Connect” beside it.
Step 7: After the connection is complete, the status will show as “Connected.”
Step 8: Your setup is complete, and you can begin your DIY projects.
Wrap Up
This is the correct way to connect Silhouette Cameo to computer, whether you are using Windows or Mac. After completing the connection process, the real fun begins – you can start working on your DIY projects and experimenting with materials like vinyl, cardstock, and more.
Remember to choose the connection method that is suitable for your model. If you have a Cameo 3 or Cameo 4, you may prefer connecting via Bluetooth. Also, make sure to download and install Silhouette Studio first, and turn off any antivirus or firewall that may interfere with the connection process.


