
You may have created a personalized decal for your laptop or a logo for your business. When cutting it with your Silhouette Cameo, the blade may cut too deeply or unevenly, which can be frustrating and leave you wondering how to get better results.
Cutting vinyl with the Silhouette Cameo is easier than cutting other materials. To achieve smooth cuts, you need to understand the vinyl sticker cut settings. We have outlined the right steps to prevent errors or wasted material. Before that, let’s go over some common mistakes to avoid.
Common Mistakes to Avoid in Vinyl Sticker Cuts
Here are a few common mistakes that you must avoid when attempting to do the vinyl sticker cut settings:
- Not calibrating the machine
- Using low-quality vinyl
- Skipping test cuts
- Not adjusting for complex designs
- Working on a dirty or worn-out mat
Steps to Set Up Vinyl Sticker Cut Settings
Stick to the below-mentioned steps to set up the Silhouette Cameo vinyl sticker cut settings correctly:
Import an Image
Step 1: Open the Silhouette Studio software on your computer. If you do not have it, then download it from the Silhouette official website.
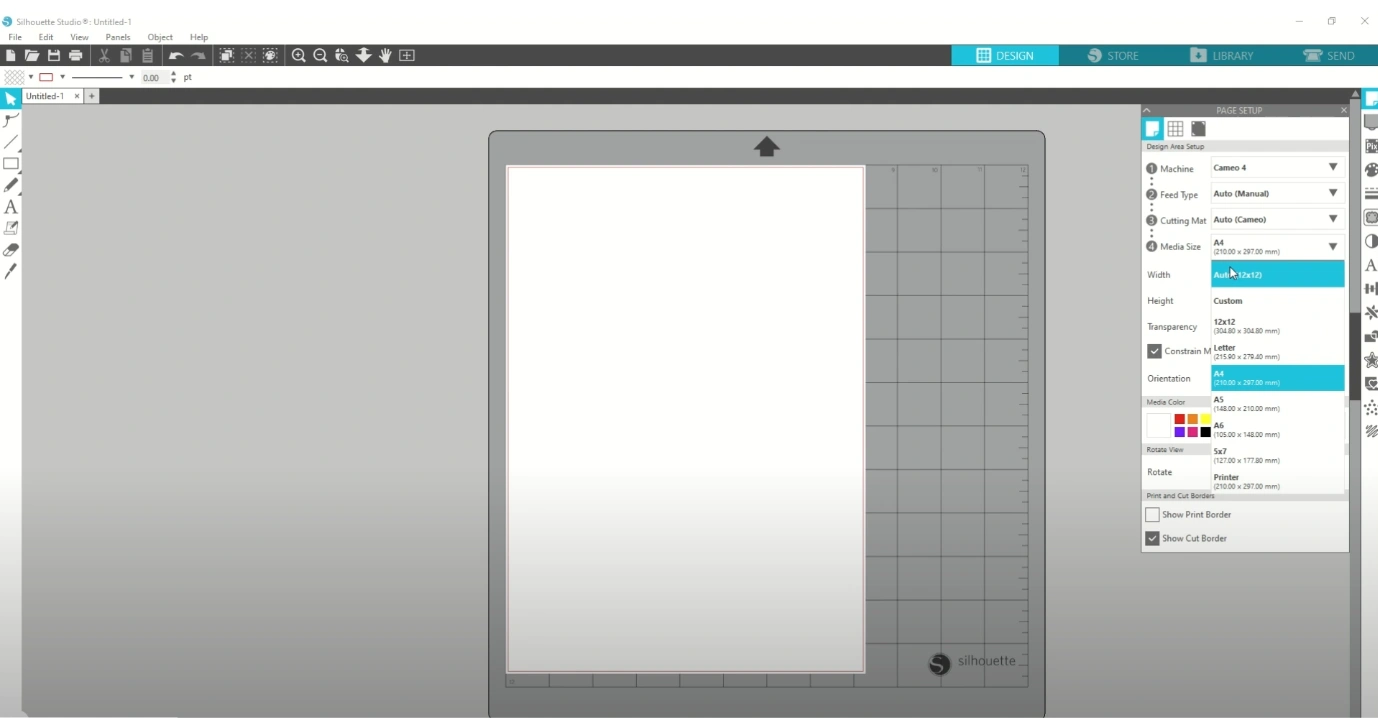
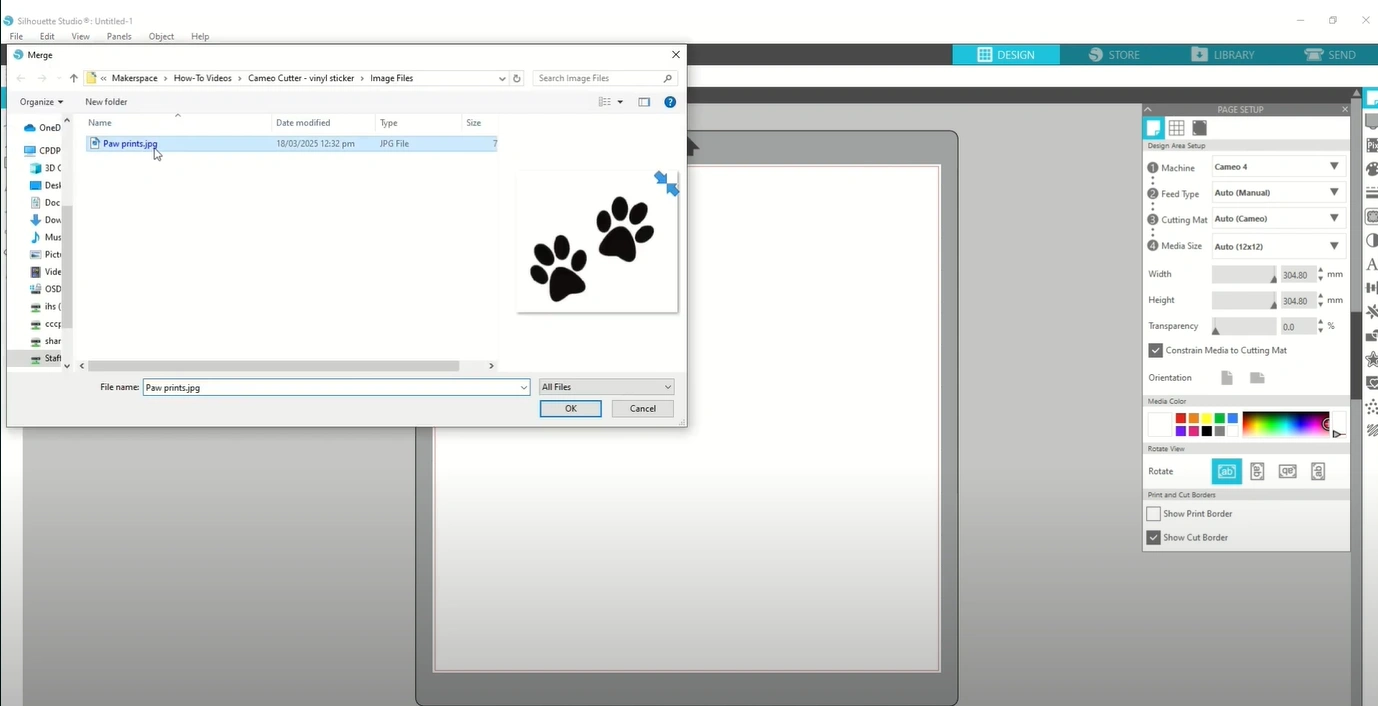
Step 2: Go to File at the top left of the canvas. Click on Merge.

Important Note: Use a standard 12 x 12-inch mat.
Step 3: Next, locate your file and then click the OK button.
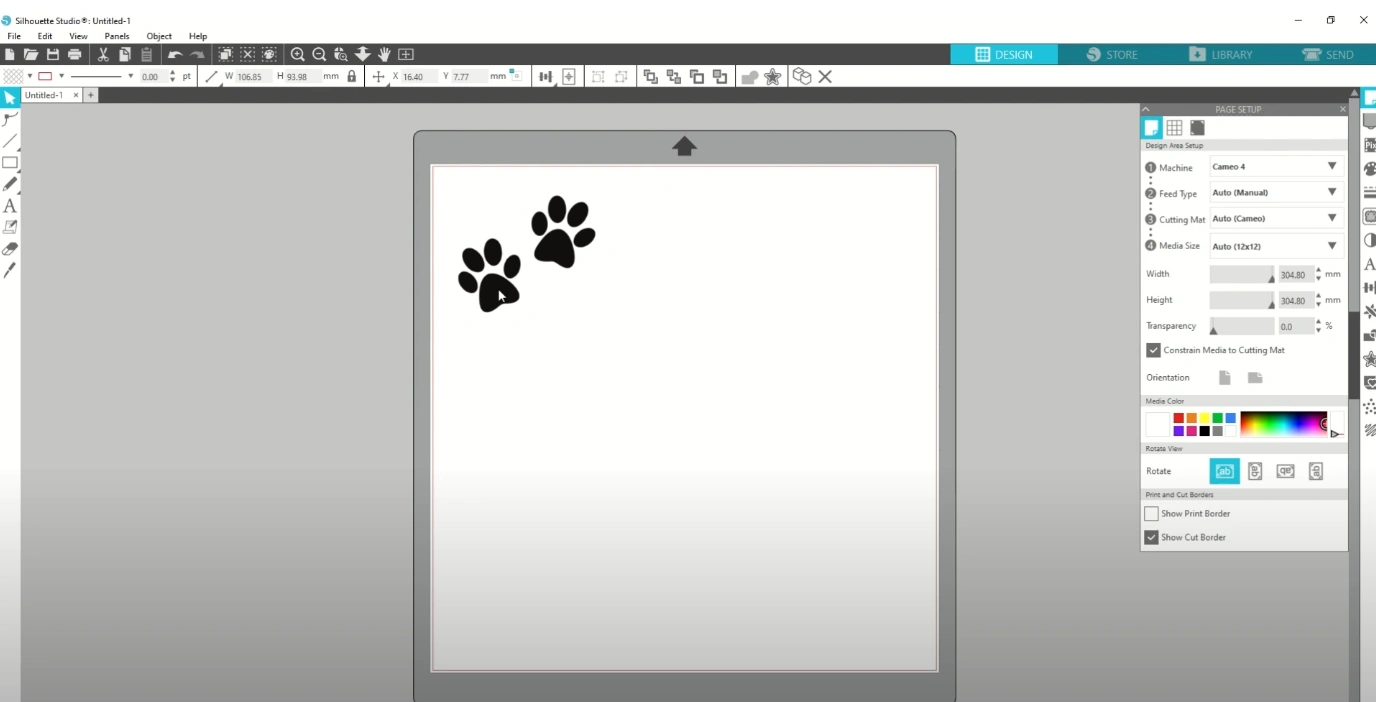
Step 4: For your sticker, trace around the edges of the image.
Tracing an Image
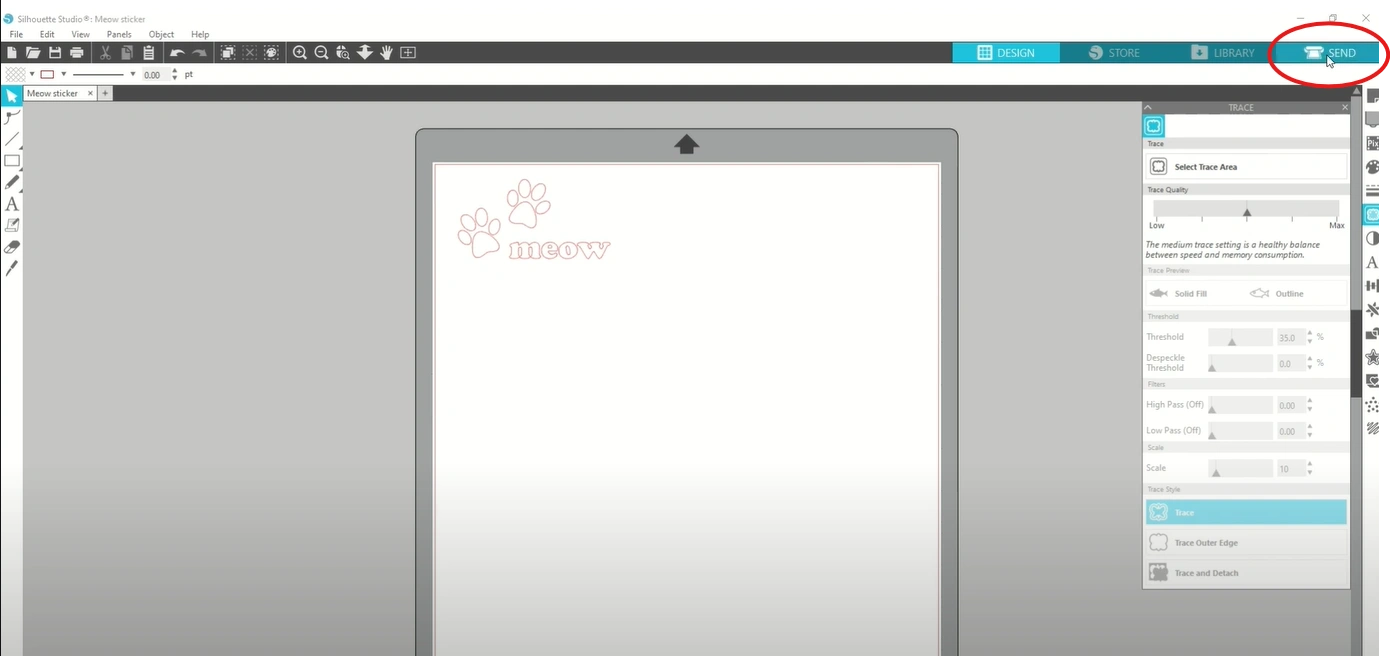
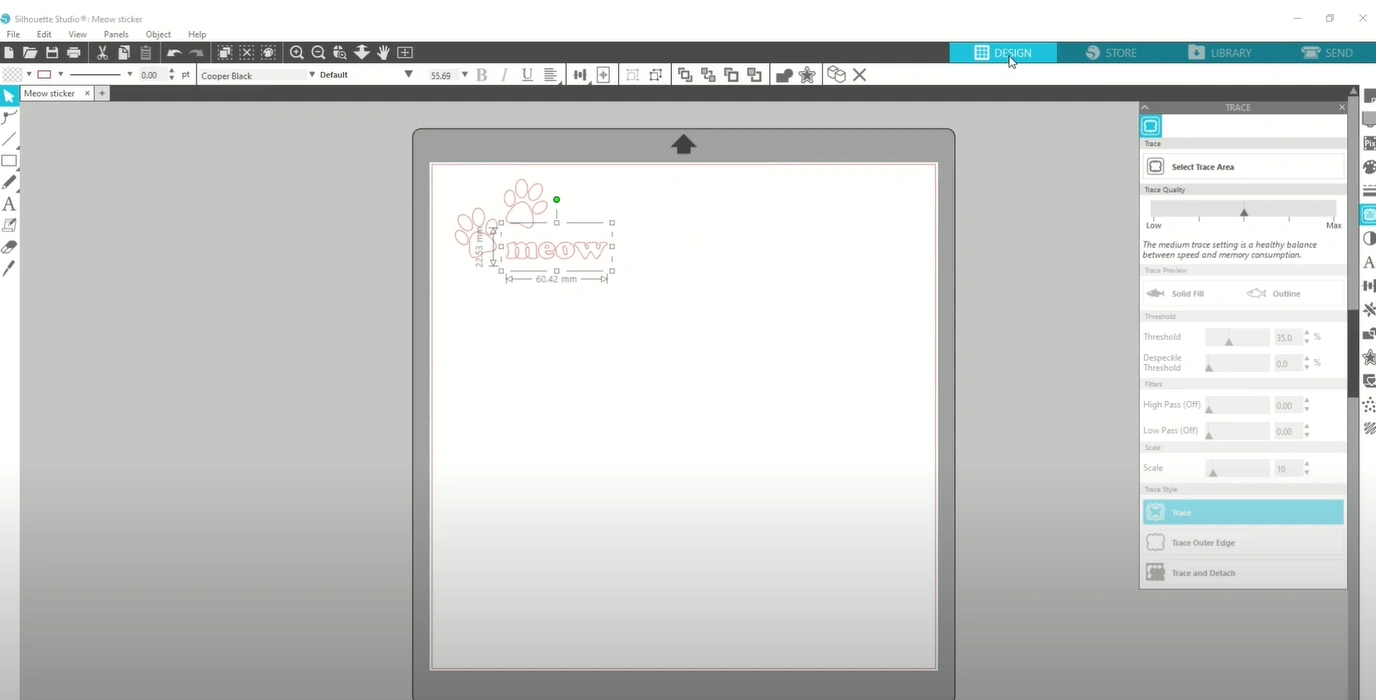
Step 1: On the right-hand toolbar, click the trace panel (represented by a butterfly icon).
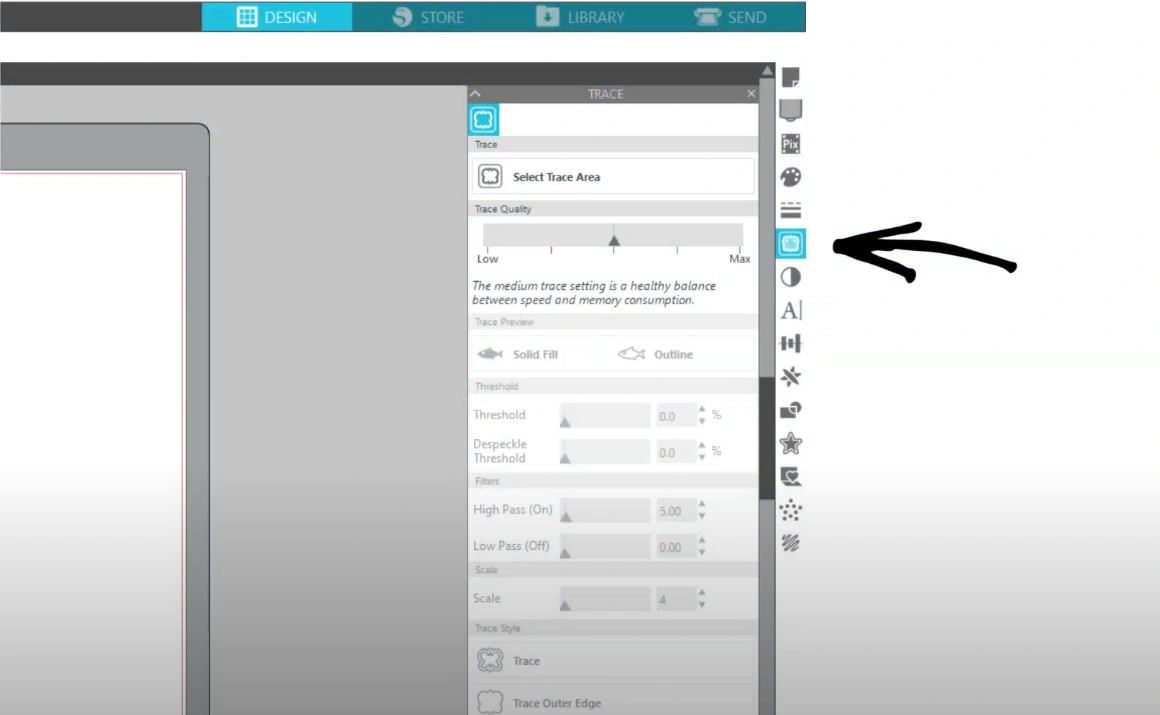
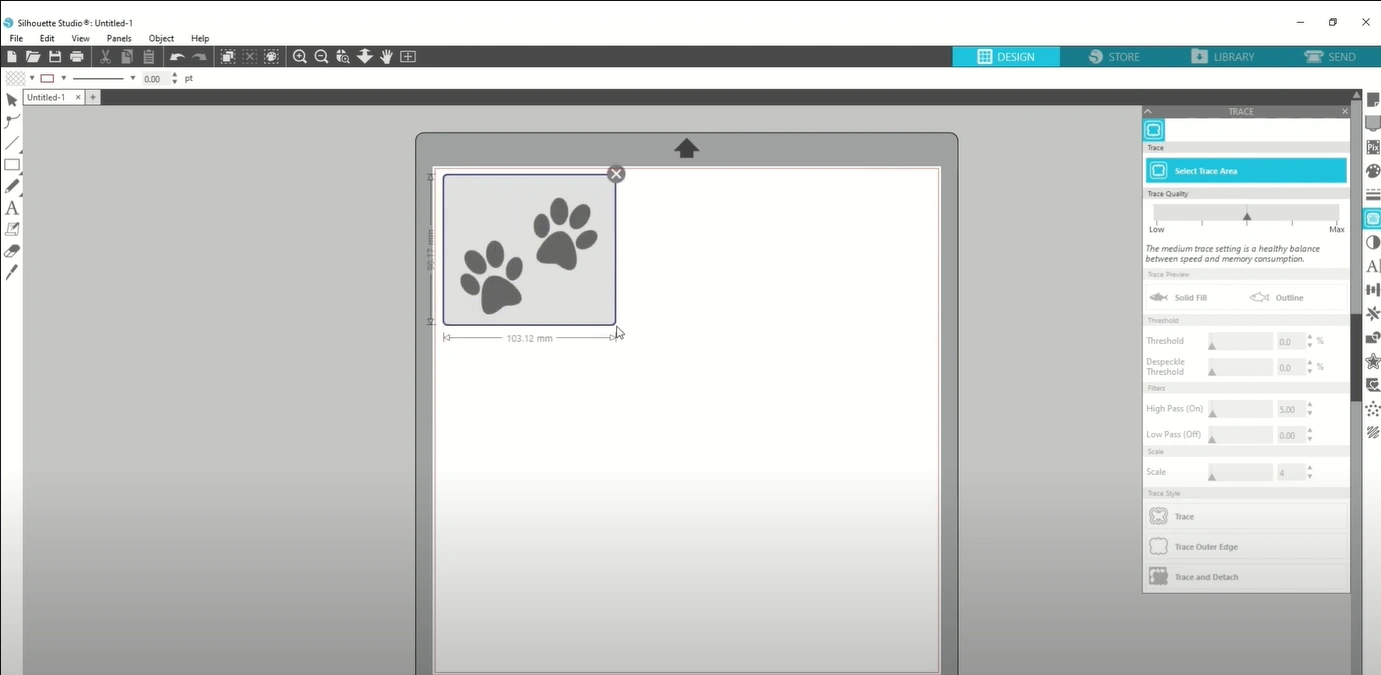
Step 2: After that, click on Select Trace Area.

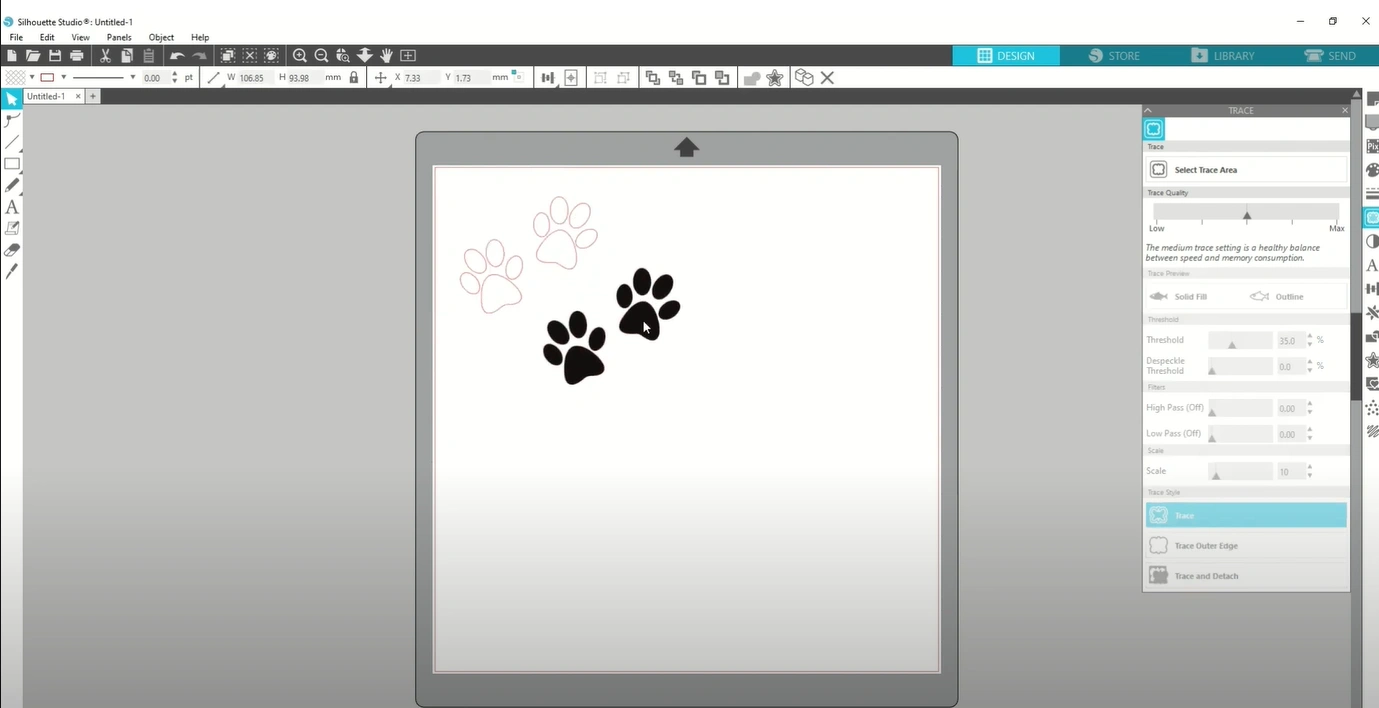
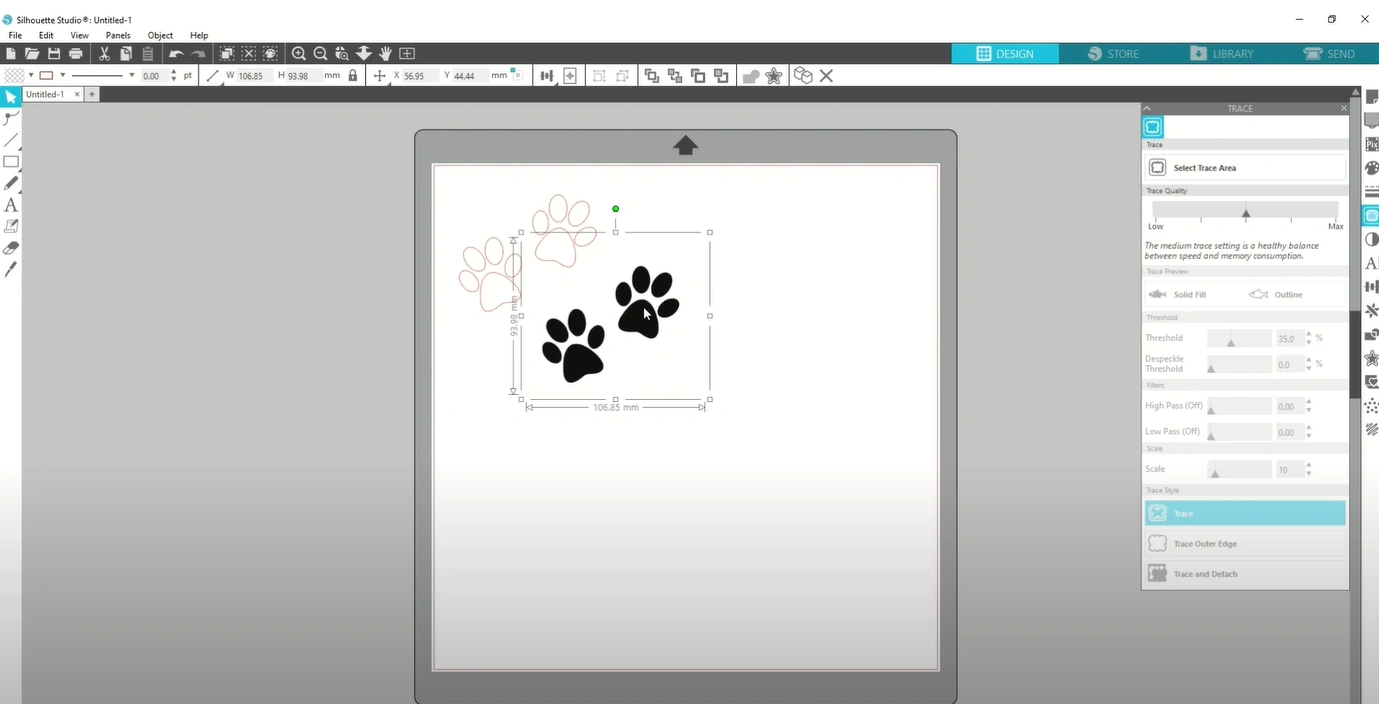
Step 3: Click and drag a box around the image you brought onto the canvas.
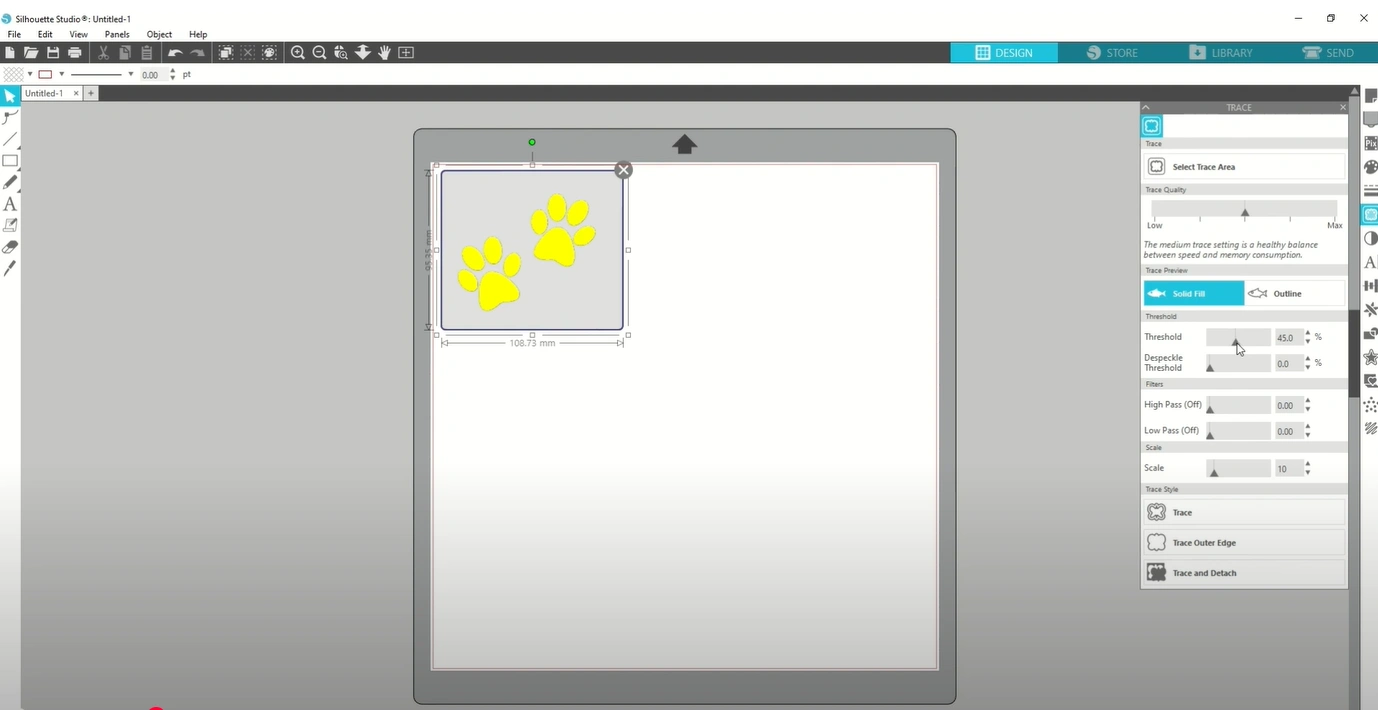
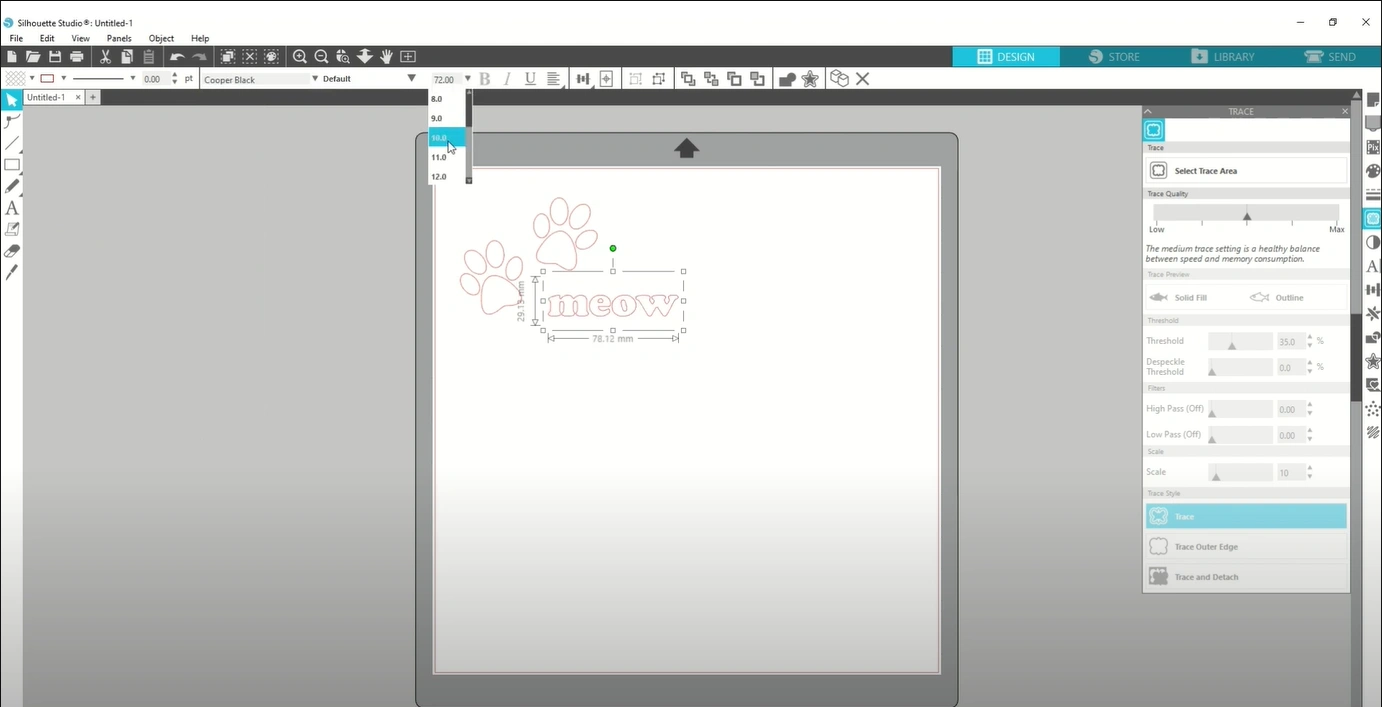
Step 4: Adjust the Threshold to smooth out the line.
Step 5: Go down and click “Trace.”
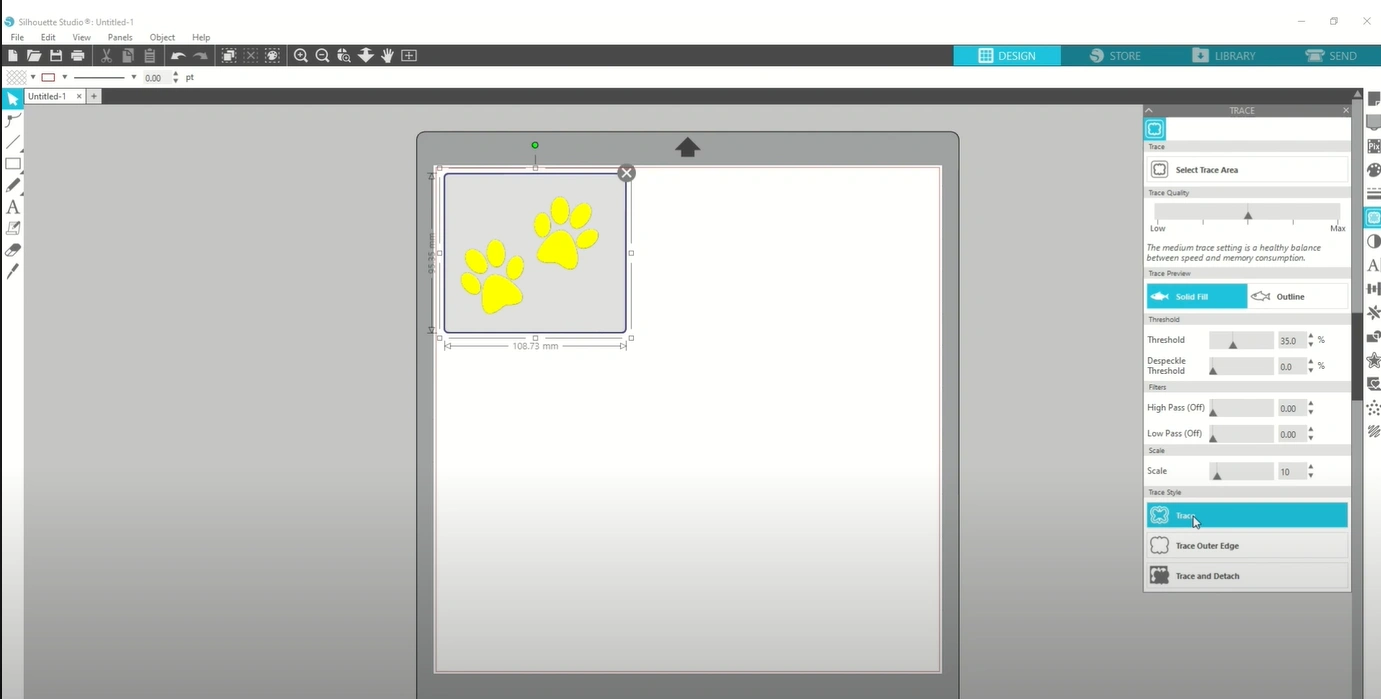
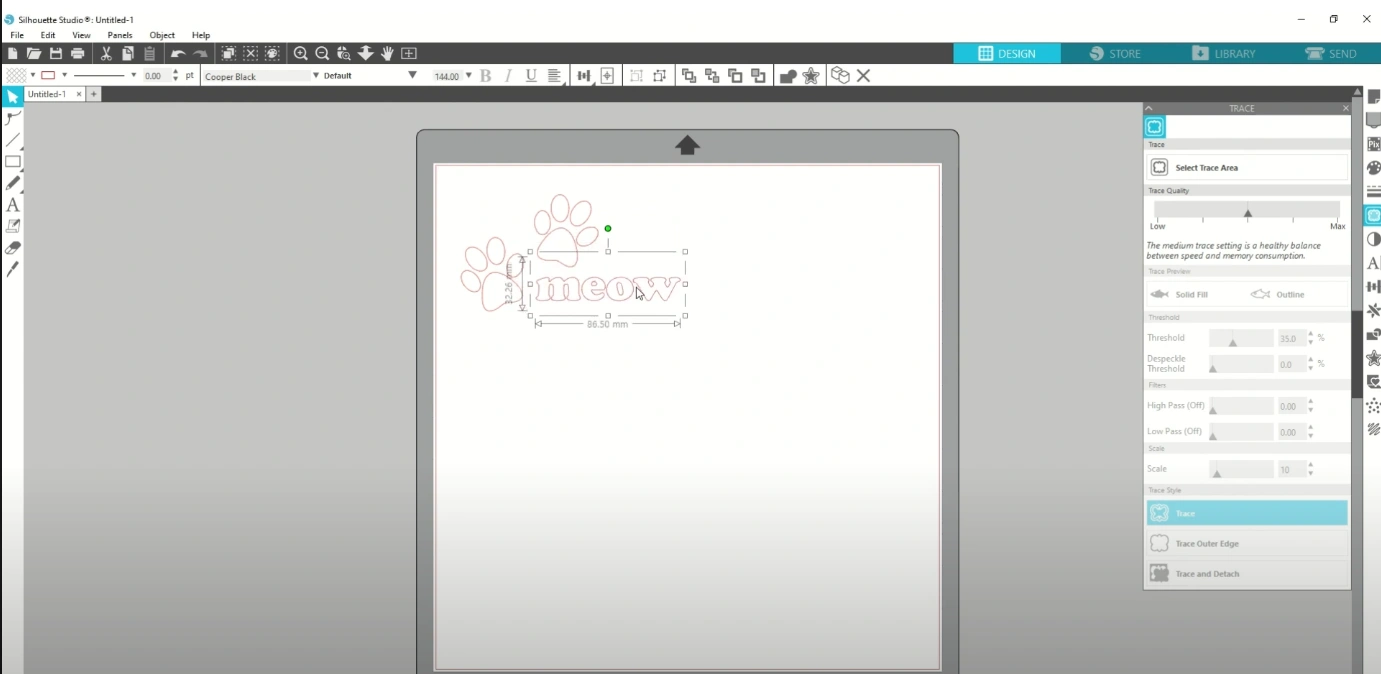
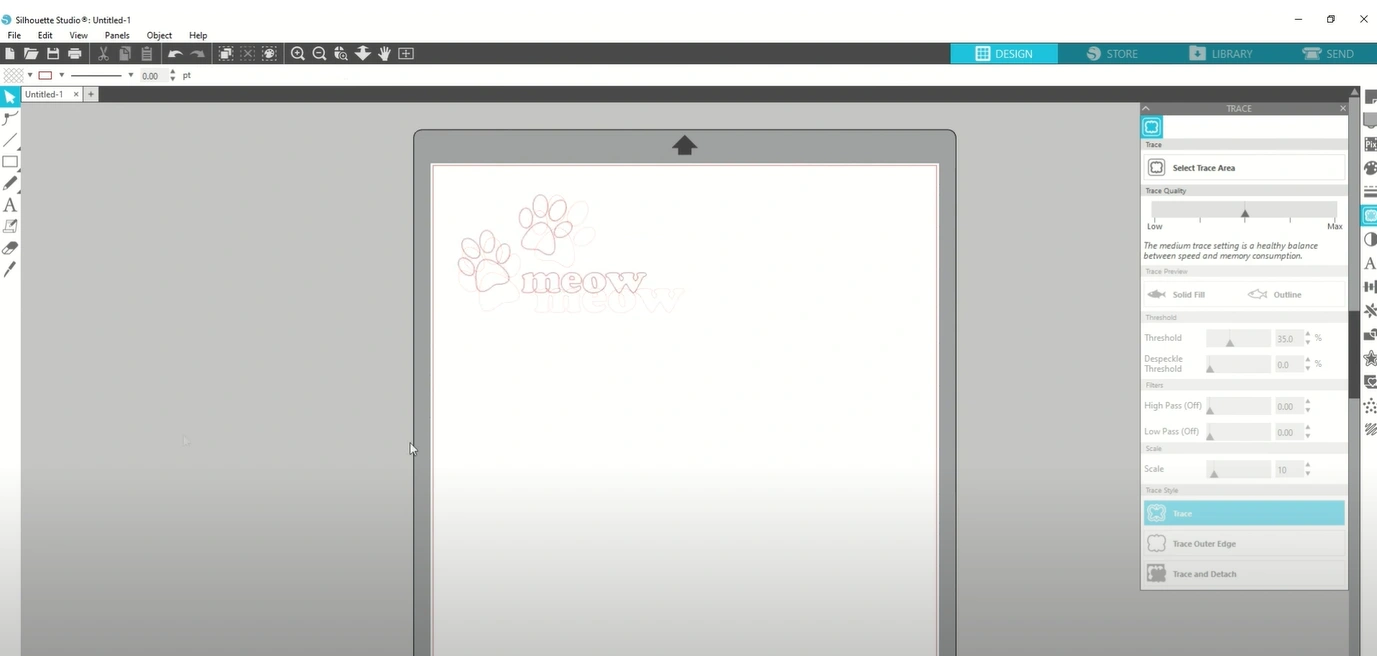
Step 6: Drag the image out of the way, and you will be left with a red outline.
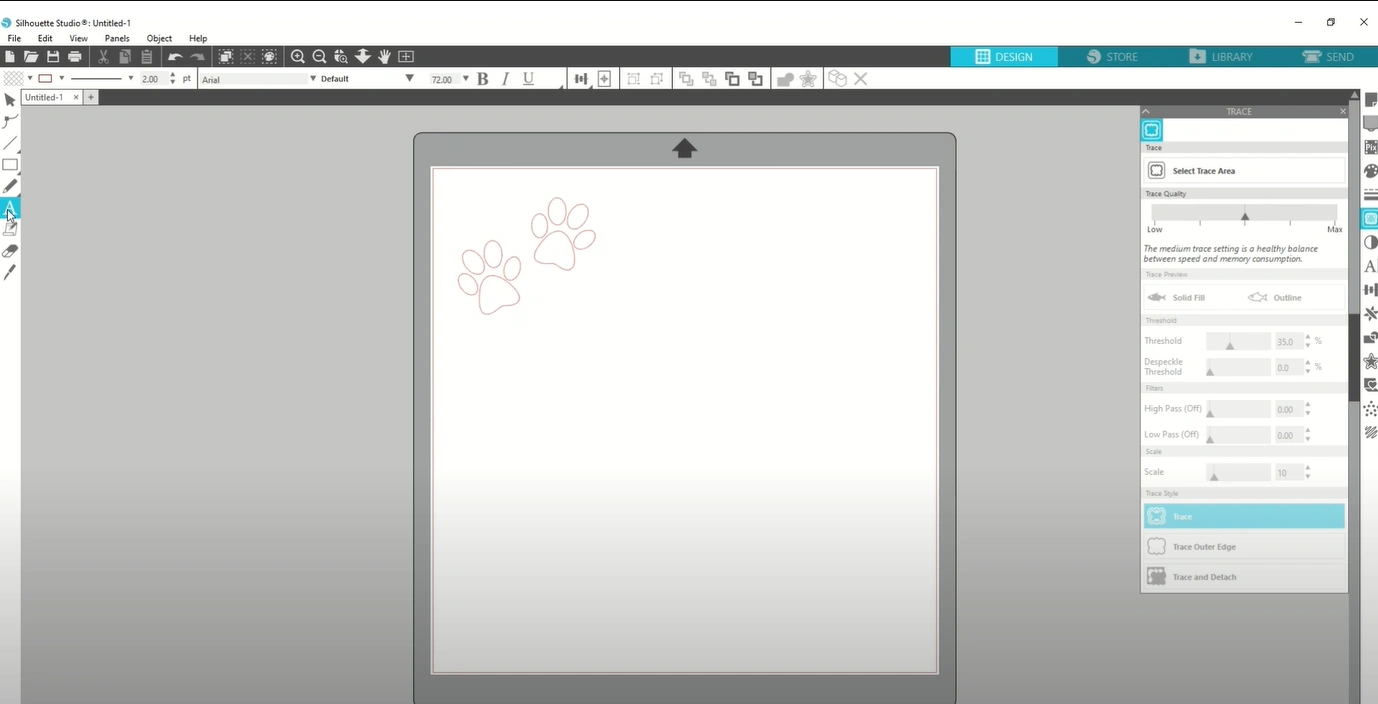
Step 7: You can delete the original image.
Adding Text
Step 1: Select the capital A on the left-hand toolbar.
Step 2: Click on the workspace to type the text.
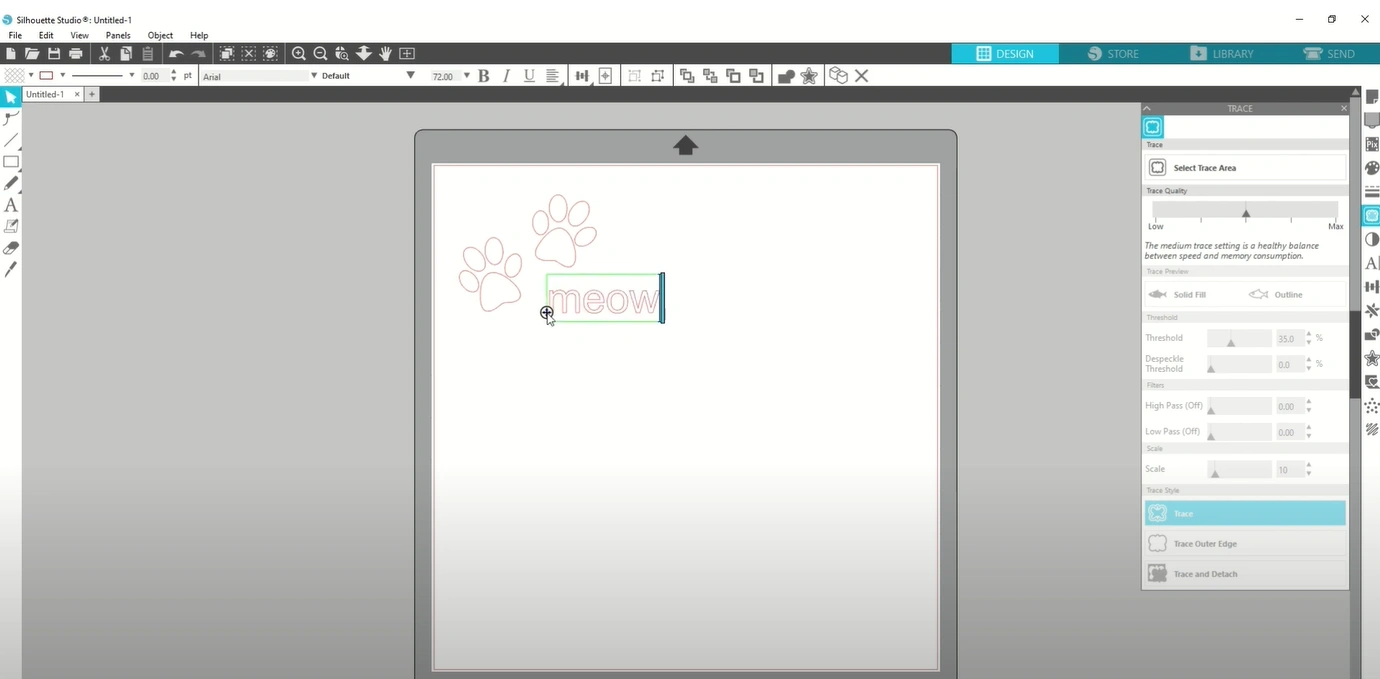
Step 3: Adjust the size and font of the text by using the options in the top toolbar.
Step 4: Use the white cursor to position the text next to your design.
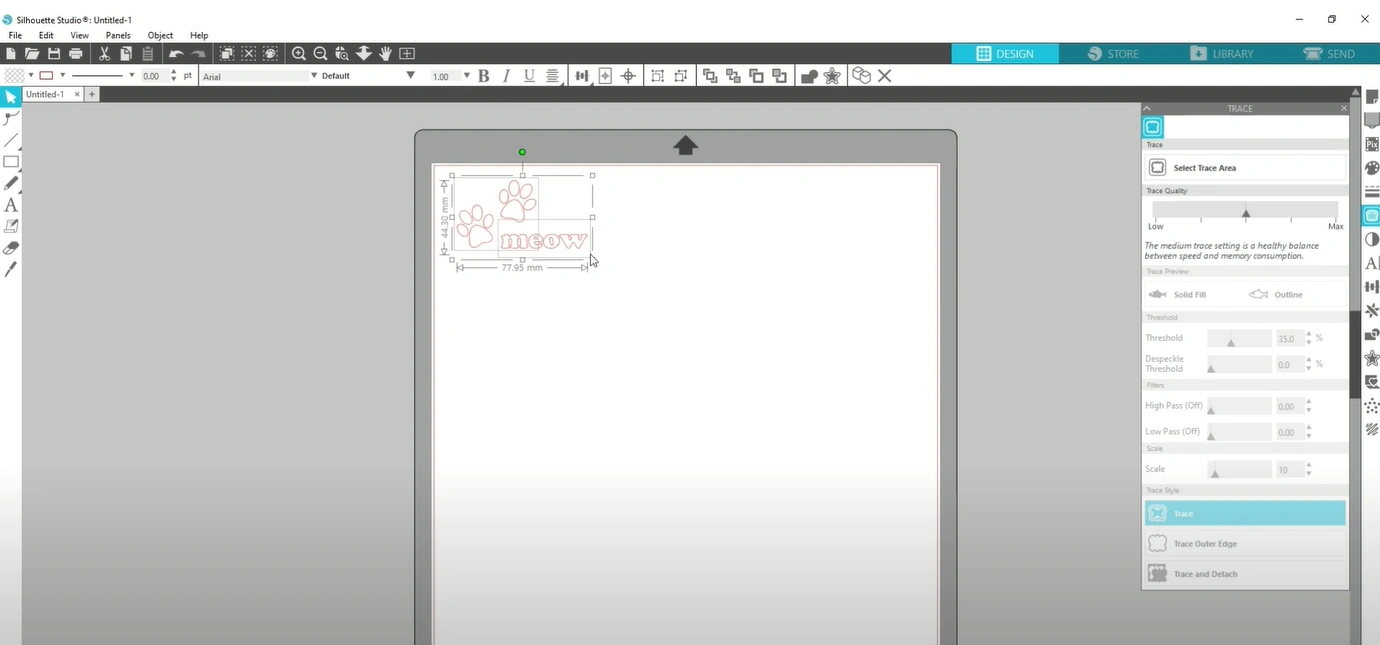
Step 5: Click on your outline and check the image’s size. The dimensions are shown on the top toolbar.
Step 6: Place your image in the top-left corner of the workspace and leave a small margin around it.
Step 7: Once satisfied with your design, click on the Send panel.
Step 8: Power on the crafting machine.
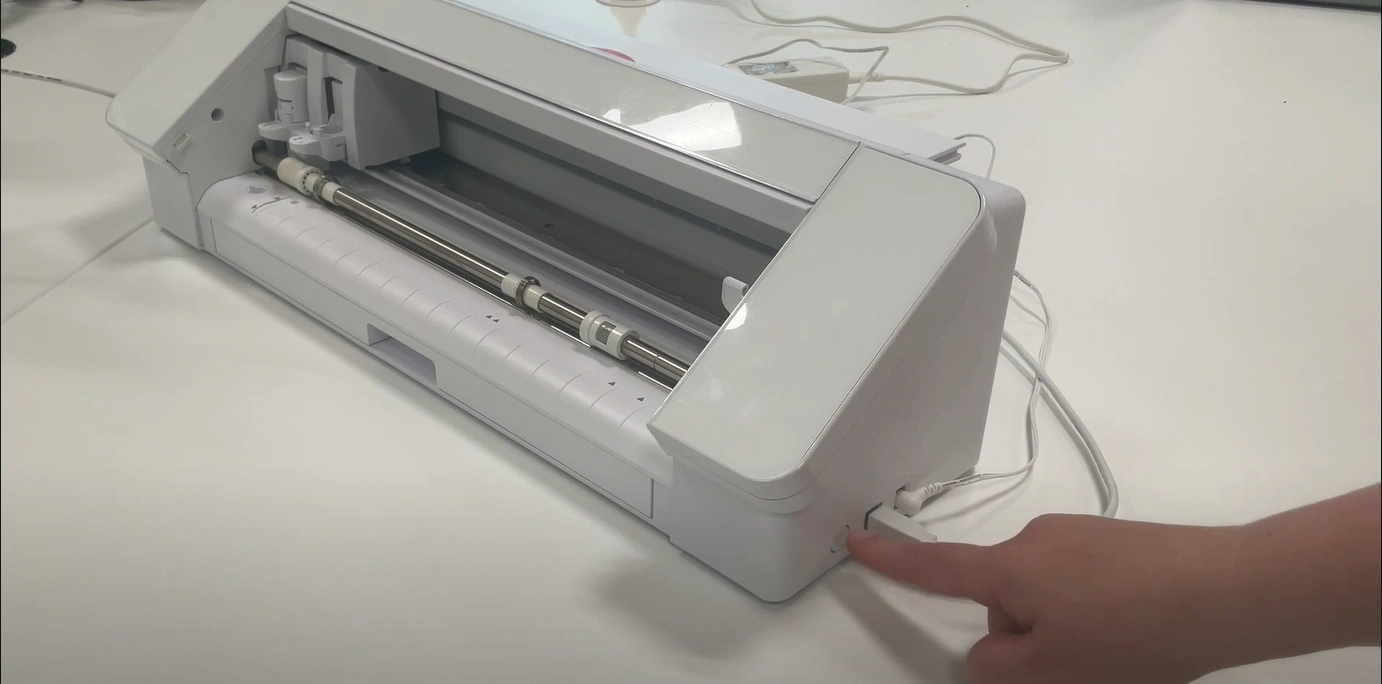
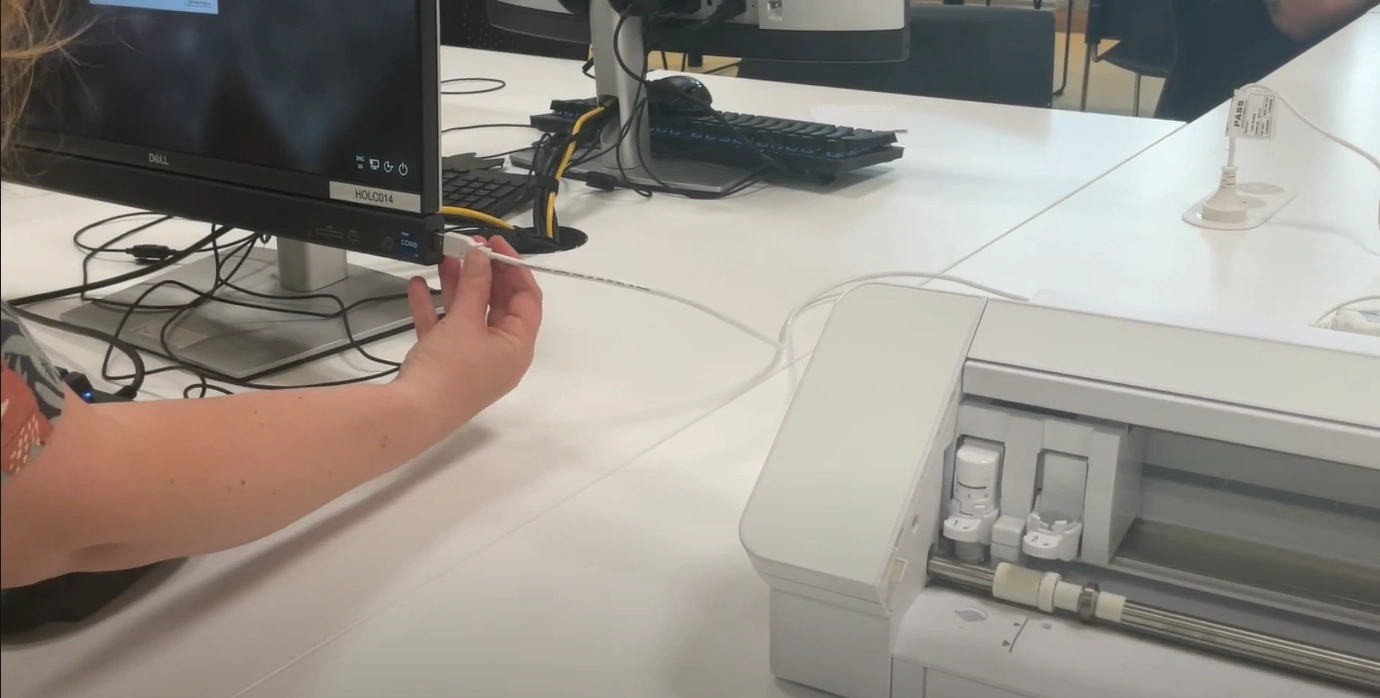
Step 9: Connect the machine with your computer via a USB cable if you haven’t.
The Send Panel
Step 1: Click on the Send Panel.
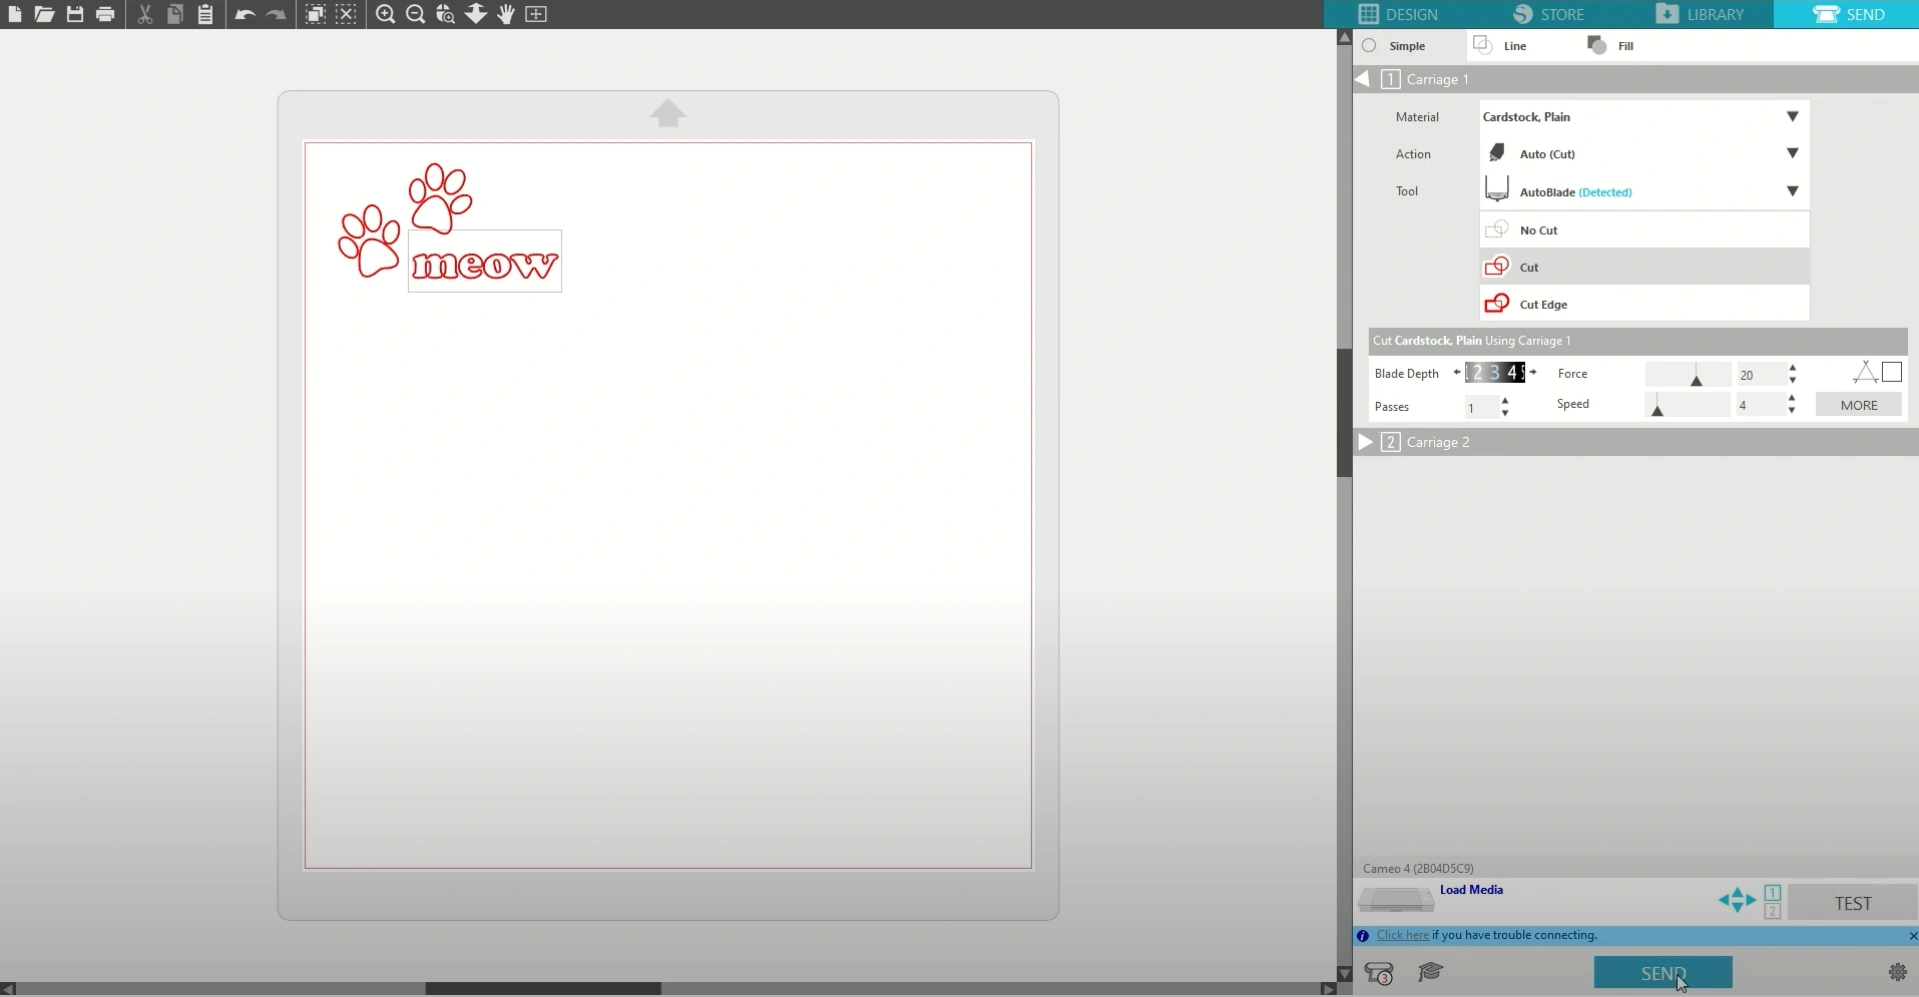
Step 2: Choose your material and adjust the cut settings. You can turn cut lines on or off, and perform a test cut before cutting the final design.
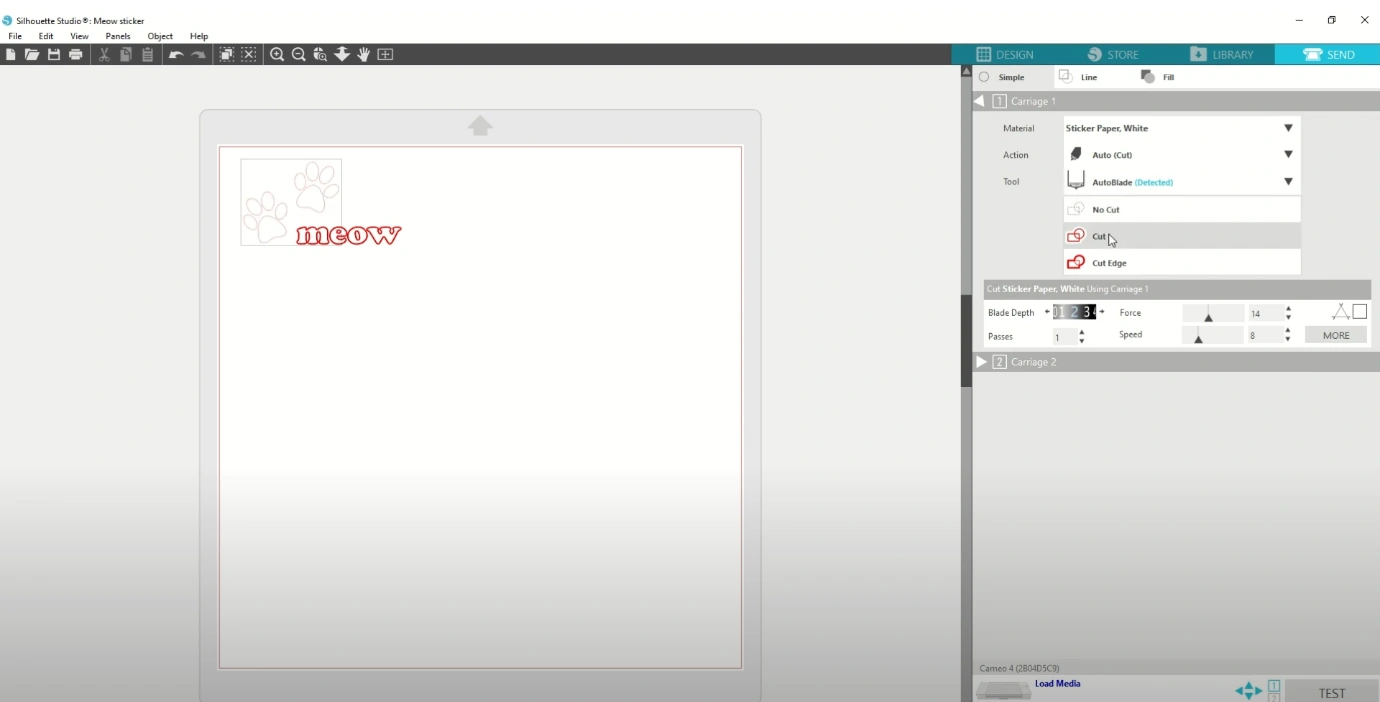
Step 3: Press the down button in the Material section. From there, you can see a variety of materials.
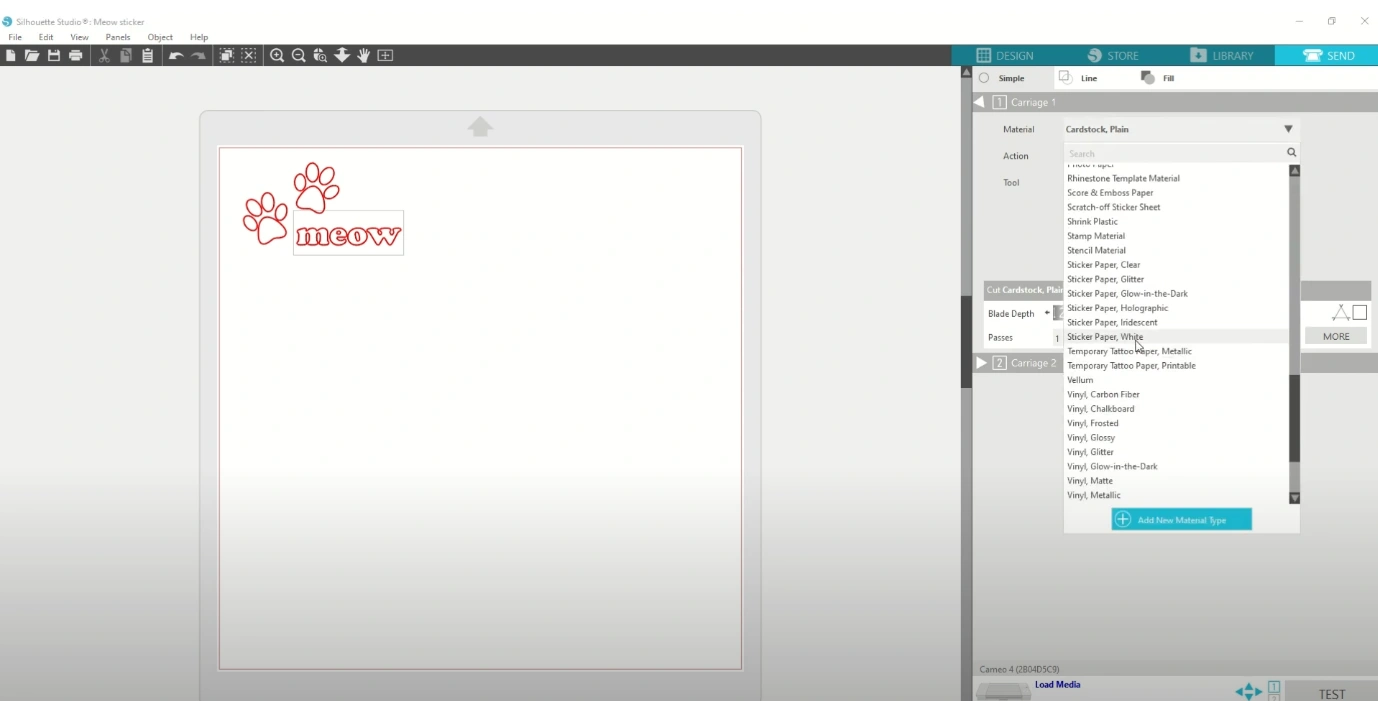
Step 4: Choose sticker paper from the list of options.
Step 5: Select your preferred color.
Step 6: To check the cut lines, ensure that there’s a red line around the image and any other areas that you want to cut.
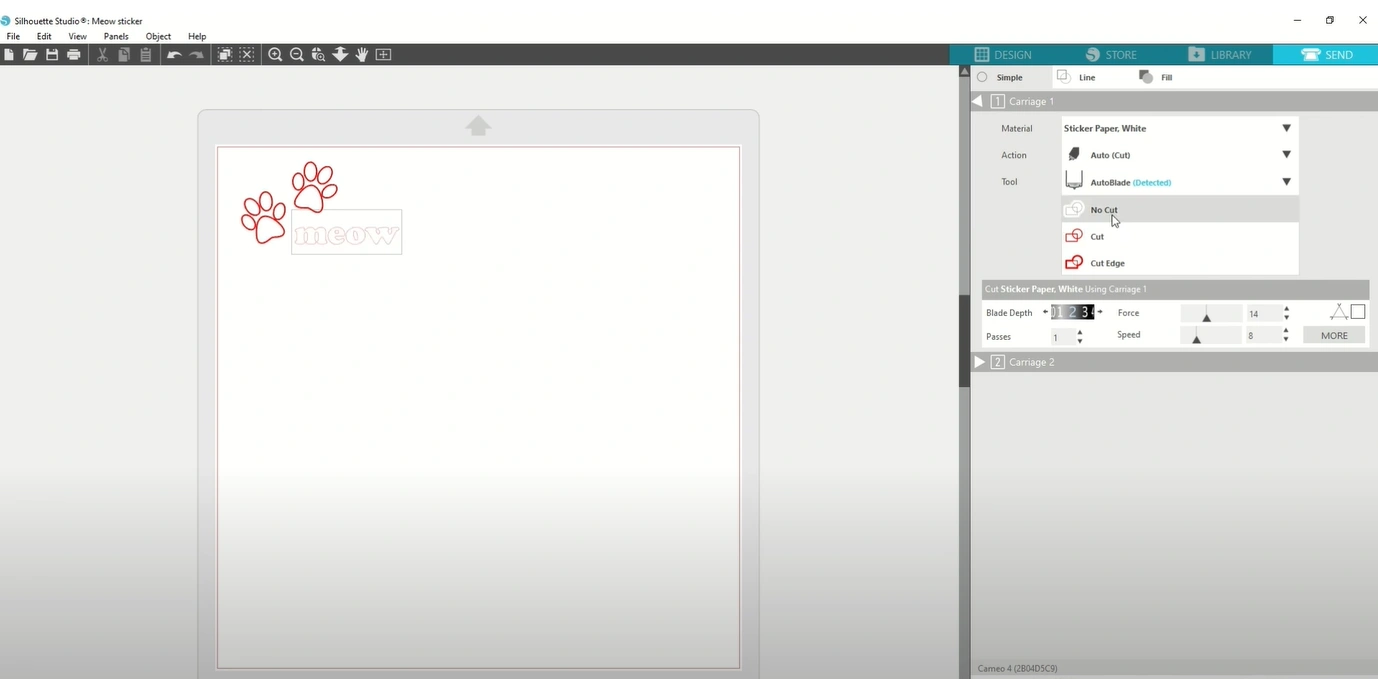
Step 7: If you see no red line, return to the design panel and retrace the image.
Step 8: Leave the blade settings as they are and perform a small test cut.
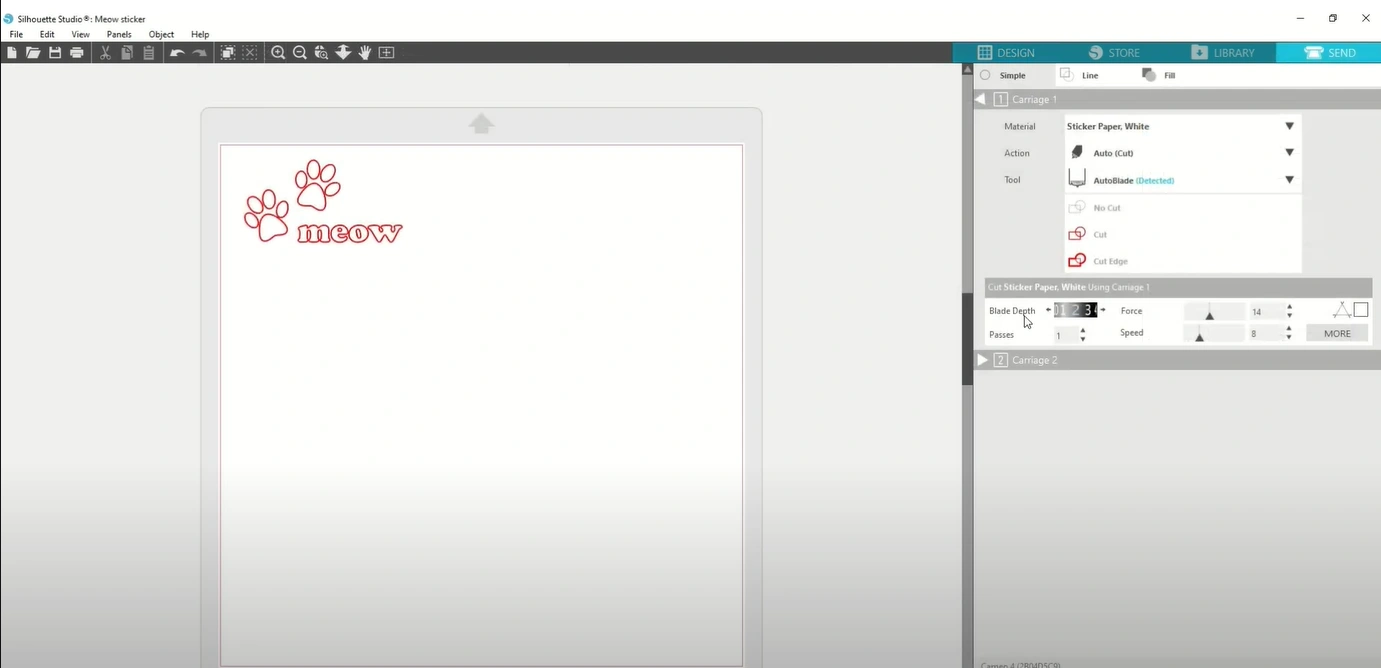
Note: Over time, the blade will become less sharp, so you need to increase the force or blade depth.
Prepare the Machine
If you have recently moved your machine, then do a calibration. Follow the steps in the section below:
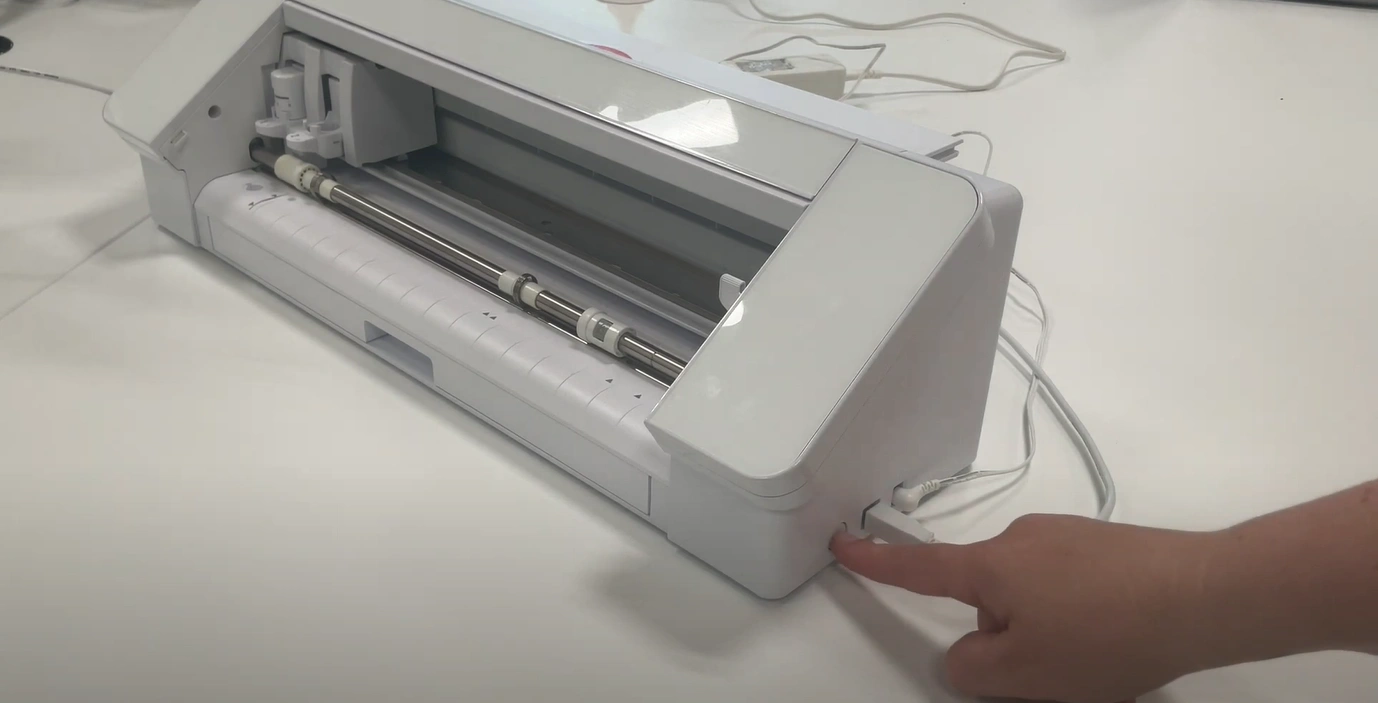
Step 1: The machine must be unplugged and powered off.
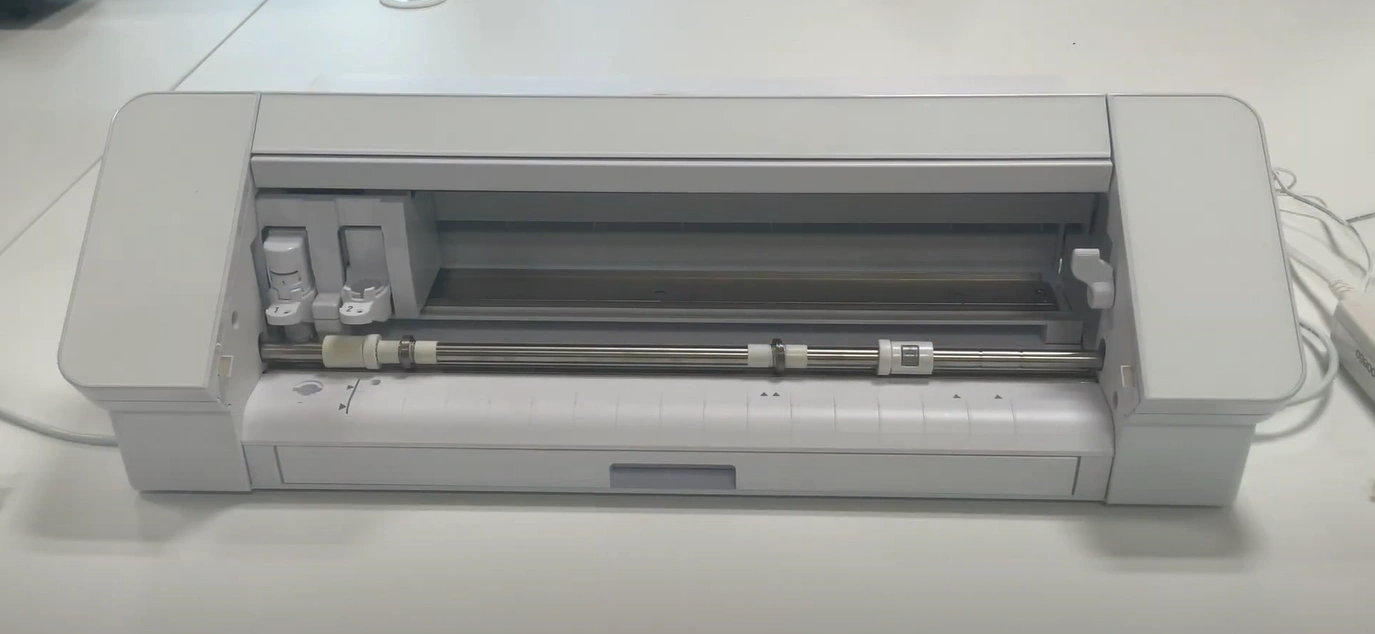
Step 2: With your hands, slide the tool carriage back and forth a couple of times or more.
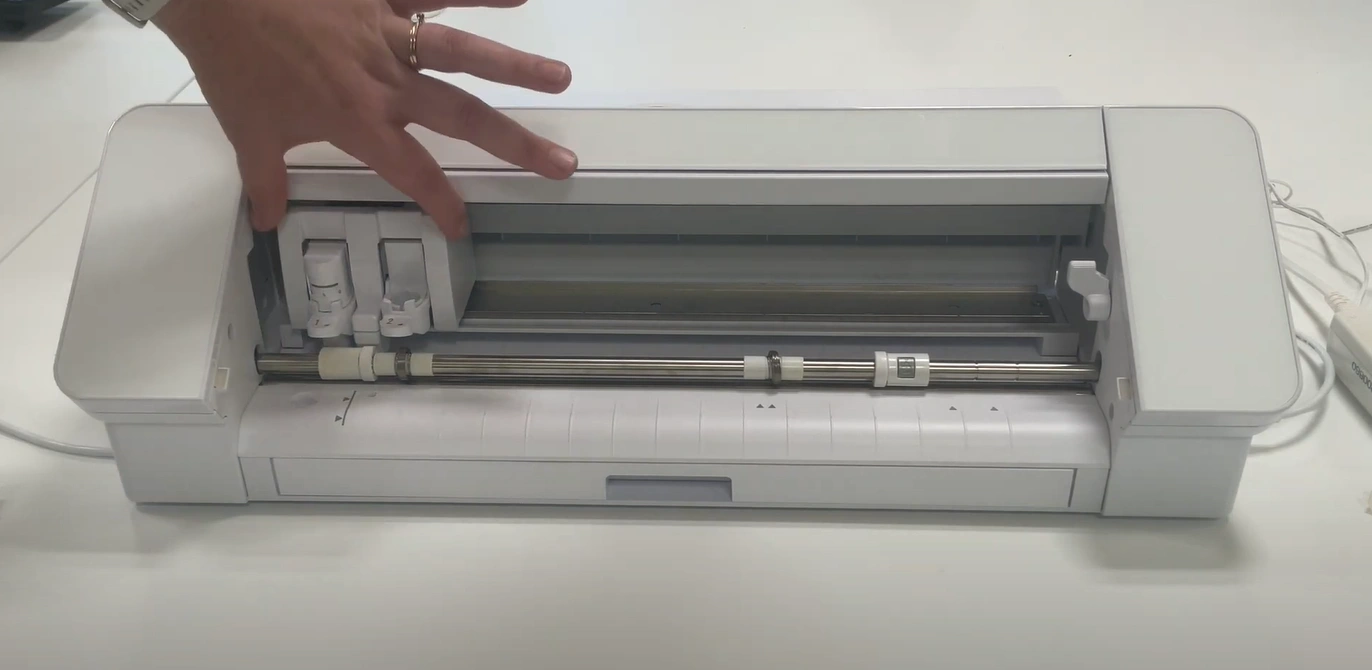
Step 3: After sliding the tool carriage, return it to the left.
Step 4: Power on the cutting machine.
This will ensure that the machine hasn’t been moved out of alignment during transportation. A simple calibration can help align the blade and rollers, giving you accurate cut results.
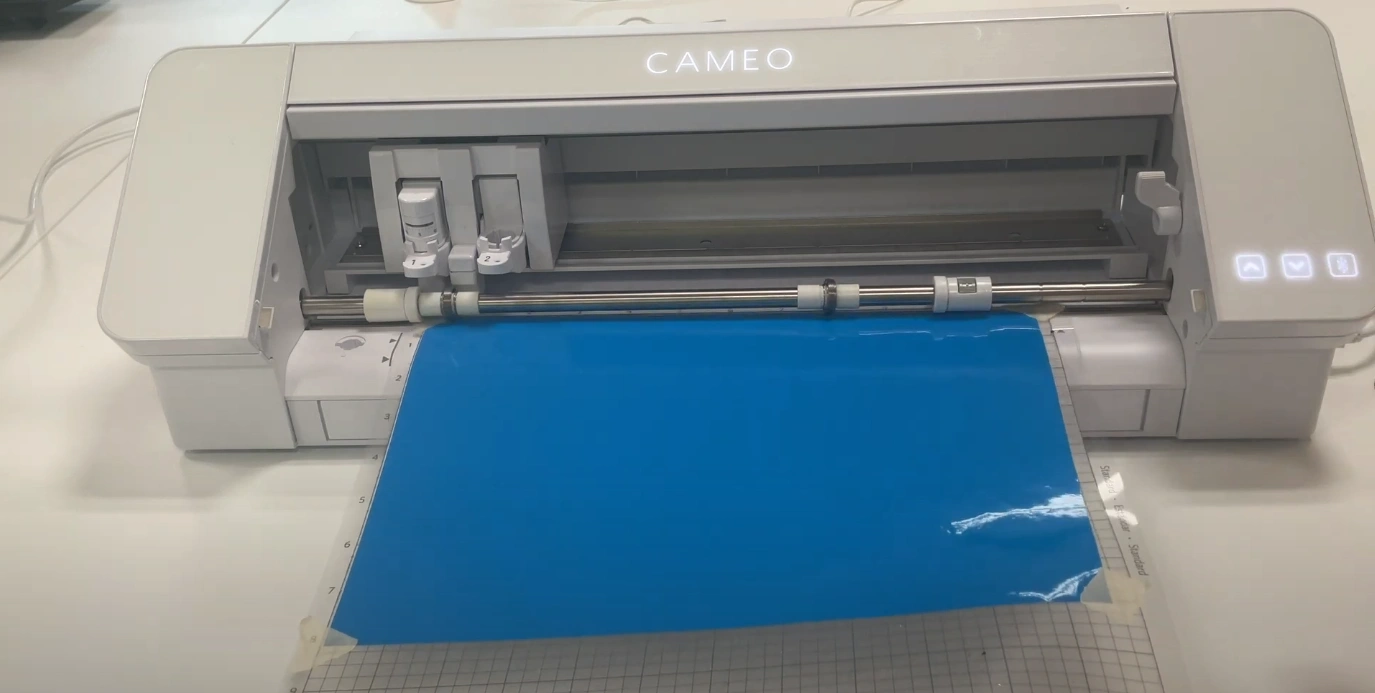
Load the Mat
Step 1: Take the mat and line it up with the sticker vinyl in the top left corner. Ensure that the mat is sticky enough to hold your vinyl down.
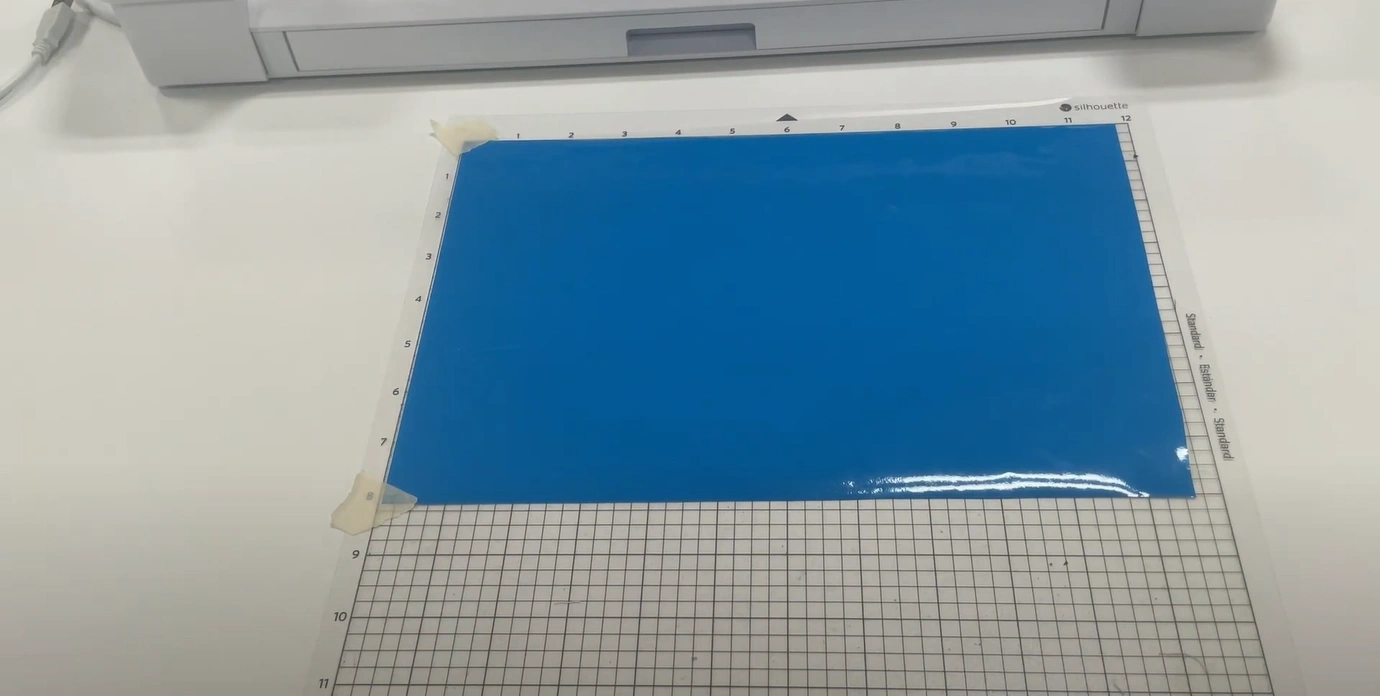
Step 2: If the sheet curls at the edges, then secure the corners with a small piece of masking tape.
Step 3: Check that the rollers of the machine are in an appropriate position to be able to grip the mat.
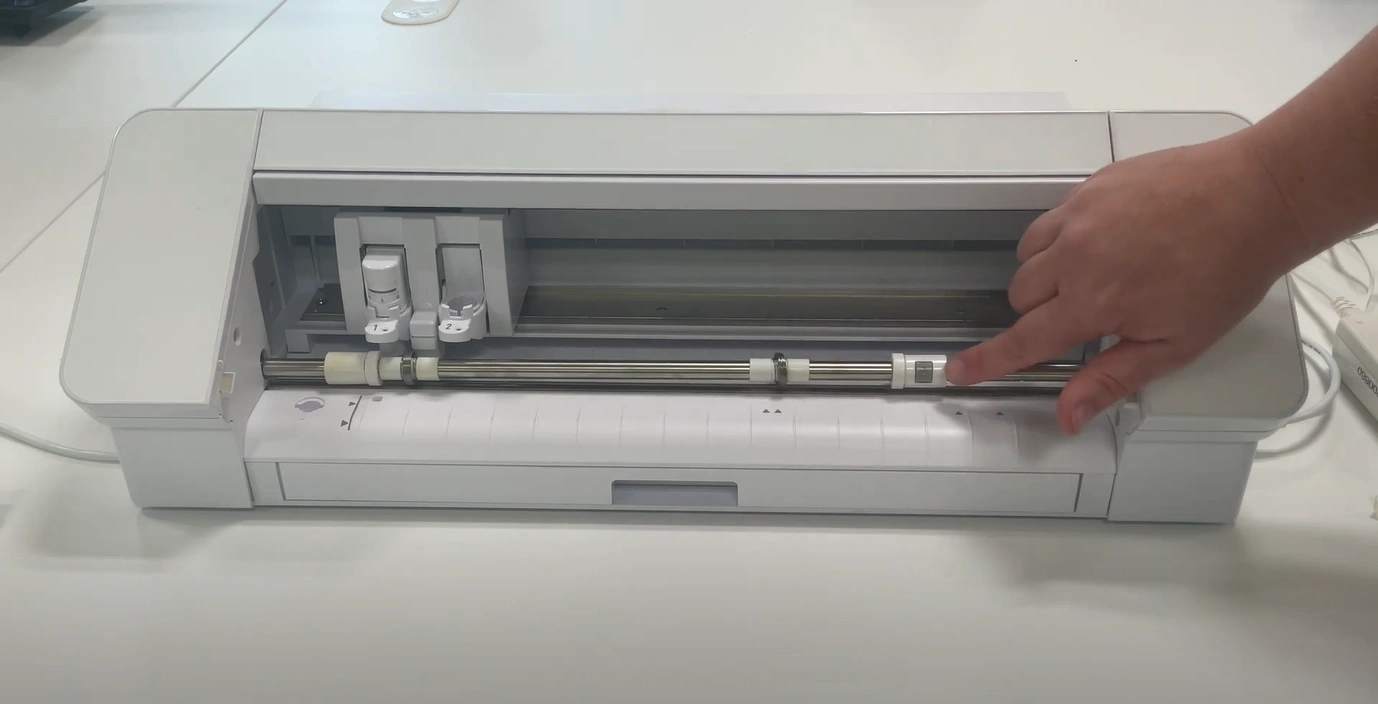
Step 4: Move the rollers by lifting the lever on the right and sliding them across the surface. You may need to press the lock symbol to move the roller on the far right, and then lower the lever.

Step 5: Line the left edge of the mat up according to the machine guidelines.
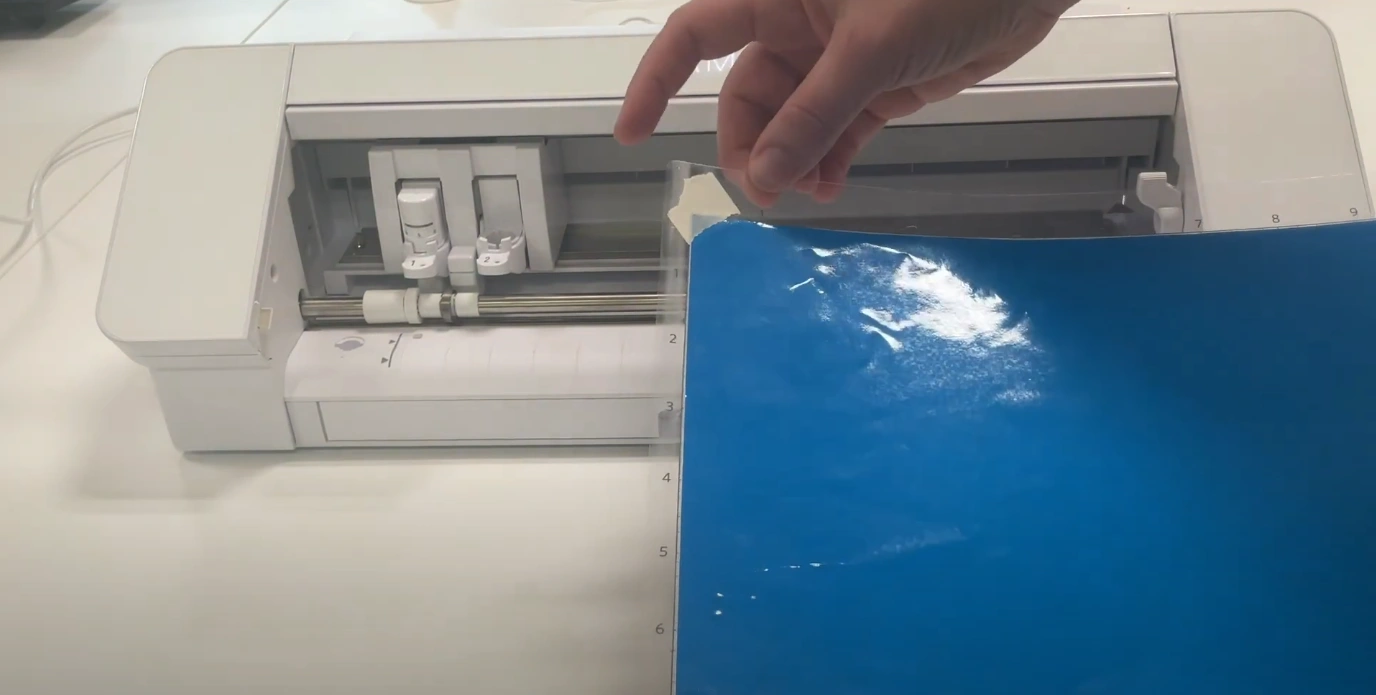
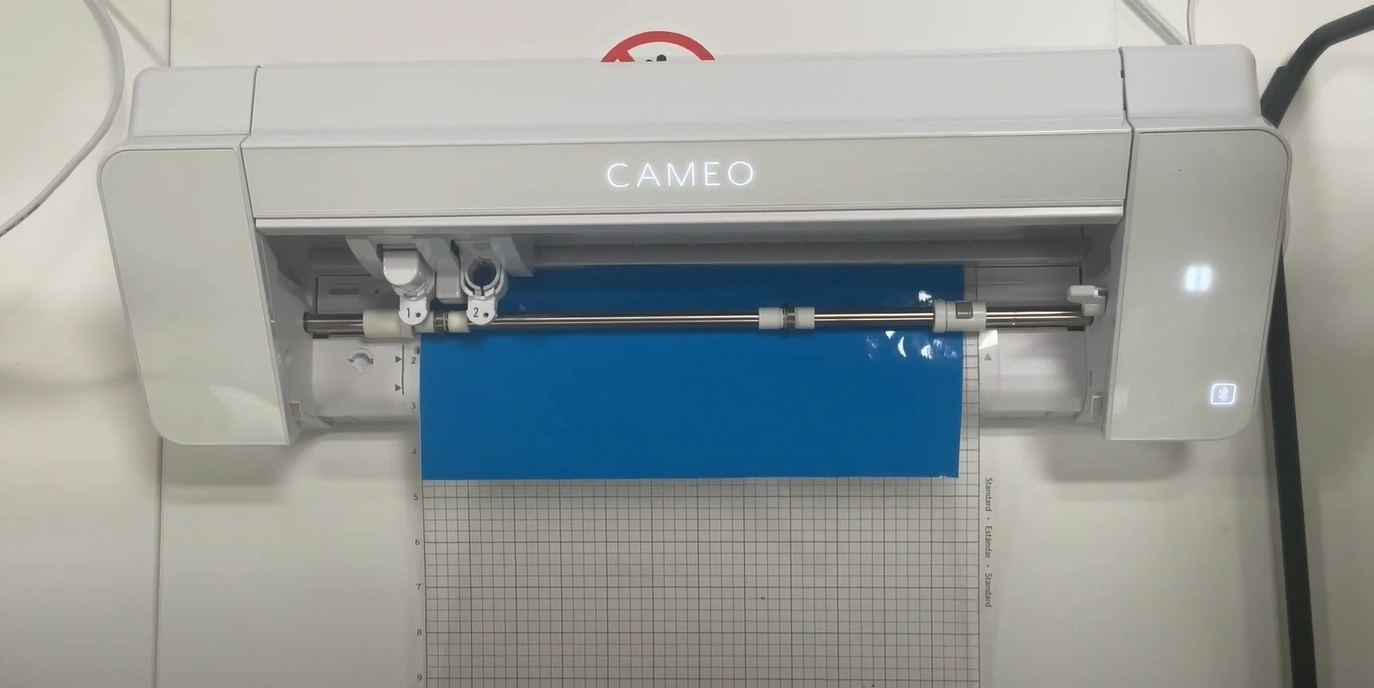
Step 6: Hold the mat against the rollers and press the glowing up arrow.
![]()
Step 7: At this point, your mat is loaded and ready to cut.
Step 8: If the mat is loaded at an angle, press the down arrow to unload and try again.
![]()
Test Cut
Step 1: Verify that the mat is loaded correctly, and click TEST at the bottom of the Send panel.
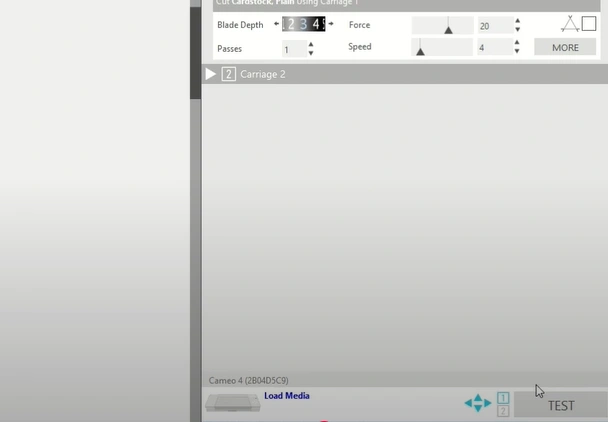
Step 2: It will cut a small square with a triangle in the middle. Peel it off to check the settings.
In a Nutshell
No more struggling with uneven cuts or wasting material. Get clean and professional-looking stickers by using the correct Silhouette Cameo vinyl sticker cut settings. Simply follow the steps above to achieve quality results. Remember to calibrate the machine, avoid low-quality vinyl, and always perform test cuts.


