
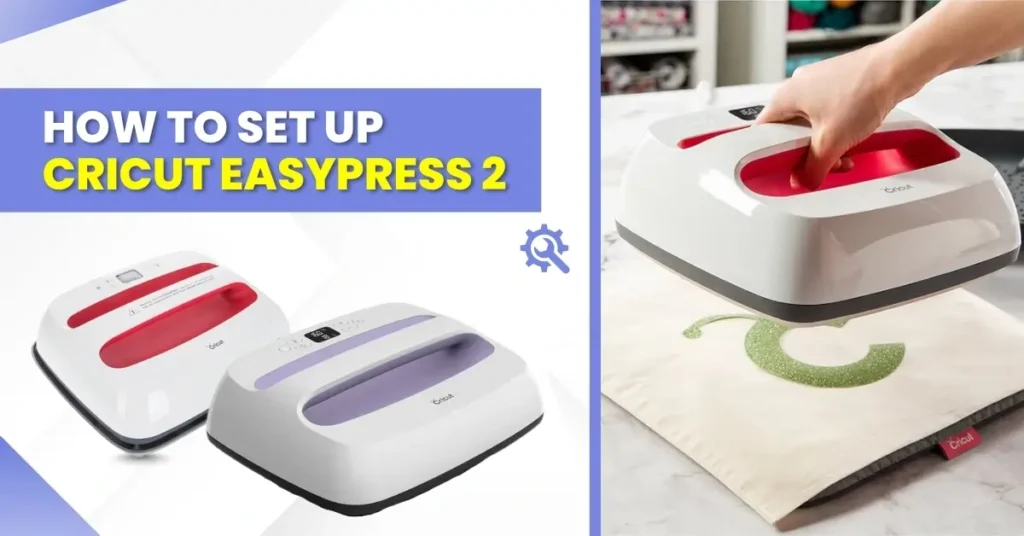
Wait! There’s something important you shouldn’t miss; we’re talking about setting up the EasyPress machine.
What’s the Cricut EasyPress 2 setup process like? You may be wondering about that. Everything will seem simple if you follow the given instructions. The process involves powering on the machine, setting the right temperature, and completing a few other essential steps. Let’s understand the complete setup in detail. But before that, take a look at the potential issues that may arise and interrupt the setup. So, do give them a quick glance.
Common Issues When Setting Up Cricut EasyPress 2
Here are certain problems that are often experienced by users when setting up the EasyPress 2:
- Firmware update trouble
- The timer or buttons are not responding
- The temperature is not reaching the desired level
- The computer or app does not recognize the device via Bluetooth.
Steps to Set up Cricut EasyPress 2
Before you start using the Cricut EasyPress 2, complete the setup process by following these steps:
Machine Setup
Step 1: Plug the EasyPress 2 machine into a power outlet.
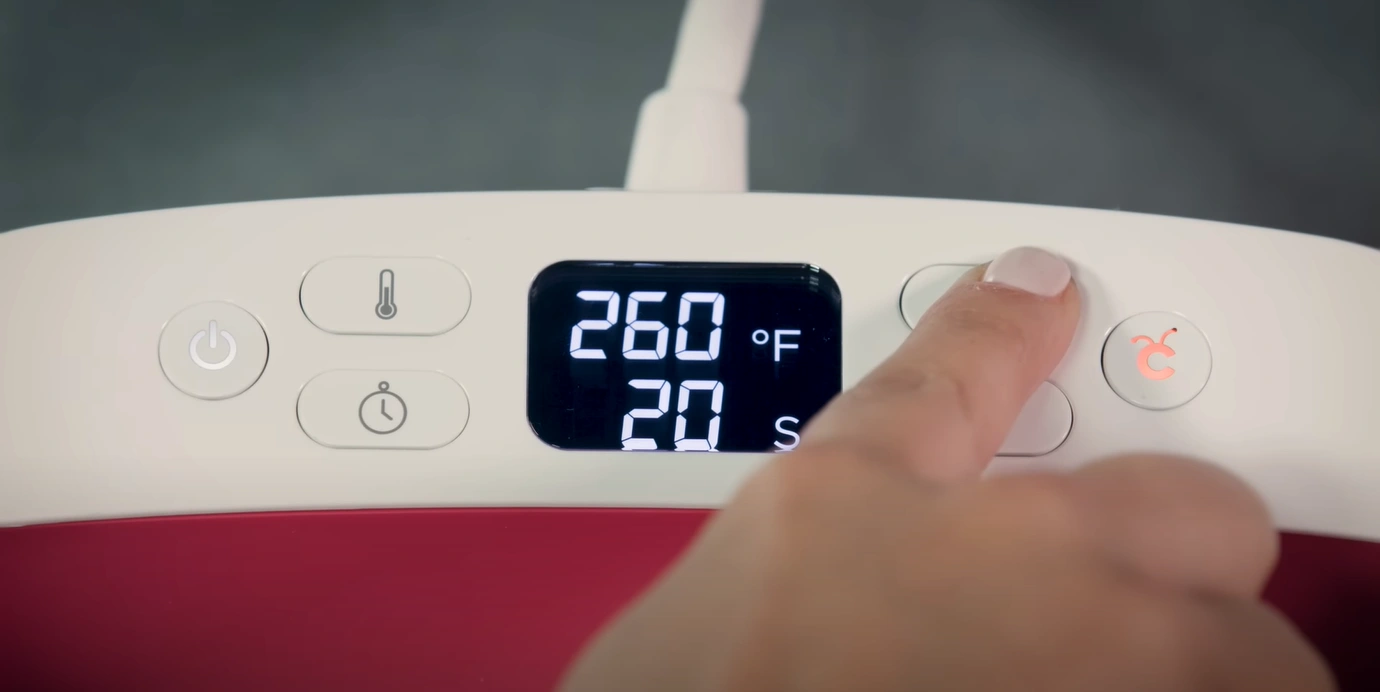
Step 2: Turn it on by pressing the power button on the panel.

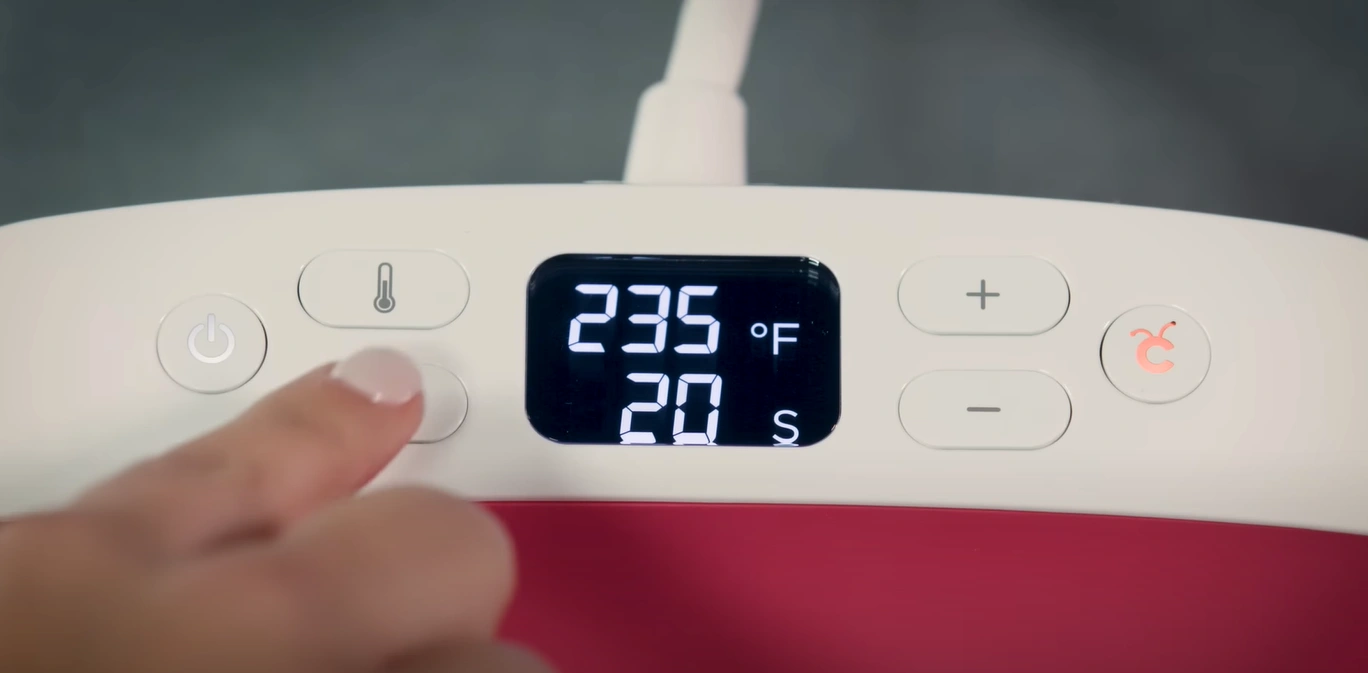
Step 3: Press the Thermometer button to set the temperature.
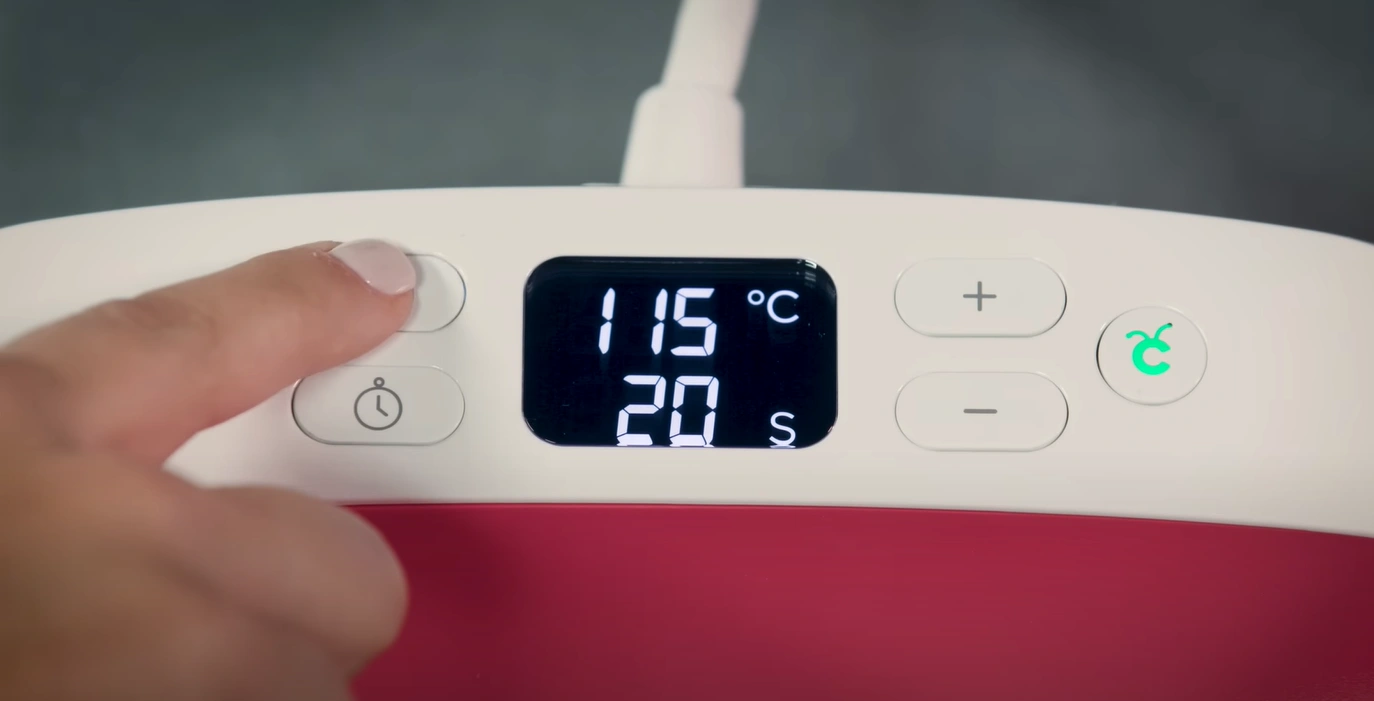
Step 4: Use the (+/-) buttons to set the machine to whatever settings you need for your project.
Step 5: Refer to the Cricut Heat Guide online to find the right settings for your material.
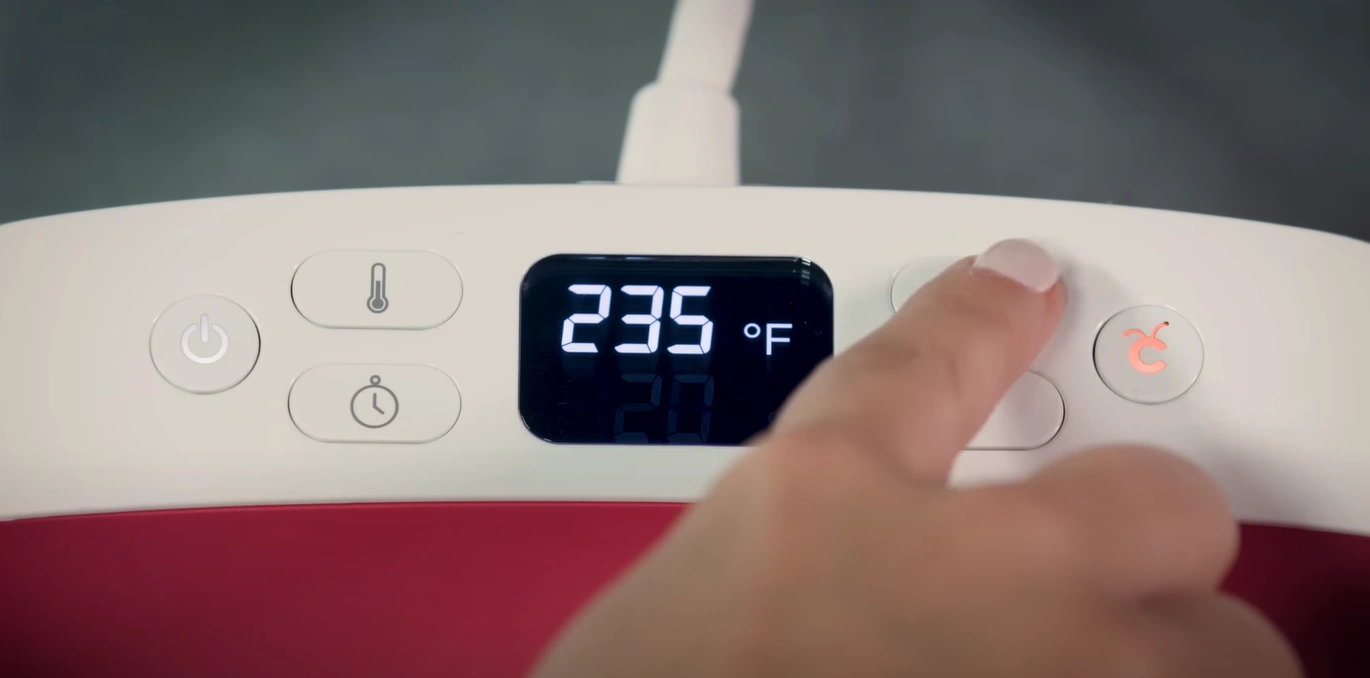
Step 6: Next, press the Timer button (the stopwatch icon).
Step 7: To adjust the timer, again use the (+/-) buttons.
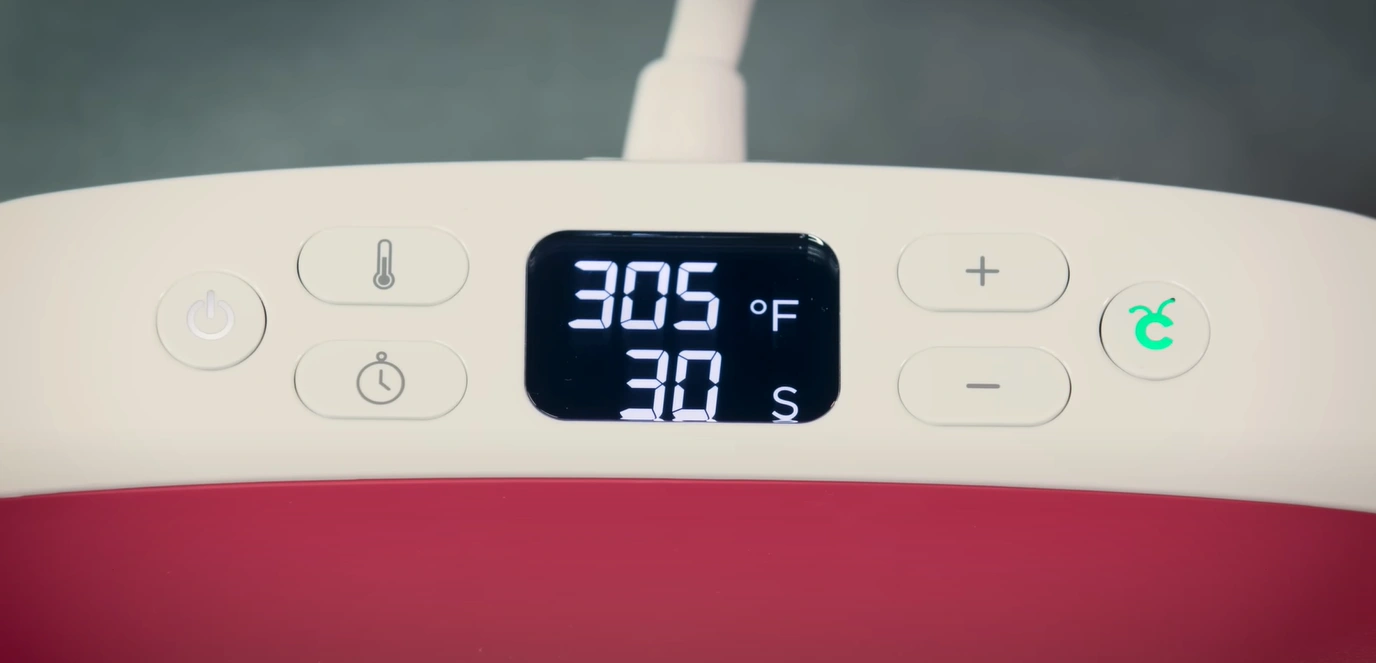
Step 8: Once you hear the beep, and the Cricut button on the right turns green, it means the EasyPress 2 has reached the required temperature.
Cricut Heat App Setup
Step 1: Power on the Cricut EasyPress 2.
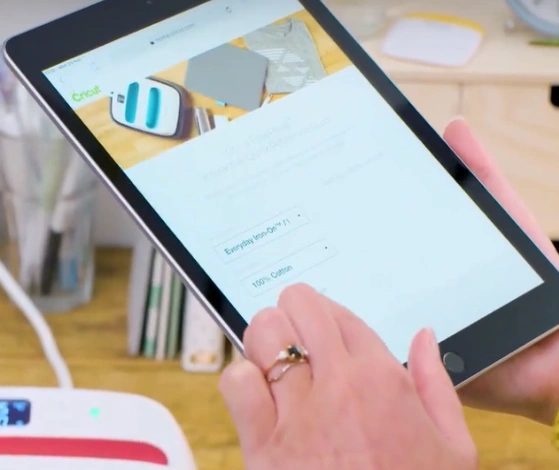
Step 2: Download the Cricut Heat app from the App Store or Google Play Store.
Step 3: Open the app and either sign in with your existing Cricut ID or create a new account if you don’t have one.
Step 4: Enable Bluetooth on your mobile device. The app will search for available machines nearby.
Step 5: When the name of your machine model appears, select it to pair it via Bluetooth.
Step 6: If prompted, grant location access and confirm the pairing code displayed on your device.
Step 7: Once connected, the app will check if your machine needs a firmware update. If it does, follow the on-screen prompts and wait until the update is complete. Note: Don’t unplug the EasyPress 2 during the process.
Step 8: After setup and any updates, you will get a confirmation in the app.
Things to Remember When Using Cricut EasyPress 2
Now that you’ve completed the setup, it’s time to use the machine. But, you must know a few important things while using the EasyPress 2:
- Use the Cricut EasyPress 2 in a room-temperature environment for best results.
- All the base materials, like textiles, must be thoroughly dry before you start using the heat press machine.
- After using the press, turn it off and place it safely on its base.
- The controller of the EasyPress 2 machine should be free of tape or protective film before using it. Do check this beforehand.
Also Read:- How to Fix Cricut EasyPress Mini Red Light Flashing
Wrapping Up
Setting up your Cricut EasyPress 2 is quick and simple with just a few steps. It’s a handy tool that makes crafting more fun and enjoyable. Among all your Cricut tools, the EasyPress 2 might be the easiest one to set up and start using right away.


