

Setting it up takes more than just turning it on – it requires a few careful steps. If you are not sure how to get started, don’t stress. We have explained the entire setup process for you below. Let’s begin by looking at some common issues you might face when setting up the Cricut Autopress.
Common Problems When Setting Up the Cricut Autopress
Several problems might arise when setting up the Cricut Autopress. These can be the following:
- Device not detected by the Cricut Heat app
- Firmware update failures
- Unresponsive buttons
- App compatibility issues
- Error codes displayed
Things to Know Before Setting Up the Cricut Autopress
For a seamless Cricut Autopress setup process, you need to keep in mind the following preparatory tips:
- Prefer a flat, stable, and heat-resistant surface to place your machine. This will prevent movements while using the machine and ensure safety.
- Enable Bluetooth and check that you are on a steady Wi-Fi connection. This is crucial for connecting and updating Autopress during setup.
- The Autopress machine produces heat. To avoid issues like overheating, you must ensure that your workspace has proper ventilation.
- Log in to Design Space beforehand, or create an account if you’re new. Having a Cricut account is mandatory to pair and register the Autopress.
Steps to Setup the Cricut Autopress
Go through the following steps to learn the complete process of setting up your Cricut Autopress.
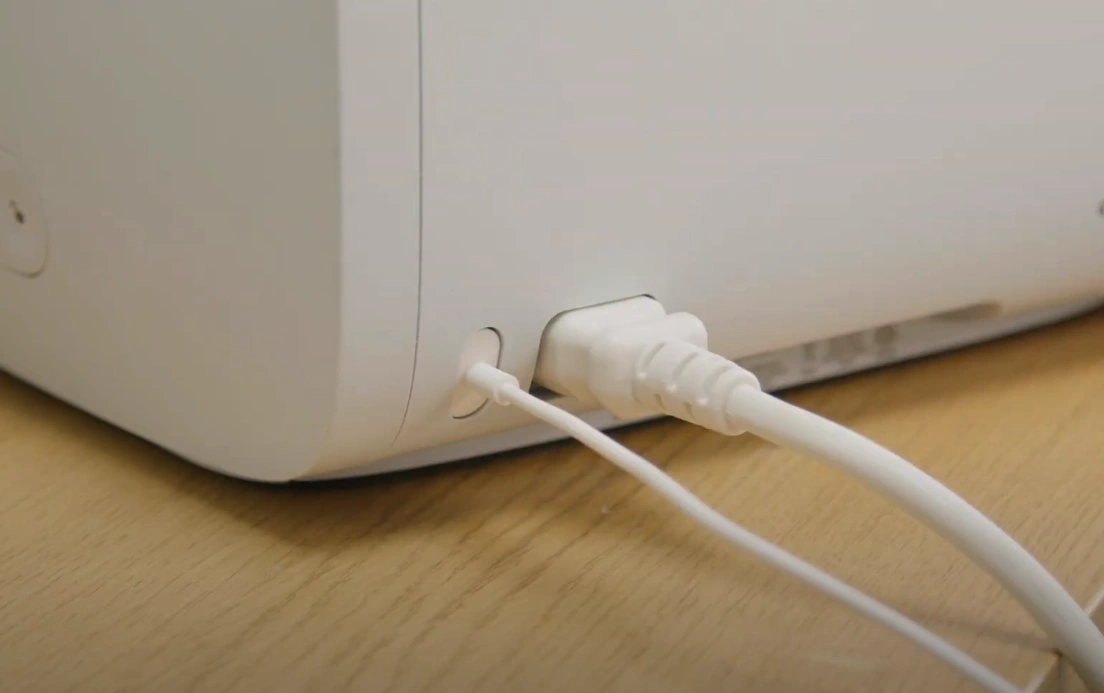
Step 1: Take out the power cord from the box.
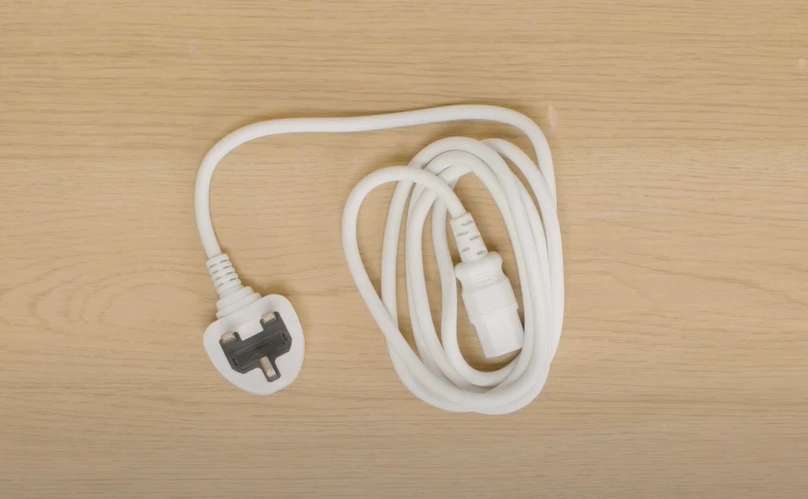
Step 2: Plug one end of the power cord into the back of the Cricut Autopress and the other into a power outlet.
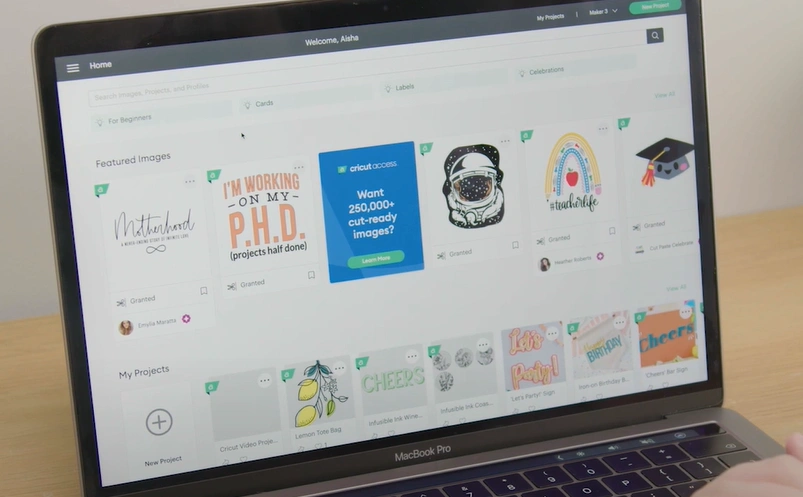
Step 3: On your computer, open Cricut Design Space.
Step 4: Click the three lines on the upper right-hand corner, and go to New Product Setup.
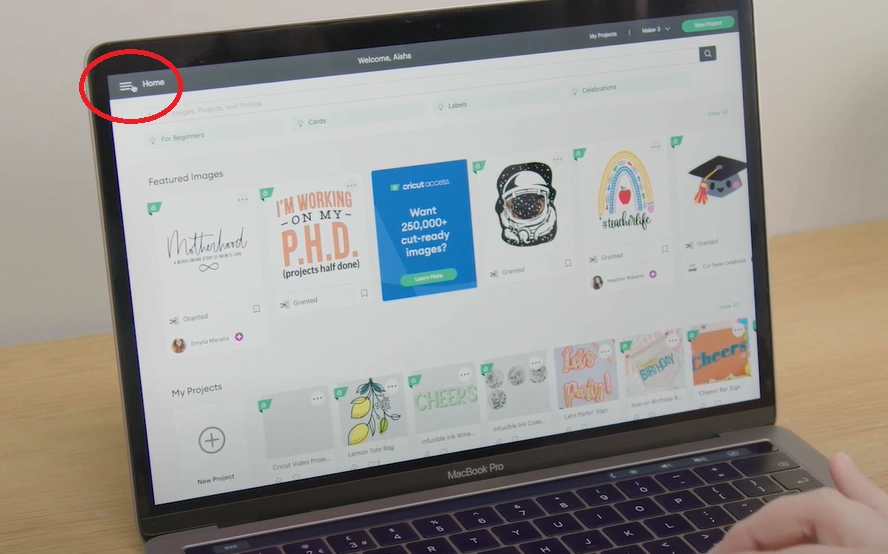
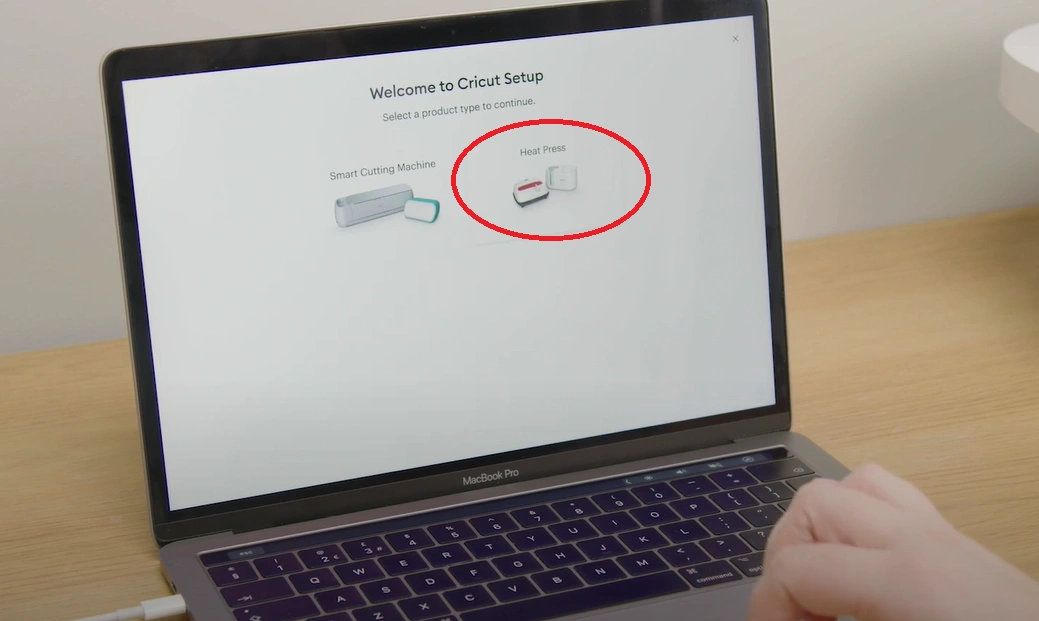
Step 5: Select Heat Press.
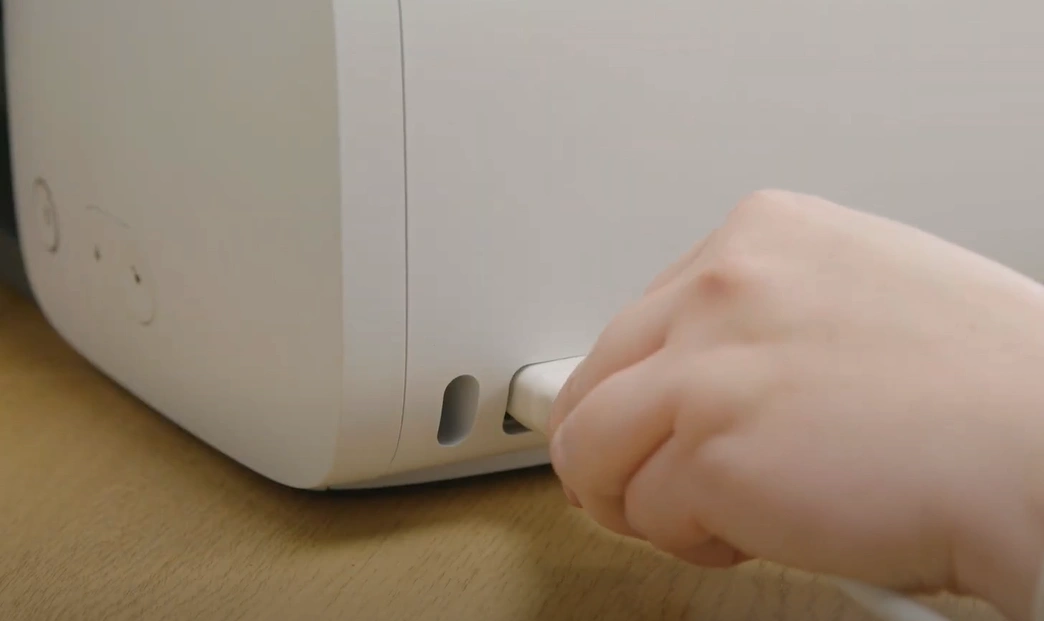
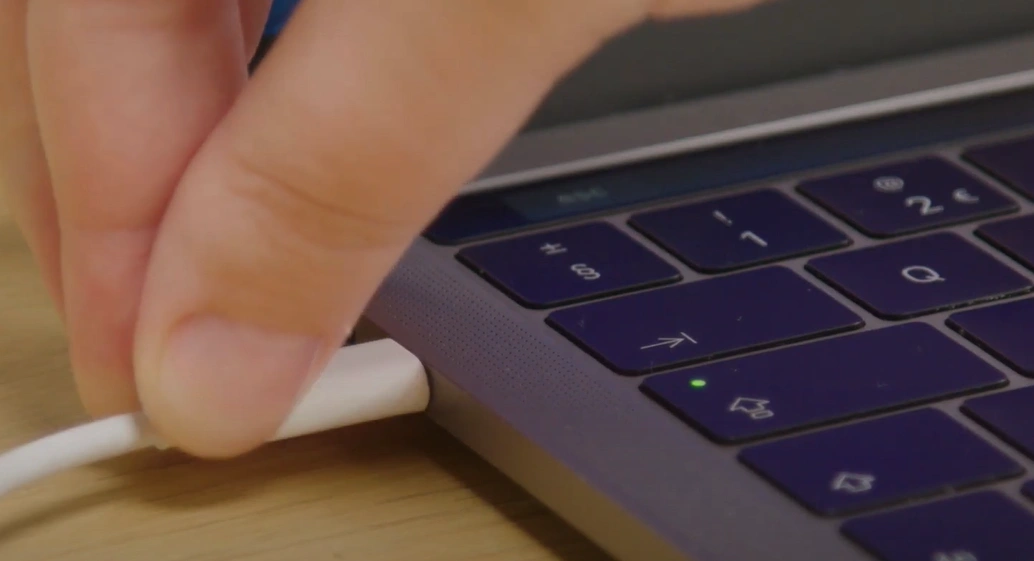
Step 6: After that, connect the USB cable from the controller to your computer.
Step 7: Insert the cord’s USB end into your computer.
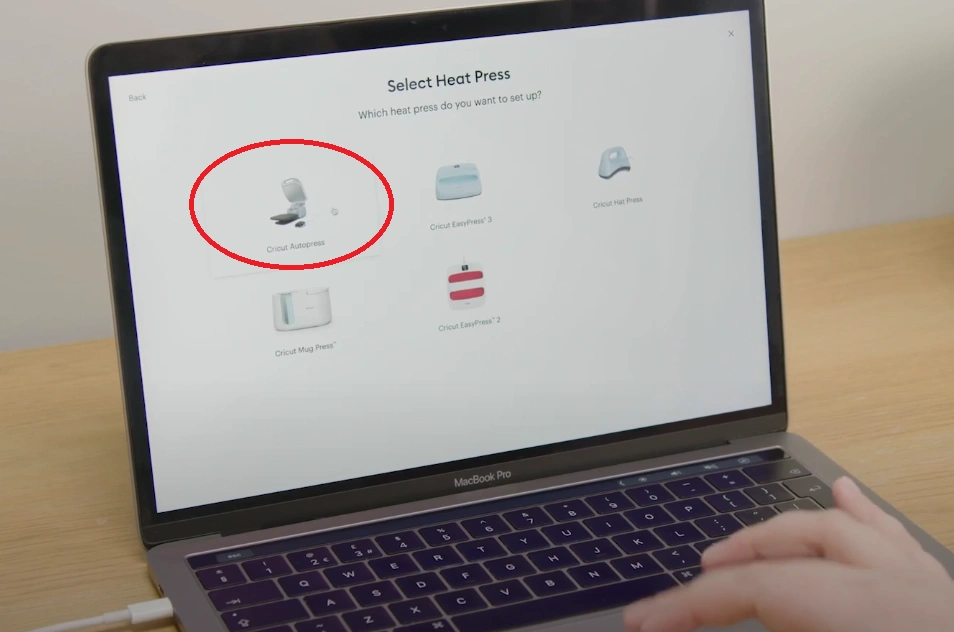
Step 8: Select Cricut Autopress and follow the on-screen prompts. (The progress of this can be monitored on the controller.)
Step 9: Once setup is complete, unplug the controller from your computer and plug the USB cable into the machine.
Step 10: The Cricut Autopress is now ready to use.

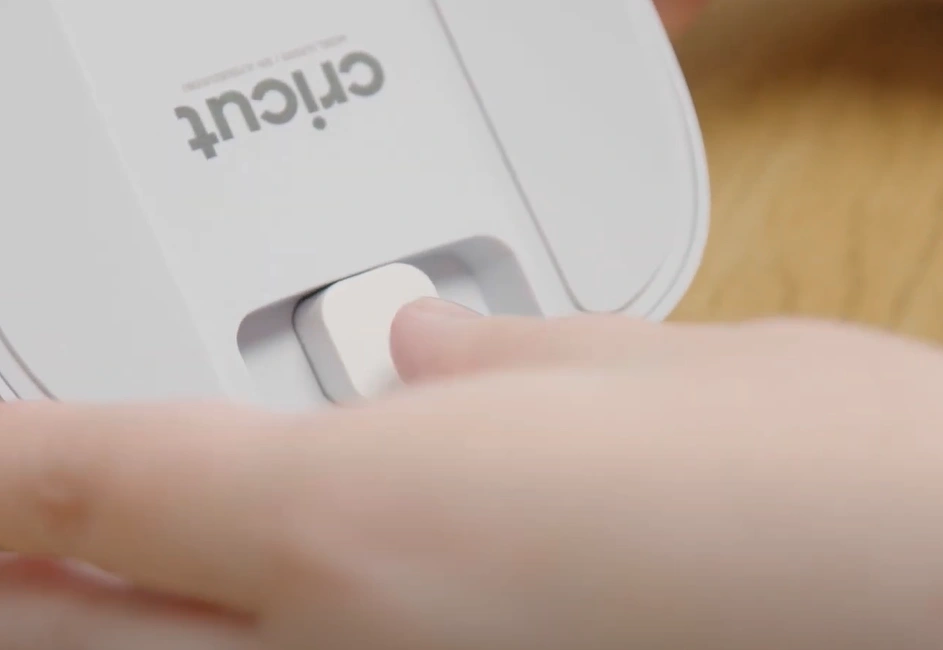
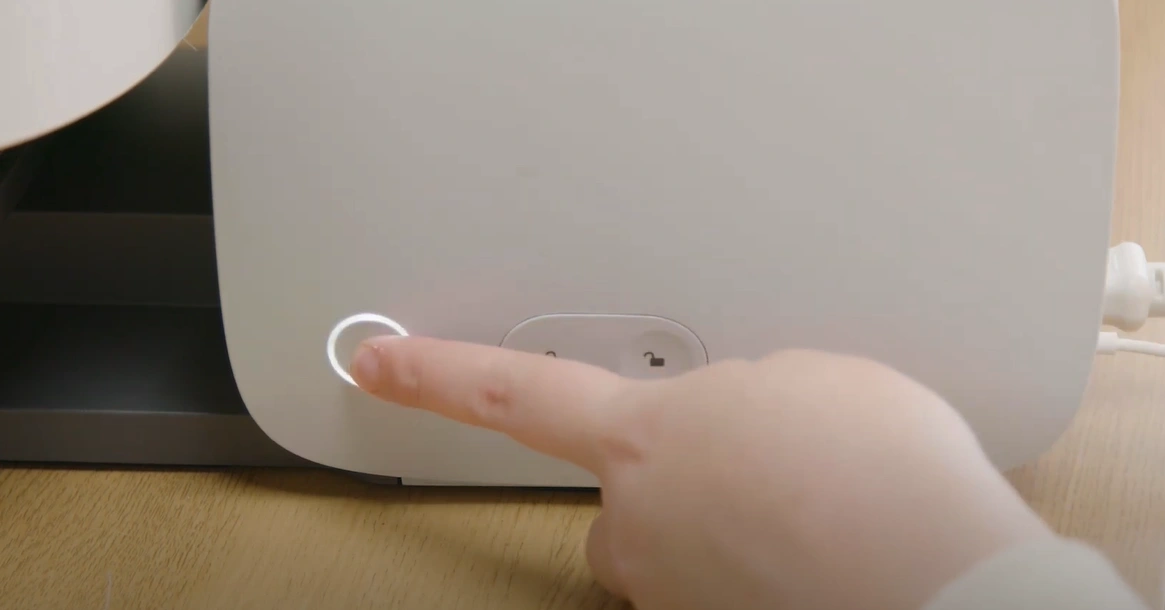
Step 11: Now, press the power button on the machine to get started.
Also Read:- How to Connect Cricut to iPhone ?
To Sum Up
That’s all you have to do to set up your all-new Cricut Autopress. Just follow what we have mentioned and you’ll soon get started with your projects. Keep the preparatory tips in mind to avoid any hiccups during setup.


