
But you may be unsure of how to use the Cricut Heat Press. No worries, it is quite easy; it just requires a few steps. You don’t have to be a tech expert to use this machine. We have discussed the ideal steps to use the Cricut Heat Press here. Once you’ve learned and applied them, you are soon going to make flawless crafts from the very start. But, before we look at the steps, you must know how to prepare everything.
Preparations Before Using Cricut Heat Press
These are a few important preparatory steps to keep in mind when you are starting to use your Cricut Heat Press machine:
Set Up a Clean, Flat Workspace
The surface on which you will place your heat press should be sturdy and heat-resistant. Also, check beforehand that the area is free from dust and debris, or else it may impact the quality of the transfer.
Pre-Wash Your Fabric
You must wash the fabric first before you can use it. Washing will remove any dirt, sizing, or chemicals that can affect the adhesion later. Don’t use any fabric softener, as it may prevent the heat transfer vinyl from bonding properly.
Preheat the Machine
Before you begin, let the press reach the recommended temperature. In doing so, you can expect even heat application and better outcomes.
Layer your Design with Protective Sheets
Place a Teflon sheet or parchment paper over your vinyl transfer. This way, you can prevent scorching and have even heat distribution when using the press. You can also use the Cricut EasyPress protective sheet.
Review the Settings
Always go through your settings. Double-check the time, temperature, and pressure according to the type of material and transfer medium (e.g., HTV, Infusible Ink, or DTF).
Problems That Occur When Using the Cricut Heat Press
Here are the most common challenges you might encounter when you start using the Heat Press machine:
- Timing issues
- Incompatible materials
- Uneven heat distribution
- Moisture in fabric
- Incorrect alignment
Steps to Use the Cricut Heat Press Machine Correctly
You may eagerly want to get started with your brand-new Cricut Heat Press. Here are all the steps you need to know:
Step 1: First, plug the machine into the wall outlet.
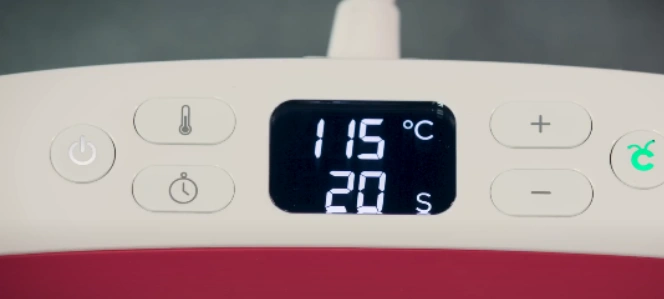
Step 2: Next, press the power button to turn the device on.
Step 3: It will take approximately one to two minutes to reach your preferred temperature.
Note: By default, the machine will always revert to the settings you last used.
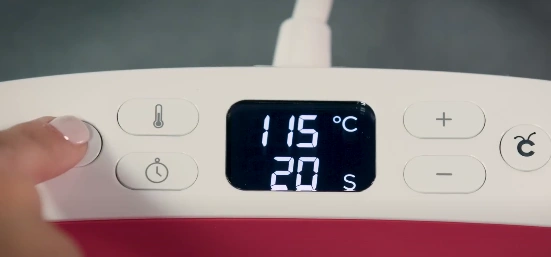
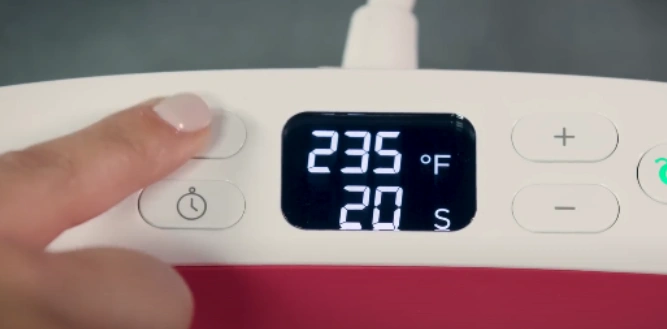
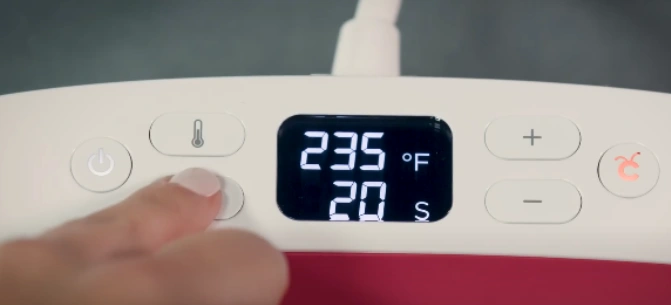
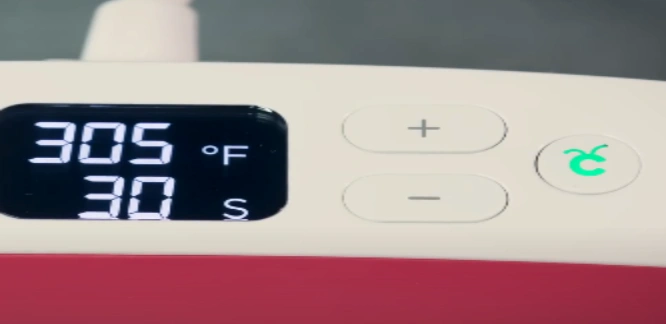
Step 4: Holding the thermometer button will toggle between Celsius and Fahrenheit.
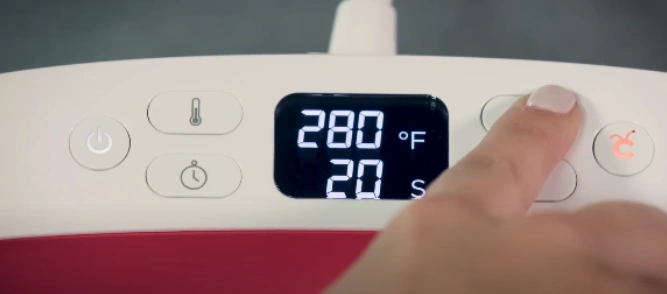
Step 5: To set the temperature, press the thermometer button until the number starts flashing.
Step 6: Use the + and – buttons to speed up the process. Pressing these buttons will jump straight to the 10-degree increments.
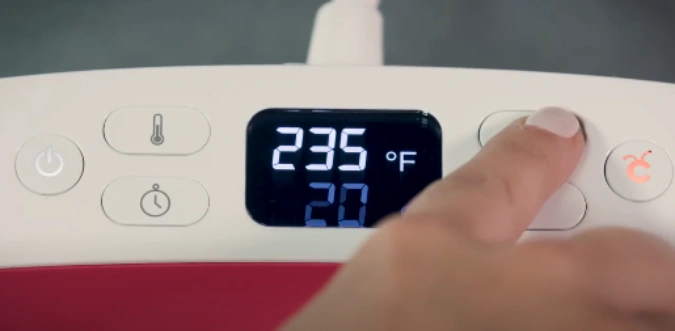
Step 7: Set the time by pressing the timer button once it flashes; it works just the same way as the temperature button.
Step 8: Again, you need to use the + and – buttons to set the time. You can reach your desired number faster by pressing and holding the buttons.
Step 9: The Cricut button stays orange until it reaches the temperature you set.
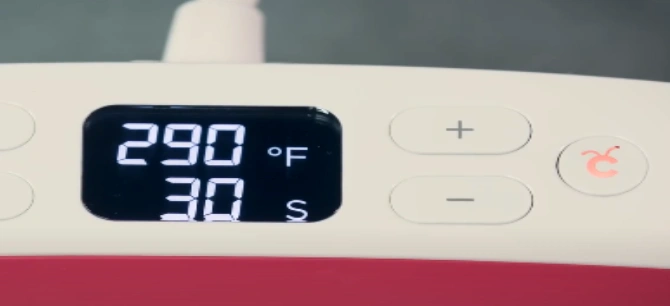
Step 10: When you hear the beep and the C button turns green, you are ready to go.
Also Read:- How to Reset Cricut Heat Press
In a Nutshell
That’s all it takes to set up the Cricut Heat Press correctly- now you can start using the machine and work on your DIY projects.
It was simpler than you would have thought, wasn’t it? There is no need for any technical expertise to get started with a Cricut heat press. However, you must ensure that you have a clean, stable workspace, preheat the machine properly, and always cover your designs with Teflon or parchment sheets.
Issues such as incompatible materials, uneven heat distribution, or moisture in the fabric can also arise. So, watch out for them and tackle them smartly.


