
The Cricut Heat Press can be a fantastic addition to your crafting arsenal. It can take your DIY projects to the next level. You may want to create a nice custom t-shirt, and you have already designed the print that pops with color, feels smooth to the touch, and lasts through wash after wash.
Now, the only step that remains is to apply DTF (Direct to Film) transfer sheets using the Heat Press machine that you have just purchased. You may be unsure how to do this. Applying DTF Transfers using a heat press may be a little confusing, especially if this is your first time. We have outlined all the necessary steps to follow; you may find them useful. But before we proceed straight to the steps, take a moment to go through these key points.
Important Tips to Know Before You Start
Look at some of the most important things before you start applying DTF transfers using your Cricut heat press:
Check the Settings
Confirm the right temperature and pressure. Most DTF transfers work well at 300 to 325 degrees Fahrenheit for around 10 to 15 seconds- so consider that. You must use medium to firm pressure to get proper adhesion. Also, refer to the recommended manufacturer’s settings, as they may differ slightly.
Pre-Press the Fabric
Before applying your transfer, pre-press your garment for 5 to 10 seconds to ensure it is wrinkle-free and dry. This ensures that the film sticks evenly and there’s no bubbling or lifting.
Consider Peel Timing
Stick to your film’s peel instructions. Some DTF films are hot peel, which means you need to remove the film immediately. Others are cold peel, which requires the film to cool fully before you remove it. Peeling incorrectly might result in damaging the design.
Do not Overheat
More heat does not mean better adhesion. Overheating may affect the DTF print quality, causing it to become dull or sticky over time. Just stick to recommended settings.
Store Transfers Properly
Keep the unused DTF sheets in a cool, dry, dust-free space. Moisture or heat can damage the adhesive, affecting the quality of future transfers.
Problems to Occur When Applying DTF Transfers
Here are some potential issues that might occur when you’re trying to apply DTF transfers with Cricut Heat Press:
- Poor adhesion
- Color dullness
- Film residue
- Sticky or wet feel on the transfer
- Cracking after washing
The Method to Apply DTF Transfers with Cricut Heat Press
Take a glance at all these essential steps to apply DTF transfers using a Cricut Heat Press machine:
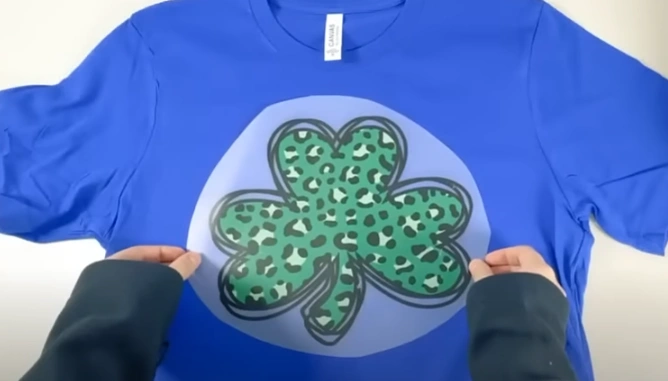
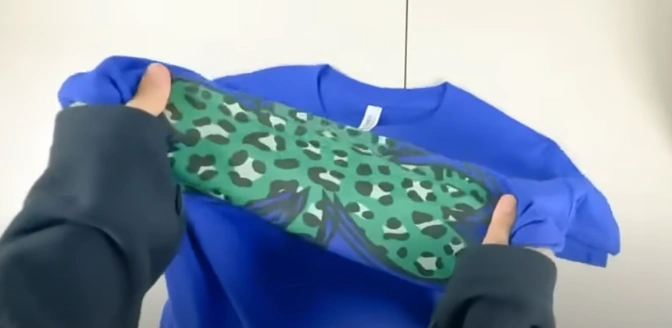
Step 1: Place your design on top of the t-shirt.
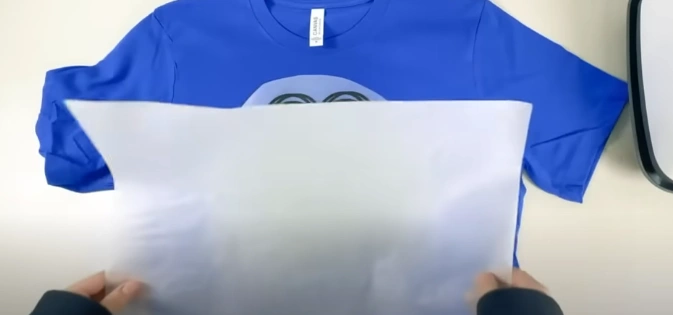
Step 2: Place the parchment paper or Teflon sheet over the entire design.
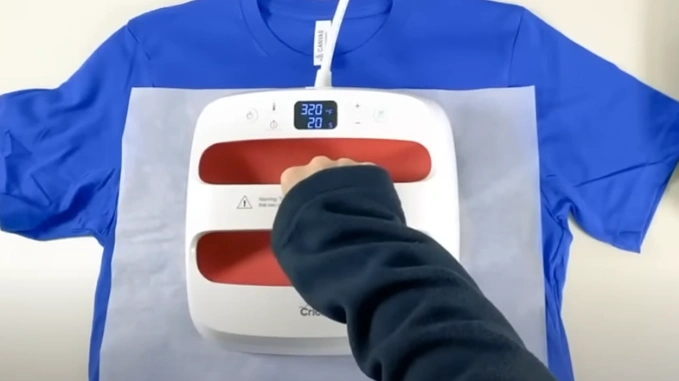
Step 3: Place the Cricut heat press machine on the sheet and press it at 320 degrees for about 20 seconds.
Step 4: Cool or warm peel the transfer sheet.
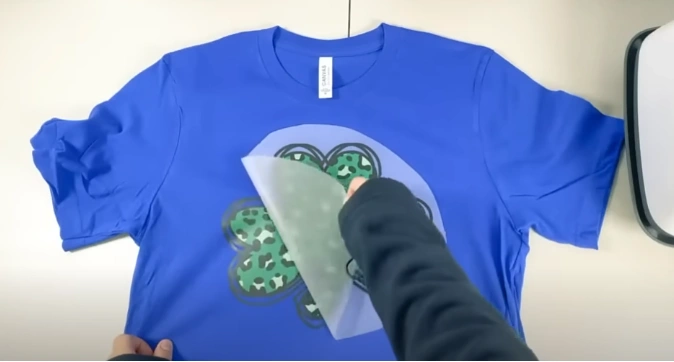
Step 5: Your custom t-shirt is now ready to wear.
Also Read:- How to Reset Cricut Heat Press
Bottom Line
That’s the ideal way to use DTF transfers and your Cricut Heat Press. It was much easier than you thought. Just remember the right temperature and pressure. Keep a little patience when using the Heat Press machine.
Do not stop experimenting with something new to bring in more creativity in your designs. Explore more new ideas and techniques.


