

Cutting vinyl on your Cricut machine is quite simple. With the right tools and a few easy steps, you can create crafts that look both delicate and professional. In this guide, we will discuss the correct methods for cutting vinyl material with a Cricut machine. But before we jump into the process, let’s look at some important preparatory tips.
Preparations Before You Start Cutting Vinyl
You need to follow a few preparatory steps to ensure a smooth and accurate cut.
Choose the Right Vinyl
Each type of vinyl has different adhesive strength and application methods. Therefore, you must select the appropriate material (removable, permanent, or HTV) for your DIY crafts.
Clean Your Mat
The cutting mat should be clean and sticky enough to hold the vinyl in place. This step is very important. If the mat is dirty or worn out, it may result in slipping or uneven cuts.
Check Blade and Machine Settings
The blade that you’re using must be sharp and correctly installed. Select the right material setting on your machine so that it matches the vinyl type and thickness.
Common Issues When Cutting Vinyl on Cricut Machine
These are some of the most common problems that might occur when you’re cutting vinyl on a Cricut machine:
- Designs cutting off or misaligned
- Difficulty weeding out small designs
- Cuts are going too deep
- Vinyl not sticking to the mat
Steps to Cut Vinyl on a Cricut Machine
We have made cutting vinyl on a Cricut machine simple for you. Follow the easy steps below to get the best results.
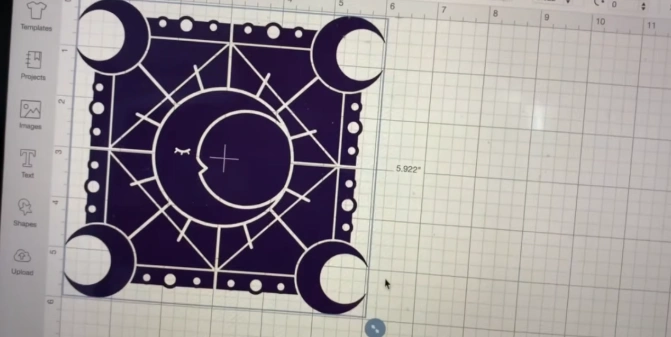
Step 1: First, create a design in the Design Space app. If you have already created one, import it to the Design Space canvas.
Step 2: Size the design according to your preference.
Step 3: Cut a piece of vinyl slightly larger than your design.
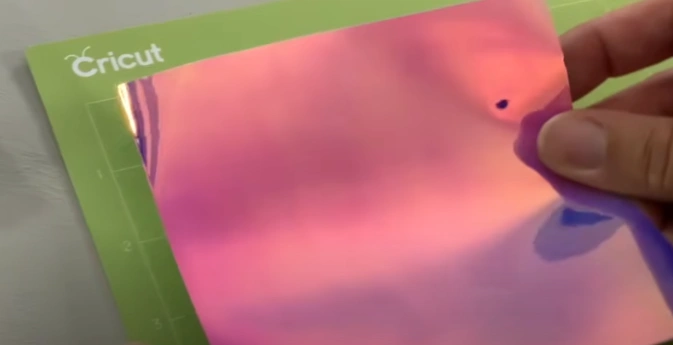
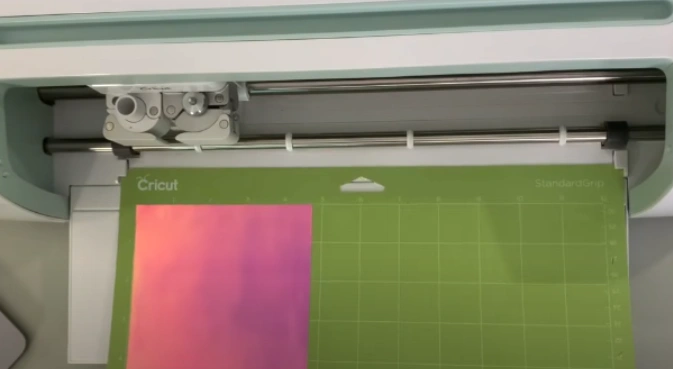
Step 4: Place the vinyl on a cutting mat with the liner side down.
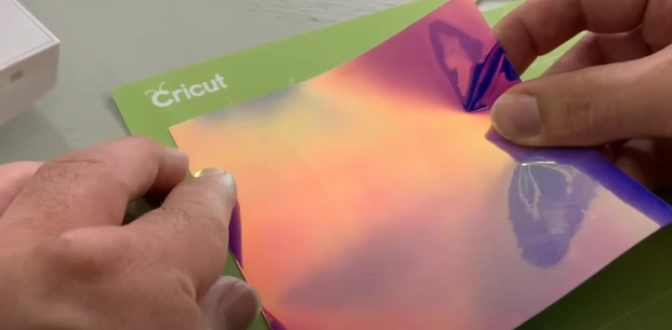
Step 5: Smooth out the mat to eliminate any wrinkles or bubbles.
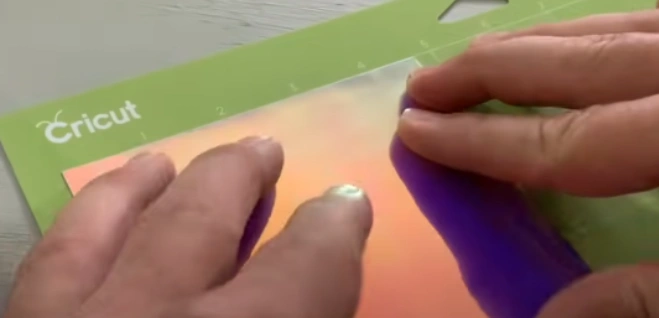
Step 6: Next, load the mat into your cutting machine.
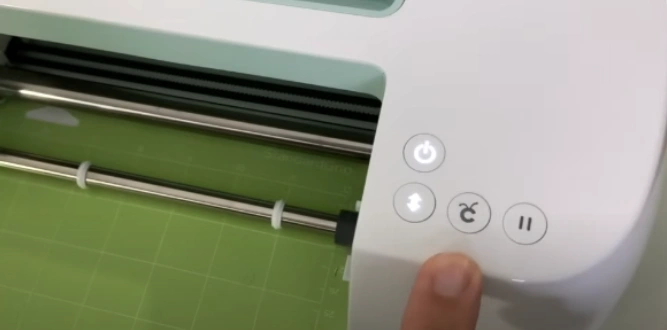
Step 7: Press the “Go” or flashing “C” button to begin the cut.
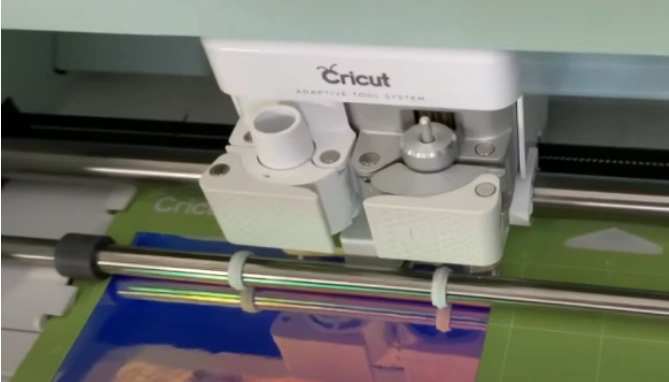
Step 8: Your crafting machine will cut through the top layer of the vinyl, which will leave the backing intact.
Step 9: Once the cut is finished, unload the mat by pressing the arrow button.
![]()
Step 10: Remove the cut design from the sticky mat.
Note: You can use the squeegee tool to press down the vinyl just before removing it from the mat.
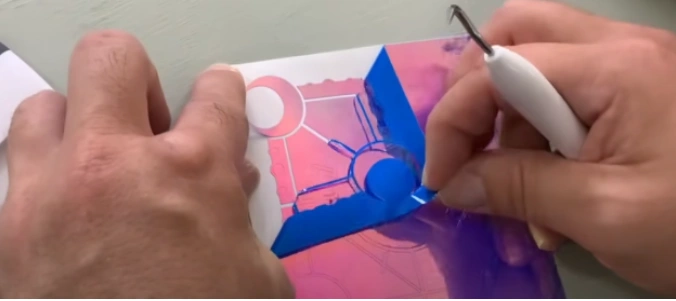
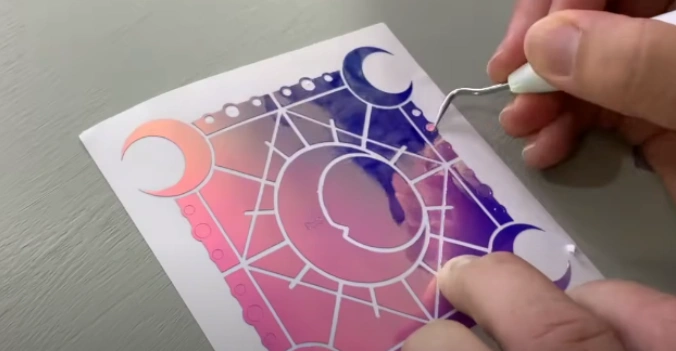
Step 11: Use a weeding tool to remove the extra material, leaving only the design on the backing sheet.
Also Read:- How to Reset Cricut Heat Press
In Closure
You no longer need to feel intimidated by the process of cutting vinyl with a Cricut machine. Simply follow the steps we have mentioned above, and you will achieve the best results. Create perfect custom designs with ease and add a unique, personal touch to all your future projects.


