

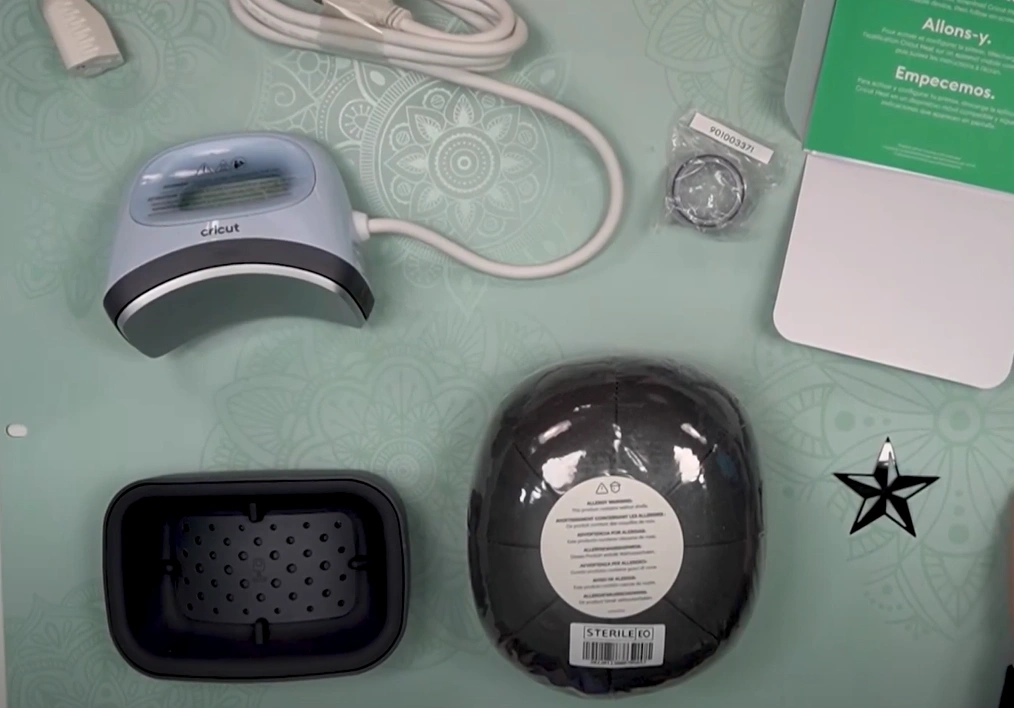
Your new Cricut Hat Press has finally arrived after sitting in your cart for weeks. You are probably excited to start using it. The unpacking is done, and you are ready to roll up your sleeves and dive into your first project.
But hold on – there’s one important thing to do first: the setup. Like many Cricut users, you might find the setup process a bit confusing. But with the right instructions, it becomes much easier. Don’t worry – we’re here to guide you through every step. Before we get into the setup, let’s take a look at some common problems that may arise during the process.
Common Setup Issues With Cricut Hat Press
Certain problems might arise when setting up your Cricut Hat Press. These can be the following:
- Bluetooth not connecting
- Temperature inconsistencies
- Firmware update failures
- Cricut Heat app not recognizing device
- Incorrect base placement
Steps to Set Up Cricut Hat Press
The setup process for the Cricut Hat Press is simple. Follow the steps below carefully.
Step 1: After removing all the packaging, plug in the Cricut machine and place it on a smooth, heat-safe surface.
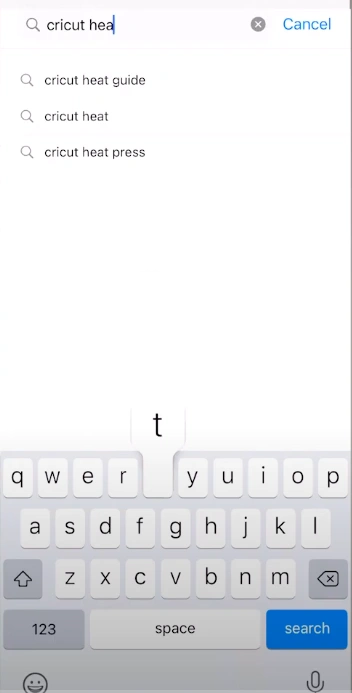
Step 2: On your phone, download and install the Cricut Heat app. Note: The app is available on both the Play Store and the Apple App Store.
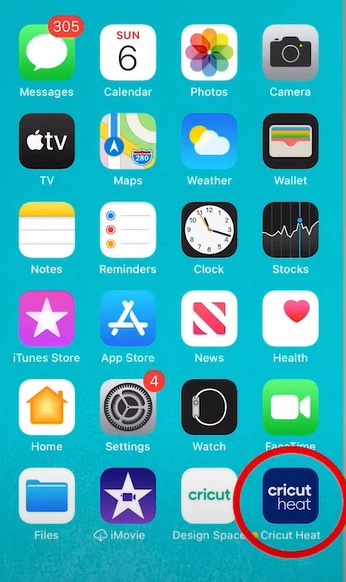
Step 3: As the app is installed, open it and turn on Bluetooth.
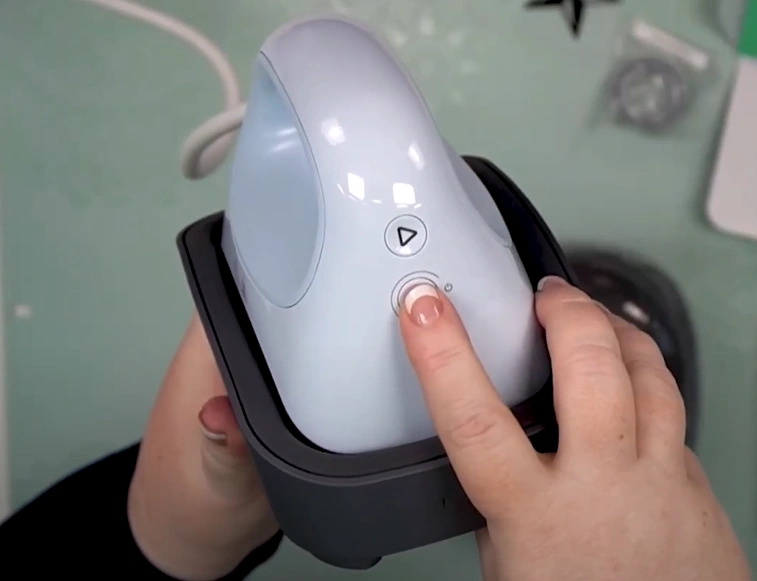
Step 4: Hold the power button until the machine lights up.
Step 5: The app will detect the machine and walk you through the pairing process.
Step 6: Perform the steps on your screen to set up the machine.
Step 7: A firmware update may also show up during the setup, so complete it and make the machine ready to use.
How to Use Cricut Hat Press for Your First Project
Let’s sneak peek at how to use the Cricut machine in your first project. Just follow these instructions:
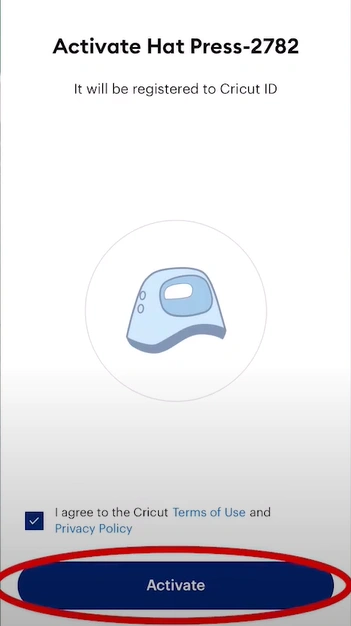
Step 1: Activate the machine using the Cricut Heat app.
Step 2: To activate, launch the app on your phone and sign in with your Cricut ID.
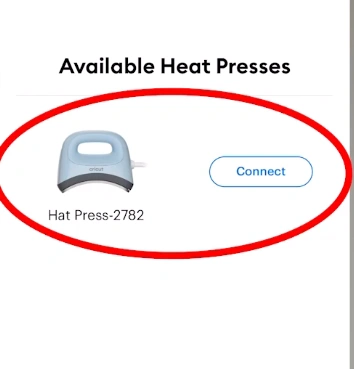
Step 3: The Cricut Heat app will detect the machine if it is powered on.
Step 4: Once the machine is activated and connected, follow the on-screen prompts.
Step 5: Select your transfer material and hat, send the settings to the machine, and wait for the beep.
![]()
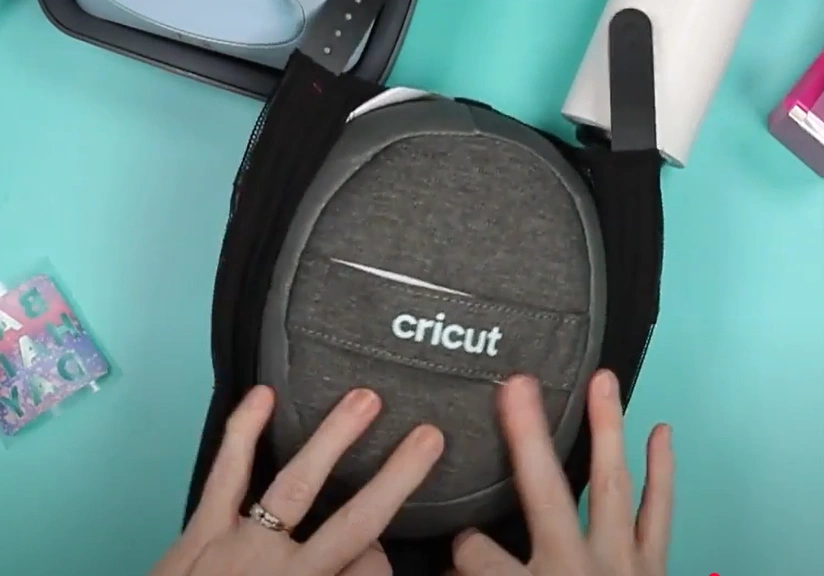
Step 6: Unfold the sweatband and place the hat securely on the Cricut Hat Pressing Form.
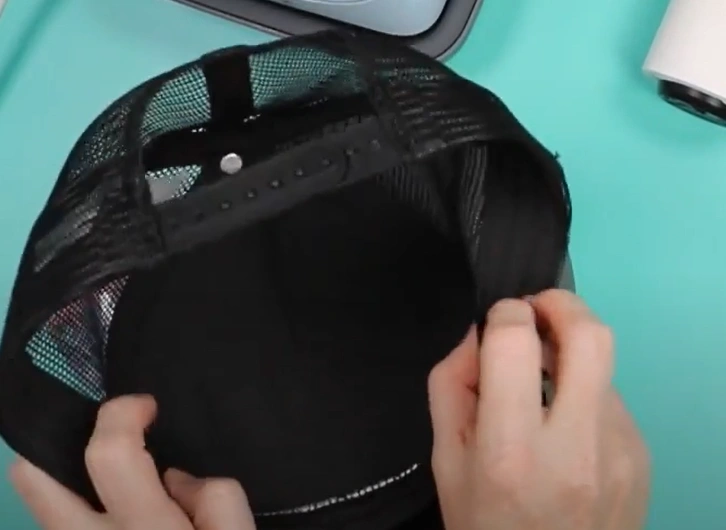
Step 7: Press down firmly for a tight fit.
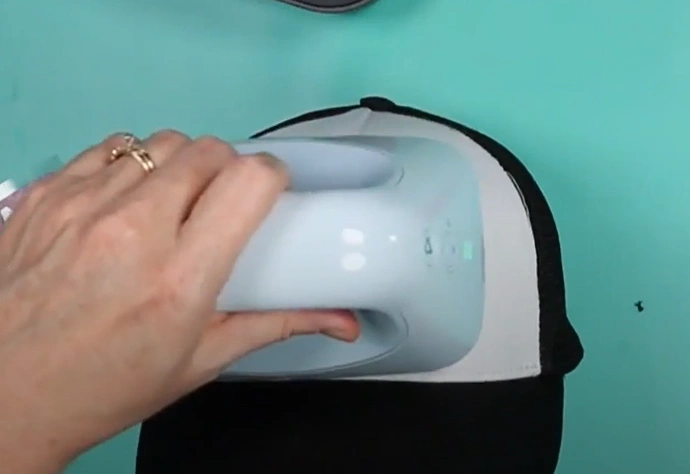
Step 8: Preheat the hat for 3 to 5 seconds.
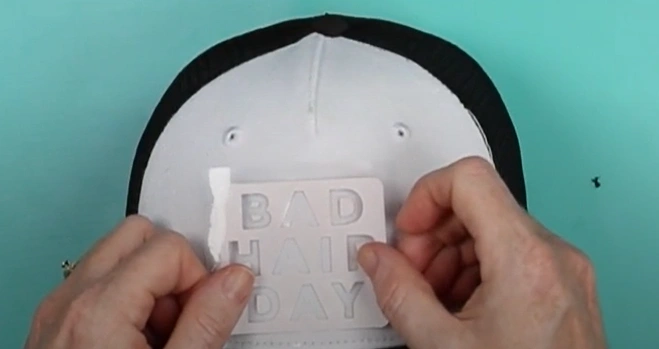
Step 9: Take the design and apply it to the hat.
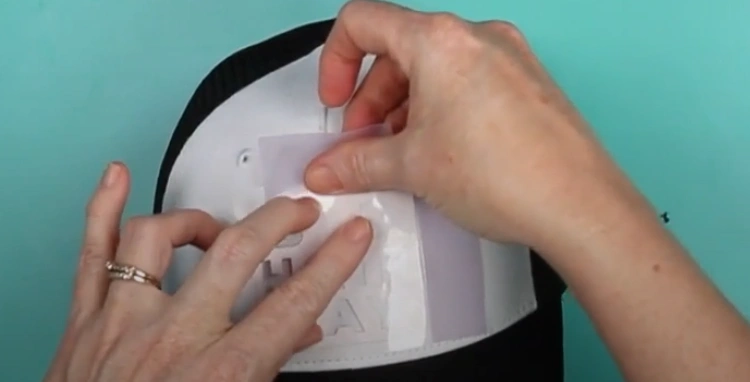
Step 10: Secure the edges using heat-resistant tape.
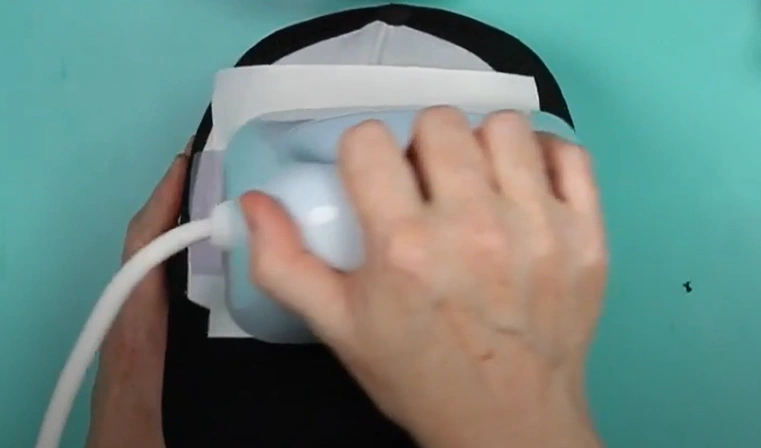
Step 11: Once the design is in place, gently glide the machine side to side over it.
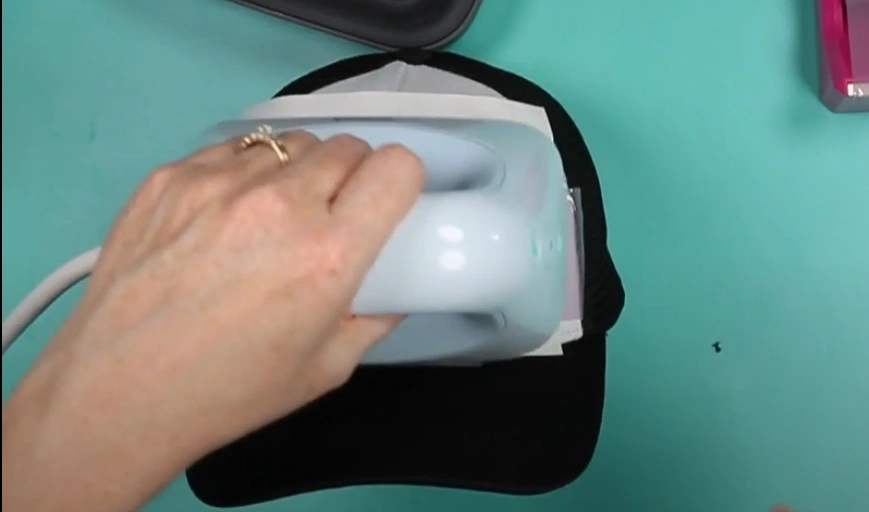
Step 12: Ensure that the entire design is pressed.
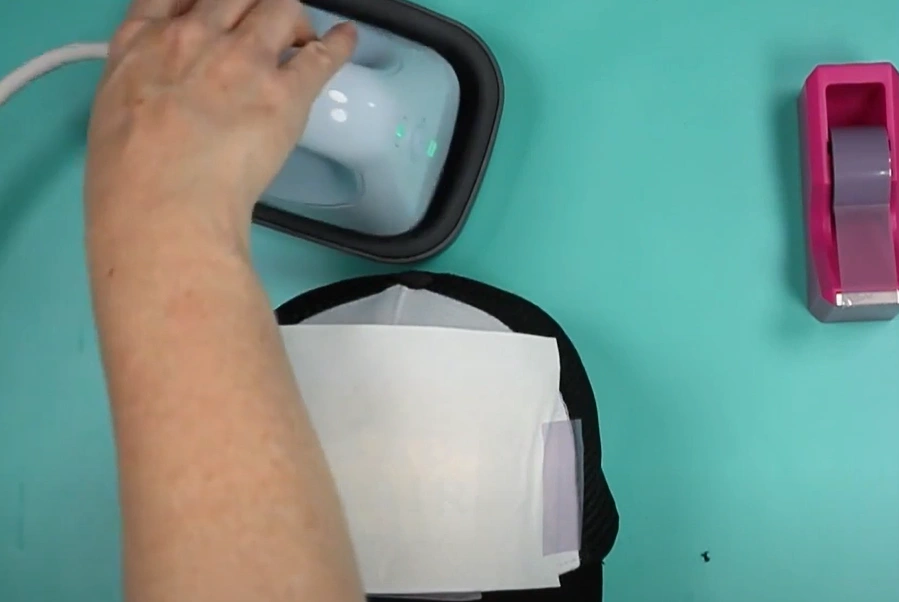
Step 13: Once you hear the beep, remove and put the machine on its Safety Base.
Wrapping Up
No more feeling blank when it comes to the Cricut Hat Press setup process. You have the clear instructions with you now. Just stick to what we have discussed above, and you’ll be all set to go.
Issues like Bluetooth connection errors, firmware update failures, or temperature glitches might come up. Handle them patiently.


