
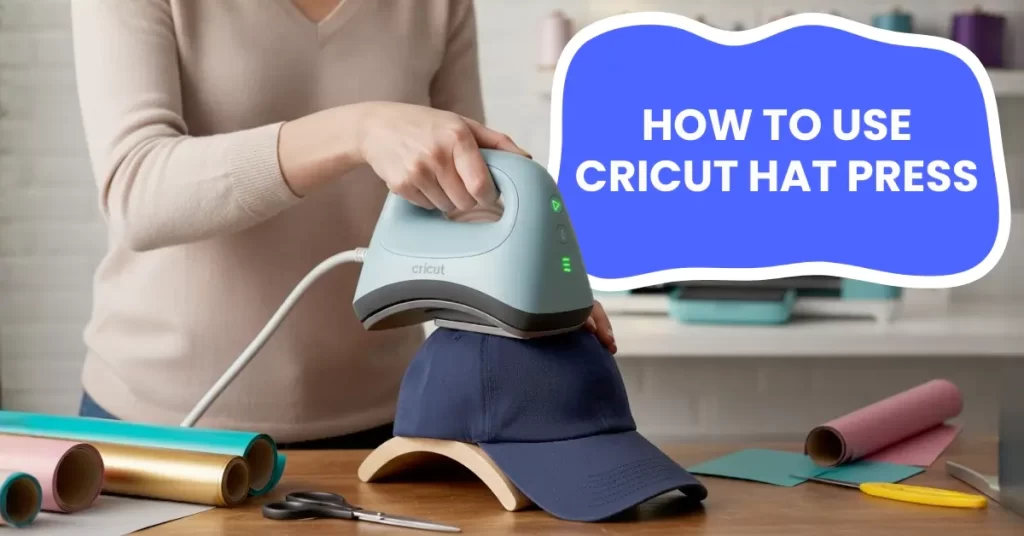
If you’re not familiar with the machine yet, you might be unsure how to use it. It’s okay, no need to worry because we have shared the correct steps to use the Cricut Hat Press the right way. By the end, you’ll know how to use the press properly. Before we go through the steps, take a moment to understand the possible challenges that may come up while using the machine. Let’s talk about them first.
Potential Problems When Using the Cricut Hat Press
Many issues can happen while using the Cricut Hat Press. These may include:
- Uneven heat or pressure
- Wrong hat type
- Wrinkles or bubbles in the transfer
- Overheating or scorch marks
What to Avoid When Using the Cricut Hat Press?
Here is a list of the things that you need to avoid when getting started with the machine:
- Don’t use the wrong time or temperature: If the settings are not right, it could lead to scorching, peeling, or incomplete transfers.
- Don’t skip preheating: It is an important step because the moisture in the fabric can affect the final outcome.
- Don’t use the machine without the Hat Form: The press comes with a Pressing Form to help maintain the hat’s shape and ensure even pressure.
- Avoid pressing over seams or buckles: These are uneven surfaces that can prevent proper contact and cause poor adhesion.
- Keep your hands away from the hot plate: Since the Cricut Hat Press gets extremely hot, it can lead to serious burns if touched.
Simple Steps to Use Cricut Hat Press
You may have your design ready, and now it’s time to use the machine. Follow these easy steps to apply your cut design with the press onto your favorite hat:
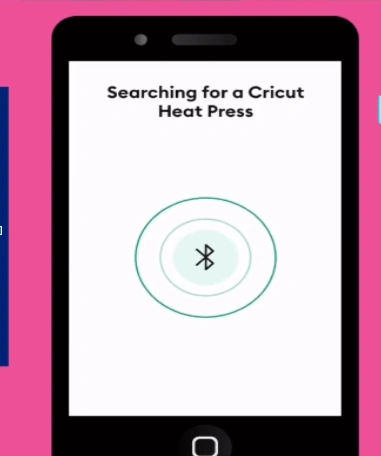
Step 1: Turn on the machine and open the Cricut Heat app on your phone.
Step 2: After that, sign in with your Cricut ID. The app will detect the press automatically.
Step 3: After it connects, choose your transfer material and hat type in the app.

Step 4: Send the settings to the machine and wait for the beep.
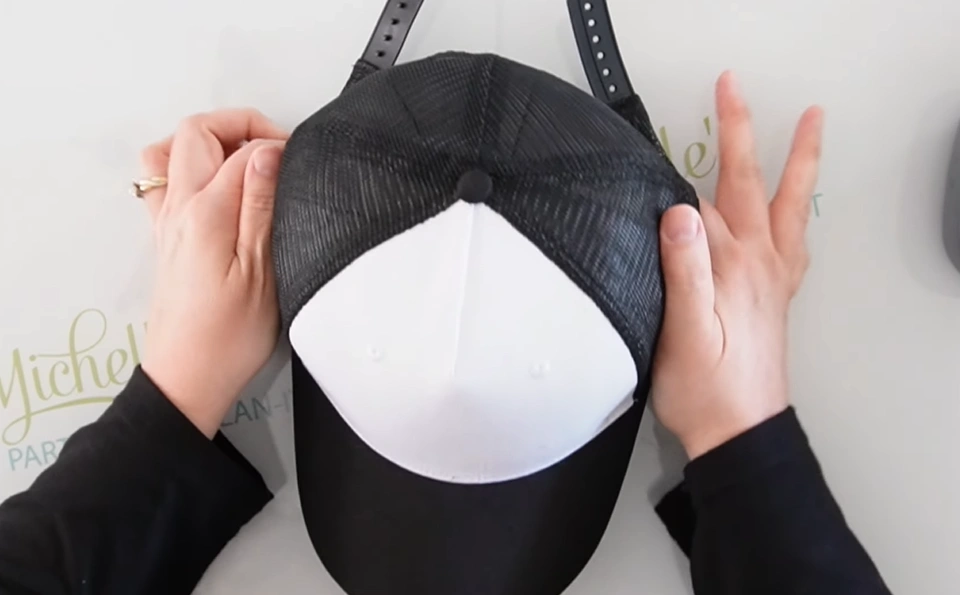
Step 5: Now open the hat and unfold the sweatband.
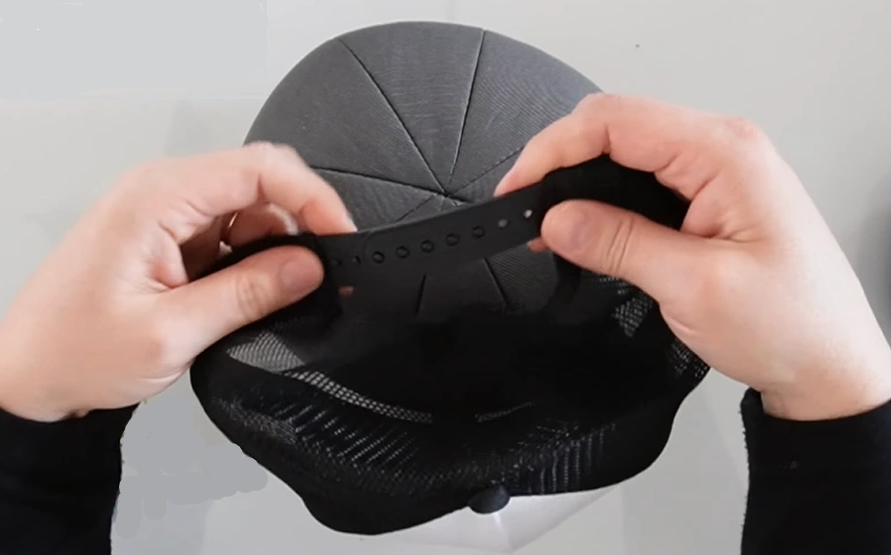
Step 6: Get the Hat Form and place the hat on it.
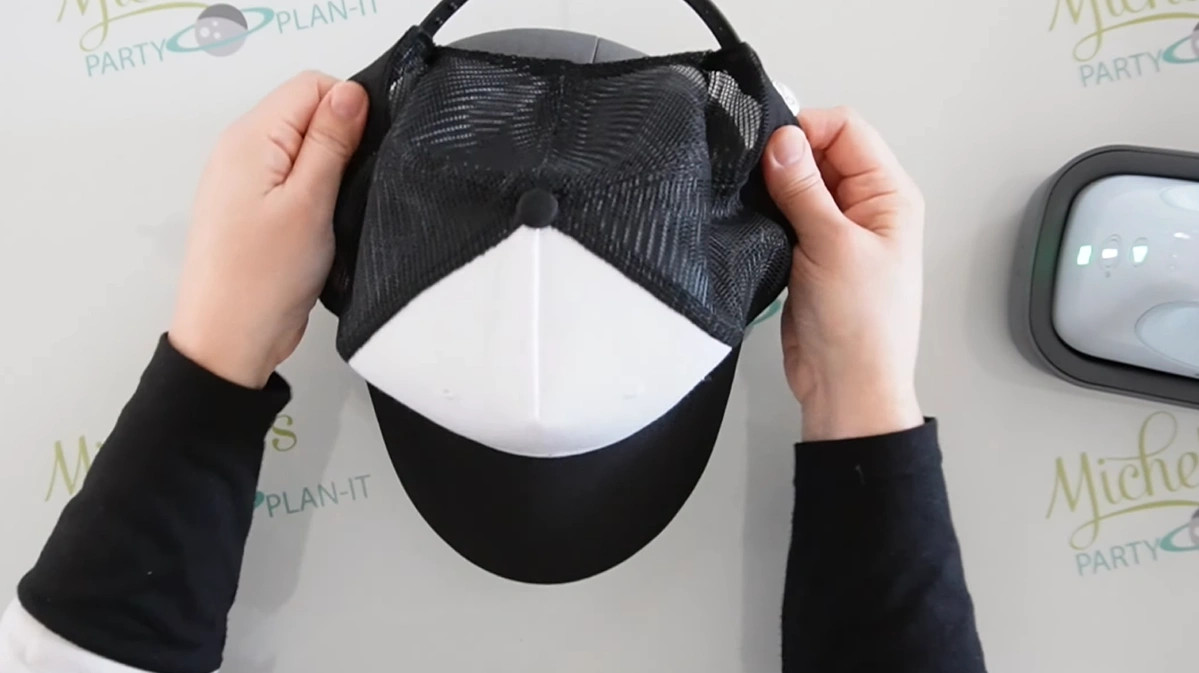
Step 7: Press the Hat Form down so it fits tightly and stays secure.
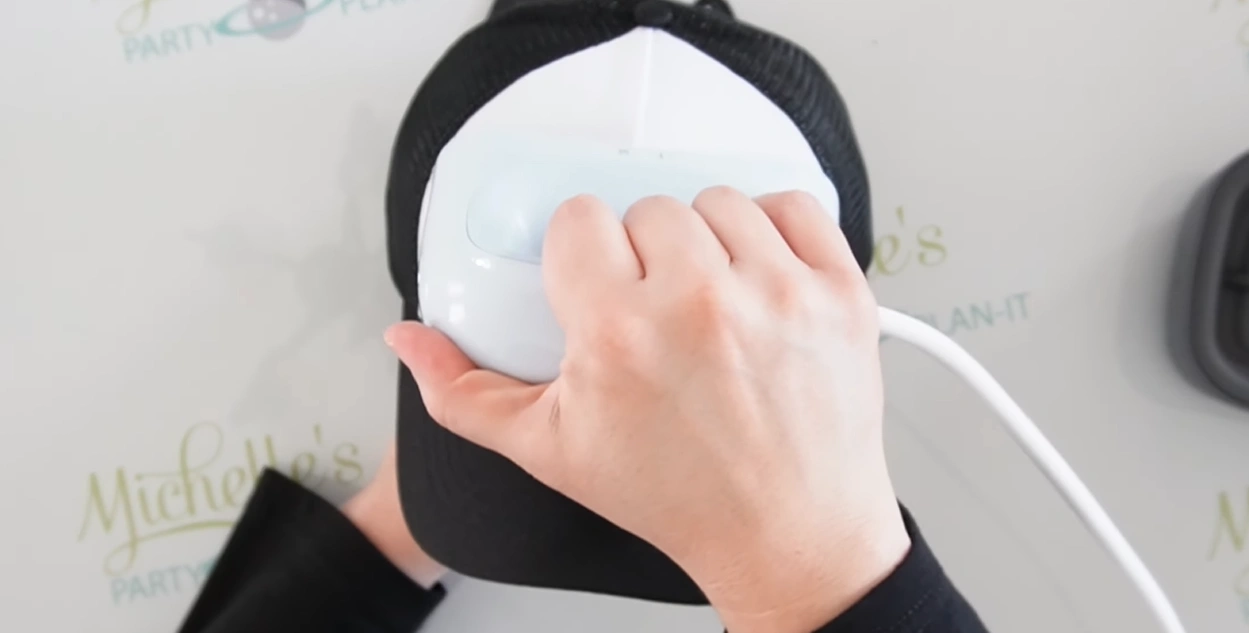
Step 8: Preheat for 3 to 5 seconds.
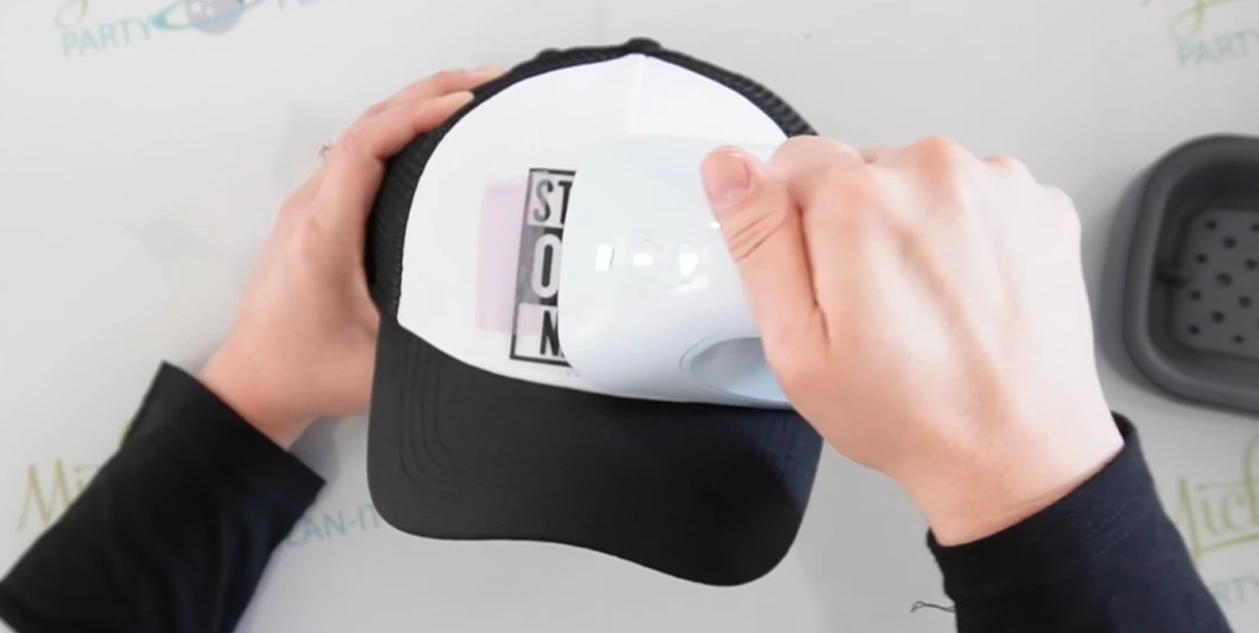
Step 9: Attach your design to the hat with heat-resistant tape and secure the edges.

Step 10: When you’re happy with the placement, press the Start button and place the machine on the design. Move it gently from side to side so the whole area gets heat.
Step 11: Once you hear the beep, remove the machine and return it to the safety base.

Step 12: Let the hat cool for a few minutes. Then peel off the carrier sheet to reveal your finished design.

Also Read:- How to Set Up Cricut Hat Press
In Closure
That’s all we want to share about how to use the Cricut Hat Press the right way. Follow the steps we shared above. Before you start, avoid using overly soft beanies or hats with thick embroidery, as they can block heat transfer. Always use the safety base when using the machine, or there could be a risk of burns or damaged surfaces.


