How to Make Gift Tags With Cricut Machine: Ultimate Guide
Presents are complete with personalized gift tags. So, when you are done purchasing gift items, don’t forget to include attractive gift tags. It will give your presents a personal touch while making them different from others. So, utilize your Cricut machine and make the most of it by creating some awesome gift tags for your friends and family. Are you not aware of how to make gift tags with Cricut? Luckily, I can help you with the whole gift tag-making process.
I will share all the tips and tricks you need to finish this project. You will learn about the required supplies and essential steps for these fun Cricut projects. Let’s start with the necessary supplies for the Cricut gift tag.
Supplies Needed for Creating Cricut Gift Tags
You first consider the needed supplies and tools for creating gift tags. Here is a list of a few essentials to accompany this Cricut idea.
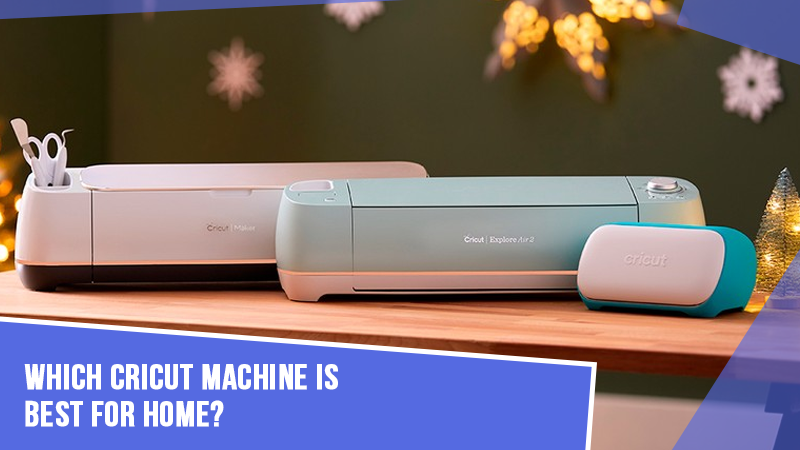
- Cricut Machine
- Trimmer
- Smart Paper Sticker Cardstock
- Glitter Gel Pen
- Twine
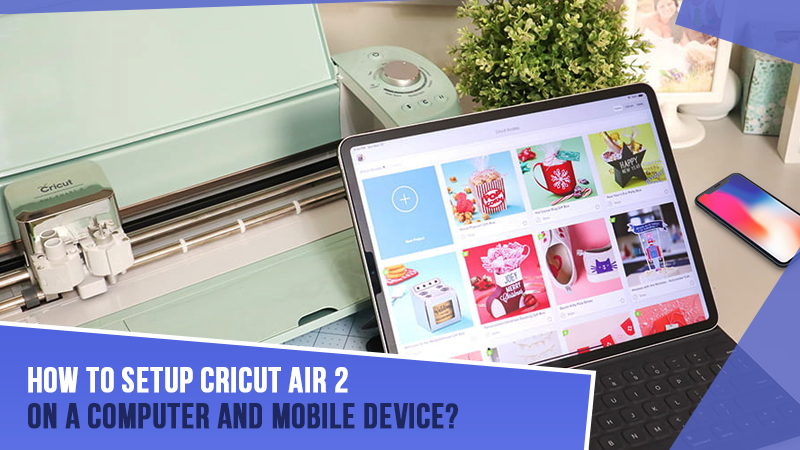
- Connected devices (Windows/Mac computers or Android and iOS) with Cricut Design Space
Once you have all these things, you can carry along the steps below.
How to Make Gift Tags With Cricut: 6 Easy Steps
It is obvious to get excited about creating handmade gift tags with a Cricut machine. After all, it is a crafting journey full of fun and creativity. Look at the steps below and begin making Cricut gift tags with all your heart.
Step 1: Go to Cricut Design Space
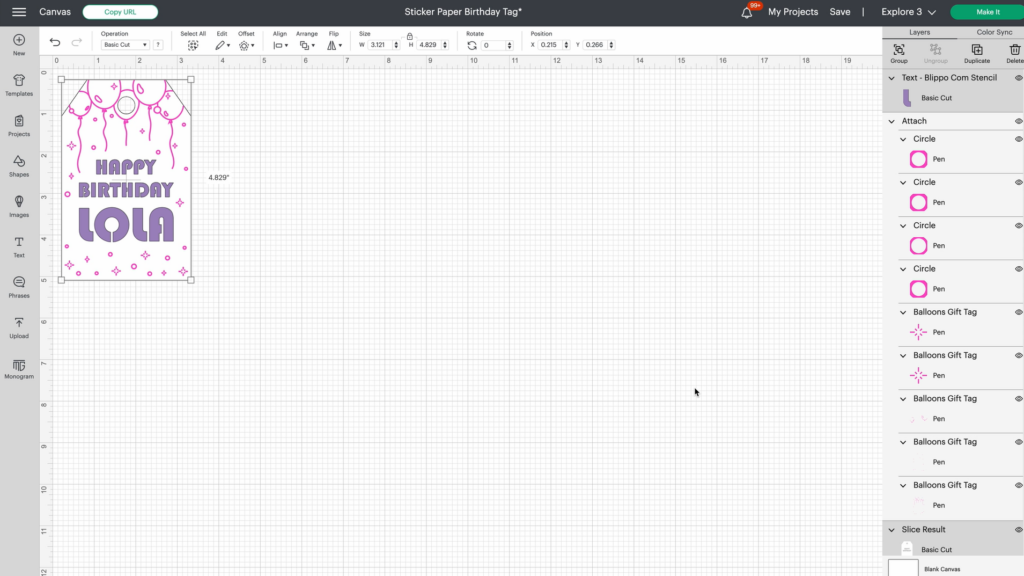
First of all, you will need to open the Cricut Design Space on your device. After the app opens, look for the gift tag project. You can customize the design with the artwork and the name you want to include. Also, make sure to put the design in the center. After you include the text, select it along with the tag and then tap on the slice. You can find a slice in the bottom-right corner of the Cricut app.
Step 2: Tap on the Make It Button
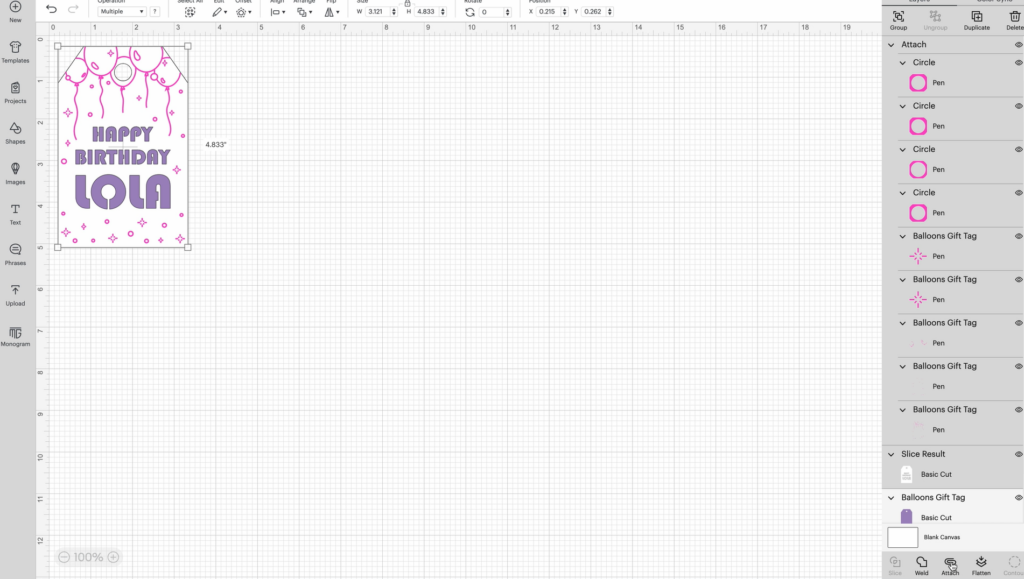
When you’re done with the slicing, delete extra text from the canvas. After that, move forward with the instructions below.
- Initiate by selecting all the elements of your design.
- Following this, click on Attach. You can see it in the bottom-right corner of the app.
- Finally, please tap on the Make It button.
Attaching is preferred because it ensures the machine cuts the design exactly how you want. After that, proceed with the next steps in the process, like how to make gift tags with Cricut.
Step 3: Load Your Materials
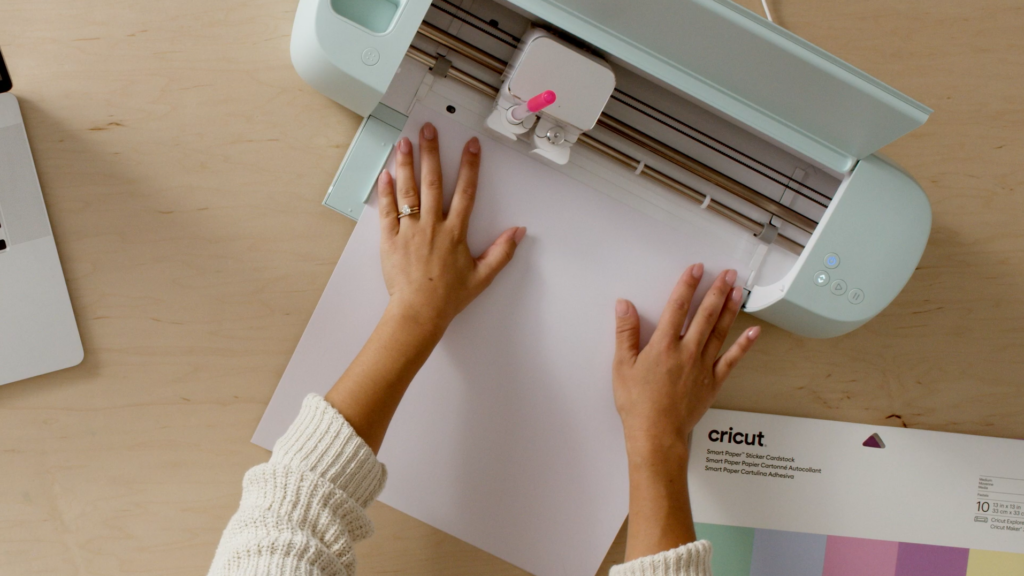
After you click the Make It button, you should move toward the machine and forward. If you need clarification about the next steps in making gift tags with Cricut, follow the instructions below.
- First of all, load your materials into the Cricut machine.
- After that, move to the clamp A.
- Now, load the gel pen you want to use in this project.
- Thereafter, select the material you wish to use.
- Further, select the Cricut material you are using.
- Next, click on the Load button.
- Finally, hit the Go button once it starts flashing.
Step 4: Click on the Unload Button
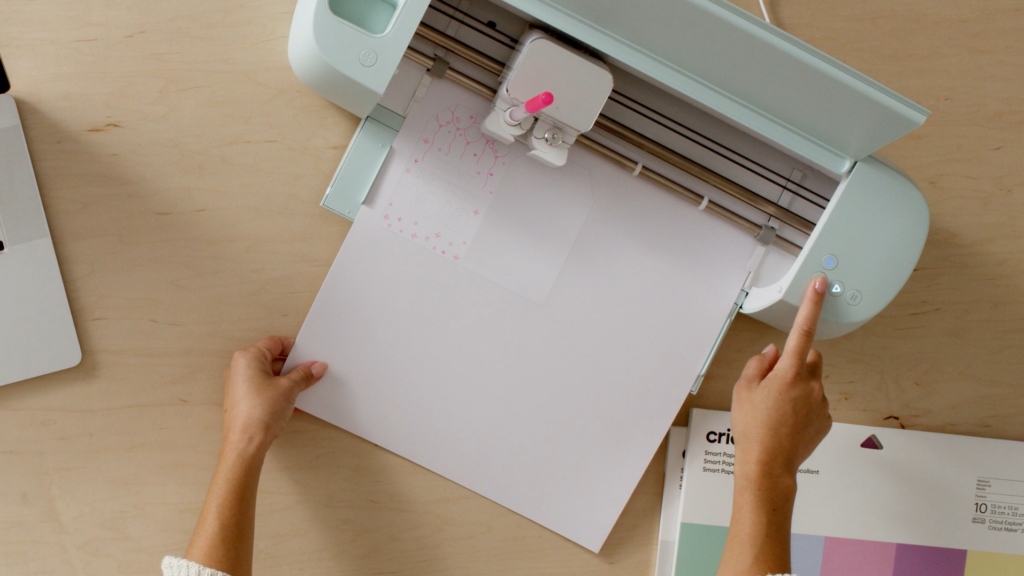
The next step is making gift tags. Once you are done with the cutting process, follow the instructions below. You can follow the steps for the process, like how to make gift tags with Cricut.
- Begin by unloading your Cricut machine.
- After that, select the material you are using for the project.
- Next, make sure to load your material properly.
- Tap on the Unload button.
- Lastly, click on the Go button.
Step 5: Peel Away the Cardstock

Start the process by trimming down your material. It is to make the material work smoothly. If there is an extra piece of material, you can use that for a later project. Find your cardstock and remove its backing. You can do so by peeling your cardstock away from the liner.
Note: It is recommended to flip the cardstock face down and then start peeling the liner away. This way, the cardstock will not curl.
Step 6: Assemble Your Gift Tag
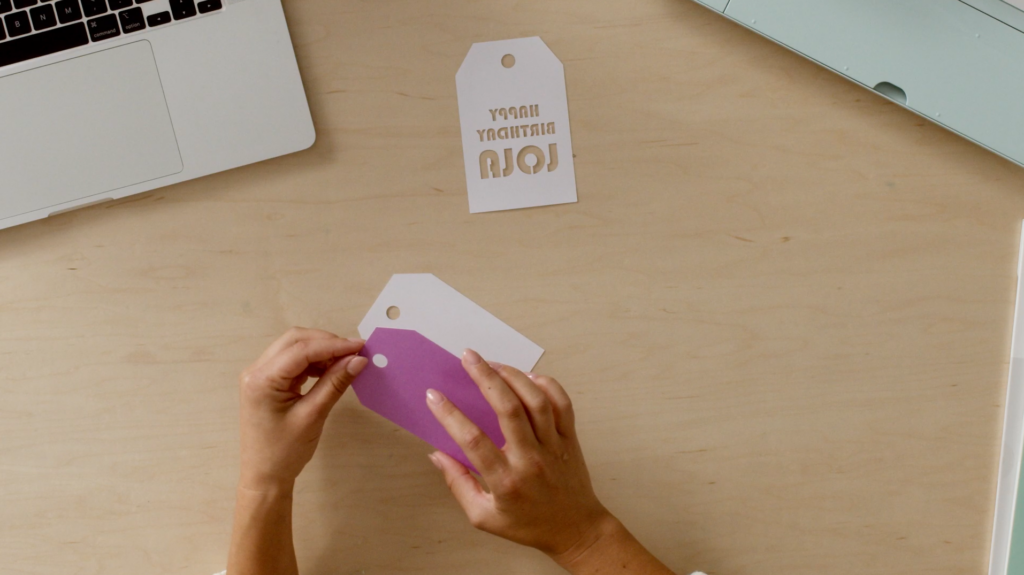
The last and final step on how to make gift tags with Cricut is straightforward. You will just need to assemble all the tags. Stick the colored part of the tag to the sticky side of the white tag. Once you find that the white and colored parts are together, place the white cardstock on the color side. Finally, add the finishing touches to the gift tag or wrapping paper. The recipient will surely appreciate the incredible gift tags you include in the gift.
Conclusion
Put your Cricut machine to work to create some awesome gift tags. Cricut will help you make simple things extra special by adding a bit of personalization. You can make some nice gift tags to personalize your gifts while wrapping. So, move forward with how to make gift tags with Cricut Maker 3 and end up with the best crafting experience ever. Crafting becomes joyous when you have the right materials and practical crafting steps to start.
FAQs
What Supplies Are Needed to Make Gift Tags Using a Cricut Machine?
To give your gift a unique touch, you can create some awesome gift tags with Cricut. Here is a list of a few supplies you need for this project.
- A Cricut machine (Cricut Explore or Cricut Maker).
- Printer
- White cardstock
- Printable tag file for tags
How Do You Make Gift Tags Using the Print Then Cut Feature?
Are you looking for instructions to make gift tags with the Cricut machine? One of the most efficient ways is to use the Print Then Cut feature. Below are the steps to begin the process.
- Firstly, go to Cricut Design Space.
- Now, search for the gift tags option there.
- Then, add your text.
- Next, tap on Attach.
- Select the text color from the LineTYPE drop-down menu.
- Further, click on Flatten.
- Lastly, tap on Make It.
What Are Some Cricut Gift Tag Ideas?
Is making gift tags on your next Cricut craft list? Here are some amazing Cricut gift tag ideas to inspire you.
- Wine bottle tag
- Square coaster present gift tag
- Engraved chipboard gift tags
- Felt holiday tags
- Three-dimensional gift tags
- Cardstock and paper tag
- Santa gift tags
- Gold foil iron-on