I love the Cricut Maker machine because it helps in making shirts. The best part is it is a fun way to do it. Last time, my friend Lisa and I tried so many new designs that turned out nothing but outstanding. If you plan to stun everyone with your crafting skills, consider shirt-making as the best option. The best part is that I am here with a few efficient steps to help you learn how to make shirts with Cricut Maker. So, start with the trendy DIY projects and customize your shirt in the best possible way.
In this post, you will learn an efficient way of making shirts with a Cricut Maker machine. Apart from that, you can also use those shirts for the office and more. Let’s get the process on the road. We’ll start the process with all the necessary supplies and tools.
Supplies and Tools Required for Cricut Shirts
Have you decided to take your creativity to a new level by creating custom shirts? What do you need for a Cricut to make shirts? If yes, you first need to consider the necessary supplies and tools. Below is the list of a few supplies and tools you will need for this project.
- Cricut Maker machine
- StandardGrip mat
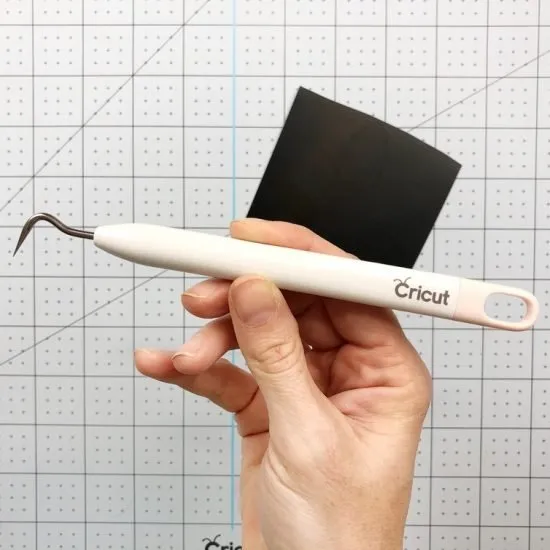
- Weeding tool
- Scissors
- Heat Press or EasyPress 2 & mat
- Bright pad for the weeding process
- Iron-on transfer material
- Cotton shirts (White and Black preferred)
Once you gather the above supplies, you can make shirts.
How to Make Shirts With Cricut Maker: 4 Simple Steps
If you plan to make shirts for the office, you can get into the process effortlessly. Please note the Cricut Maker is an excellent machine for making custom shirts. You can find them high-performing in bringing out the best crafting results. Here is a simple step-by-step process of how to make a shirt with Cricut Maker. Execute these steps properly for a hassle-free crafting journey.
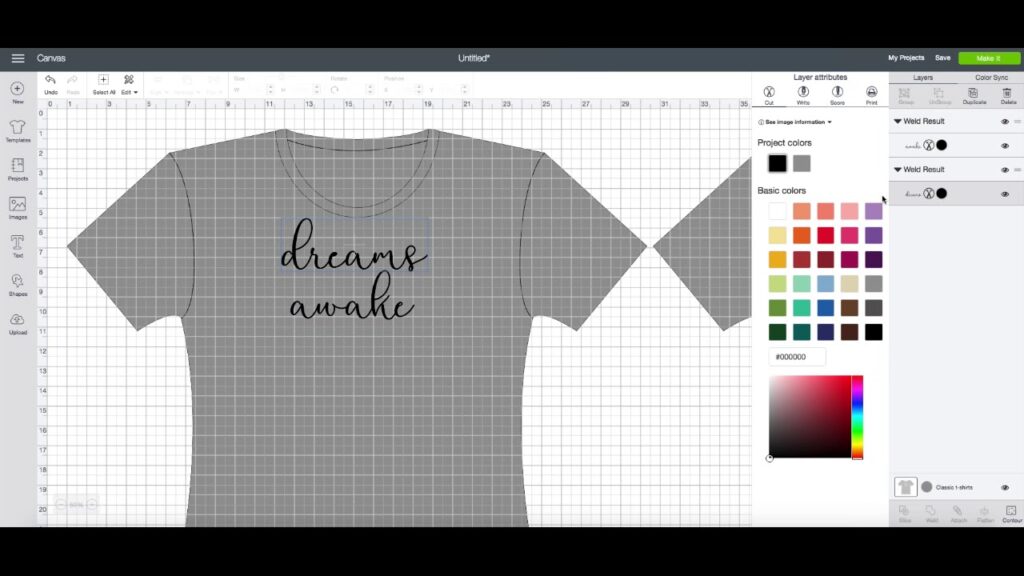
Step 1: Designing Your Shirt
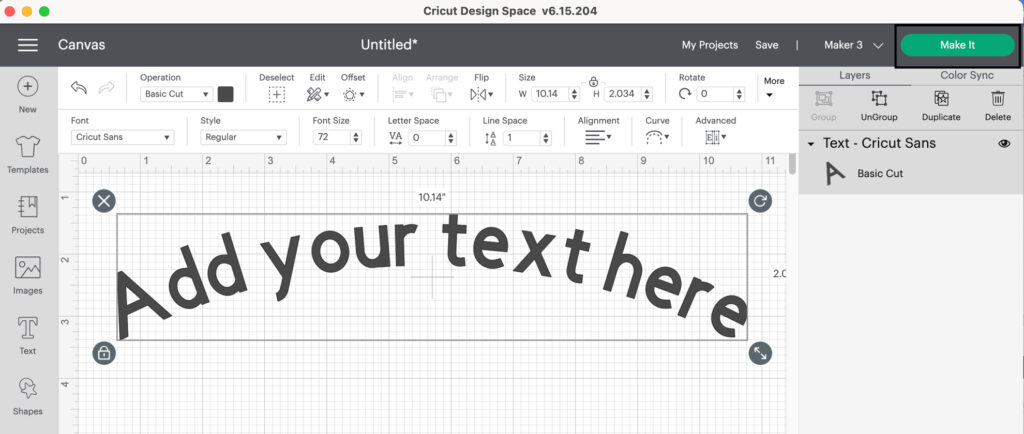
The first steps of making shirts include designing the shirt. You can go to Cricut Design Space and design anything. This Cricut tool gives Cricut users the freedom to select from various designs, from basics to the latest ones.
- Firstly, open the Cricut Design app.
- Then, create or upload a design of your choice.
- Thereafter, finalize the design you want to have on your shirts.
- After that, move with the instructions to cut.
Step 2: Cut Iron-On Vinyl Materials
The second step of making shirts is cutting iron-on materials properly. You can have a look at a few instructions below for successful cutting.
- Initiate the process by placing the vinyl on the cutting mat.
- In the next step, grab a brayer tool.
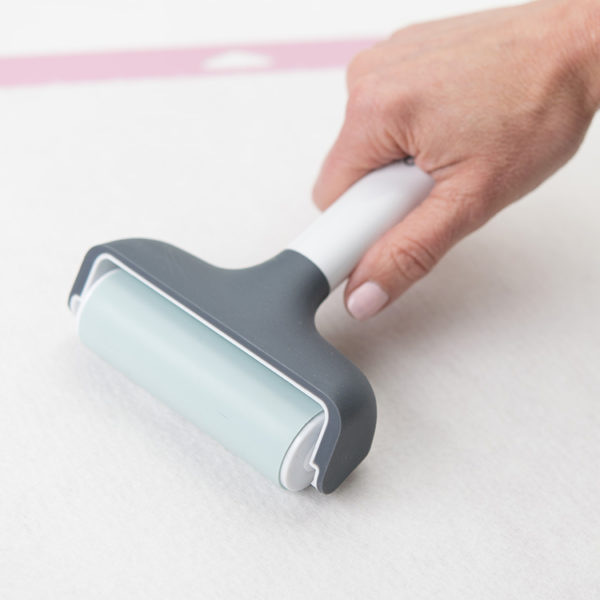
- Then, use the tool to roll out the vinyl.
- Afterward, place a mat on your Cricut Maker machine.
- Next, proceed by tapping on the Make It button.
- Thereafter, turn on Mirror.
- Ensure to reverse the iron pattern, then.
- Hit on the Continue button.
- Subsequently, select your materials on the Make screen.
- Select Iron-On as your material.
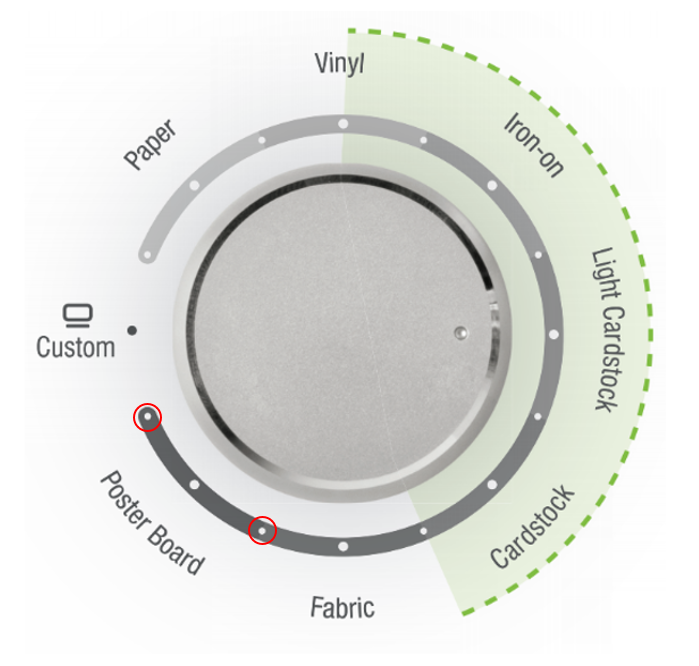
- In the next step, select the Browse All Materials option.
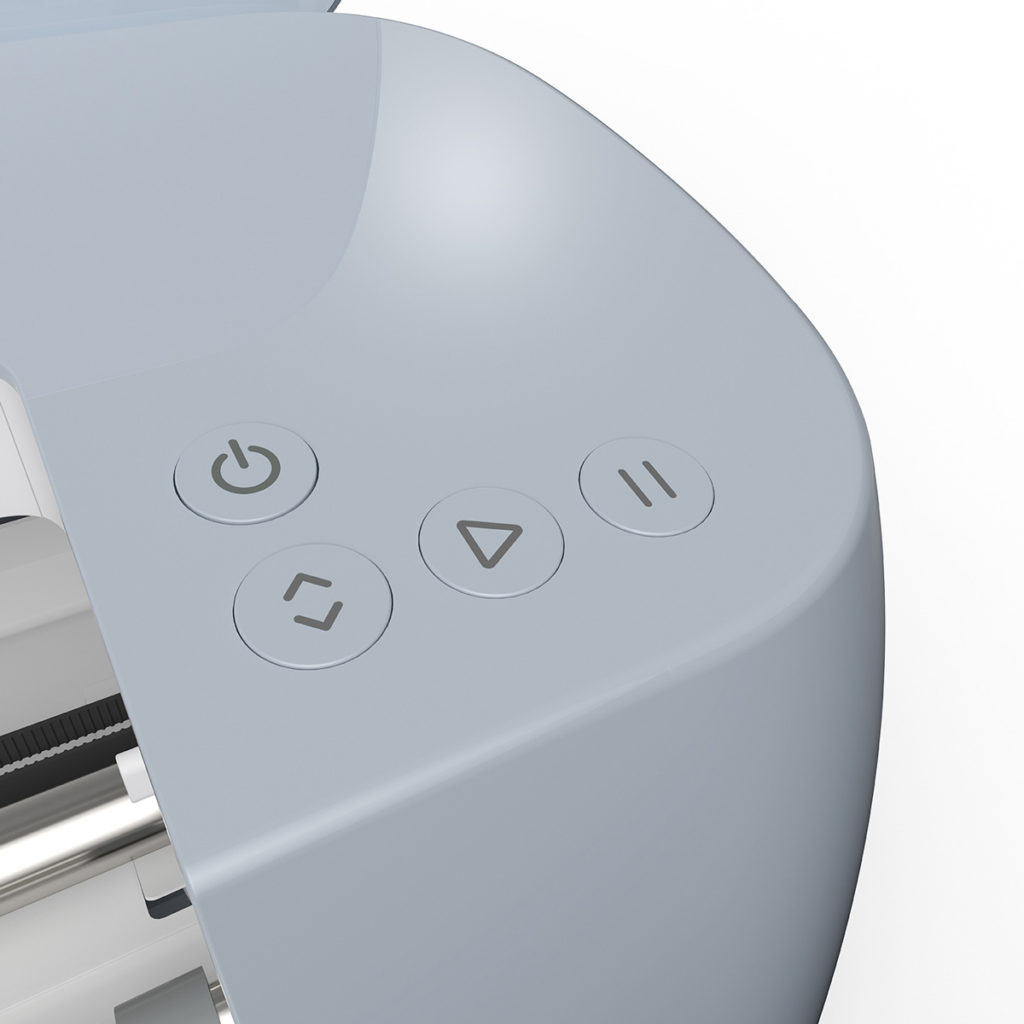
- Lastly, tap the blinking Go button to start cutting with your Maker machine.
Thus, if you are a beginner, you can learn how to make a shirt with Cricut Maker; proceed with the above steps carefully.
Step 3: Weeding Out the Design
After you finish cutting, the following process is to start weeding. Weeding is an effective process in trimming off an extra iron-on material. It removes the excess fabric you will not use in the end. Follow these instructions to get started with a smooth and effective weeding process.
- Use the hook-shaped weeding tool to trim off surplus vinyl from the corner of the design.
- If excess vinyl is on the plastic carrier sheet, you can remove it effortlessly using your hand.
Once you have removed all the bigger pieces of unwanted materials, look for tweezers there. Alternatively, you can use other tools to ward off remaining dust and debris. It is one of the useful steps you must remember while learning how to make shirts with Cricut.
Step 4: Applying Iron-On Vinyl
The last step of making shirts with a Cricut Maker is the application of iron-on vinyl. You can use a Heat Press for this step. Always remember to proceed with these application steps carefully. Press what press on your shirt’s designs to make it adhere properly. Remember to consider the recommended time and temperature. You can find it in the Cricut Heat Guide that came with the machine.
Thus, you have learned an effortless way of making shirts with a Cricut machine. Bring your Cricut Maker machine out and try your hand at awesome projects today.
Conclusion
Making shirts for the office will always stay in trend. So, if you are a crafter, you can learn how to make shirts with Cricut and get praise for your amazing crafting skills. After all, the Cricut Maker machine makes it easy to create custom designs and end up with nice results. All you will need is to take out your machine and make the most of Cricut software. Plus, the shirt-making process involves four simple steps: designing, cutting, weeding, and applying iron-on vinyl.
FAQs
How Can I Make a Shirt With Cricut Iron-On Vinyl?
Beginners, as well as experienced crafters, can utilize their Cricut Maker machines to create custom shirts. Look at the below-mentioned steps to get started with this project.
- Initially, open Cricut Design Space on your device.
- Then, upload or create the shirt design of your choice.
- After that, cut iron-on vinyl with your Cricut machine.
- Further, weed out the design.
- Lastly, use a Heat Press or EasyPress 2 for pressing.
What Are Essential Tips for Making Cricut Shirts That Sell?
Cricut machines also allow crafters to make money out of their DIY crafts. They can look for how to make shirts with Cricut and execute the process carefully. Here are a few tips.
- Since design size matters, try creating shirts with the appropriate size of the design.
- Focus on the quality of the shirts.
- Use appropriate characters and messaging designs in the product.
- Take pictures of your products perfectly.
- Once you have finished the design, post the product on your business page.
What Are the Supplies Needed to Make Shirts With a Cricut Machine?
A crafter can look for the below-mentioned supplies for making Cricut shirts. Once you have these supplies, you can start with the projects straightaway.
- Cricut machine
- Cricut app, Cricut Design Space
- Cricut EasyPress 3 or Cricut Heat Press
- Everyday Iron-On
- Shirt
- StandardGrip mat
- Weeder